Hello from our The Witness Puzzle Solutions Walkthrough guide. The Witness is a puzzle adventure game by Jonathan Blow known for the hit game Braid. Explore the abandoned island and discover the secrets it holds.
This is the guide Toysoldier it was created by. You can find the author’s link at the end of the guide.
The Witness Puzzle Solutions Walkthrough
Welcome to our The Witness Puzzle Solutions Walkthrough guide. This guide will show you detailed information about puzzle solutions walkthrough in the game!
Controls
The game can be played with a mouse and keyboard or a controller
| Action | Xbox Controller | Mouse&Keyboard |
| Walk around | Left joystick/D-Pad | WASD |
| Move cursor | Left joystick/D-Pad | Mouse |
| Look around | Right joystick | Mouse |
| Enter cursor/puzzle mode | A button | Left Mouse Click |
| Select start/end points for path | A button | Left Mouse Click |
| Exit cursor/puzzle mode | B button | Right Mouse Click |
| Run | Left Trigger | Shift |
| Cycle connected puzzles | Left/Right Bumpers | Left Mouse Click |
| Open pause menu | Start Button | Esc |
Tips
- When stuck on a puzzle leave and come back later. You may later learn how to solve it or with a clear head may be able to get it another time.
- Use solutions in this guide as a last resort.
- There are different areas in the game that each has puzzles you progress through until you finish that section. They can be tackled at any time and any order and you will know when you have finished a zone.
- Each puzzle mechanic has a set of very simple puzzles to teach you the rules of the symbol for the area.
- If you come across a puzzle mechanic you don’t know, feel free to skip it and return after you have found and learned from the tutorial area for that mechanic.
- The island has lots to explore so don’t worry about leaving puzzles you get stuck on as there is always more to do and see.
Tweaking Graphics Settings
The Witness has a whole lot of settings under the hood that you can tweak, here’s how:
First find your Local.variables file, we’ll be editing it
In Library in the steam client, right click on The Witness and go to:
Properties -> LOCAL FILES -> BROWSE LOCAL FILES…
Go in into the “data” folder and open Local.variables in a text editor
There’s a few things in there already, but ignore them, we’ll just be adding new stuff.
Add a section for the Render Quality setting you want to edit, followed by the variables you want to set. You only need to add the variables you want to change.
Here’s how it looks if you wanted to edit the high setting (the others are :/render/low and :/render/medium). These settings are the defaults for high:
:/render/high
low_res_reflections false
sun_shadow_resolution 1024
point_shadow_resolution 1024
antialias_panel_rendering true
skip_mipmaps 0
msaa_sample_count 4
panel_render_width 512
render_width 1920
render_height 1080
dynamic_resolution false
And here’s what they do:
low_res_reflections – pretty self explanitory, true or false
sun_shadow_resolution – must be one of 256, 512 or 1024
antialias_panel_rendering – true or false, improves the quality of the puzzle panels
skip_mipmaps – 0, 1, or 2, changes texture resolution THE LOWER THE BETTER
msaa_sample_count – 1, 2, 4, or 16. Higher numbers give better visuals at performance cost.
panel_render_width – must be a power of two. I wouldn’t go lower than 512. 1024 is nice if you’ve got a top end GPU
render_width and render_height – the size of the backbuffer that’s rendered to. Note that if you’re using SET LAUNCH OPTIONS to set -width and -height, that’ll override these.
dynamic_resolution – true or false, reduce resolution dynamically to preserve framerate at the cost of (a lot of) visual fidelity. This is really a last resort to make the game run on low-end GPUs.
Save your changes, and then run the game in the Render Quality you edited!
And finally, if you think you’ve broken you game, or made it worse, you can just delete everything you added and it’ll go back to defaults.
Island Map

Area mechanics can be found next to each location on the map with a red symbol to hint at where the tutorial for each mechanic is located. Use this to find and learn specific mechanics to help progress on puzzles found elsewhere that incorporate them.
Island areas
Below will be some screenshots of the areas as you may first see them so you can put a name to a face so to speak and know where to navigate to using the index at the side of the page.
Starting Cabana

Cherry Blossom Orchard and Windmill

Beach Art House and Oasis Island


Desert Ruins

Monastery


Bamboo/Tropical Forest


Greenhouse Color Rooms

Fall Forest

Industrial Quarry and Sawmill


Castle Tower and Hedges

Submerged Swamps

Treehouses


Town

Sunken Ship


Mountain


Starting Cabana
Area mechanic
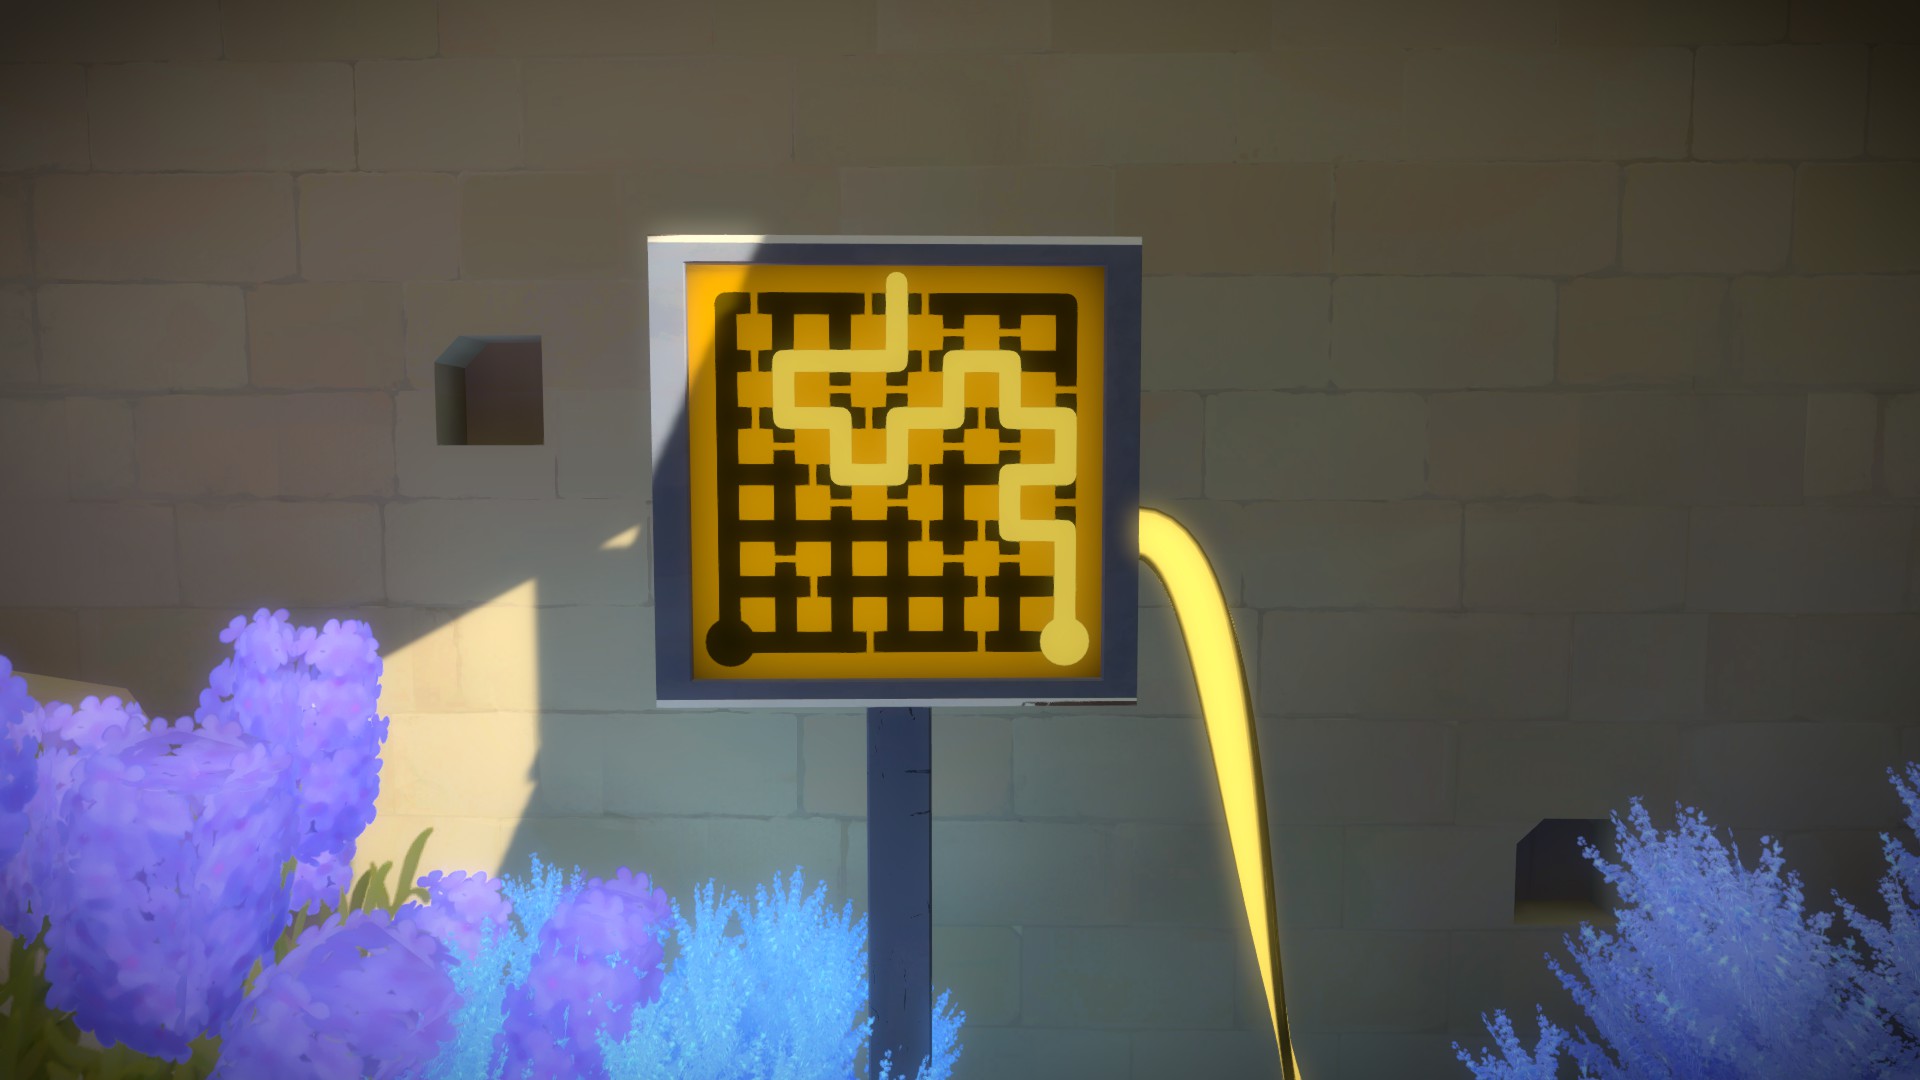
Starting with the circle make a path through the maze to the dead end with a round end. This is the core concept of the game that other areas and mechanics will build from.


The next one is tucked back in the corner.


The second solution opens a gate on the other side of the wall.


Use the path around the outside of the stone walls through the gate, opened by the second solution on the puzzle above, to reach around to the small room with this gate.


Cherry Blossom Orchard and Windmill
Area mechanic
The paths on each puzzle correspond to a nearby tree and where the apples are located. This mechanic isn’t really seen outside this zone and teaches you that solutions will often be found in the natural surroundings.


Beach Art House and Oasis Island
Area mechanic
You will need to make two paths that mirror each other at the same time, the way each path moves in relation to each other can change each puzzle.
On the island you must find the path by looking through the glass of the puzzle at objects in the background and trace around them and their reflections in the water.


Beach Art House


Oasis Island


The yellow mirror path will become harder and harder to see but is still there. This can be tested by running the paths into each other and seeing the invisible wall.


The blue side mirrors the yellow side across from it.

Desert Ruins
Area mechanic
Each puzzle solution can be found by using the glare from the sun to reveal a path that is less reflective.


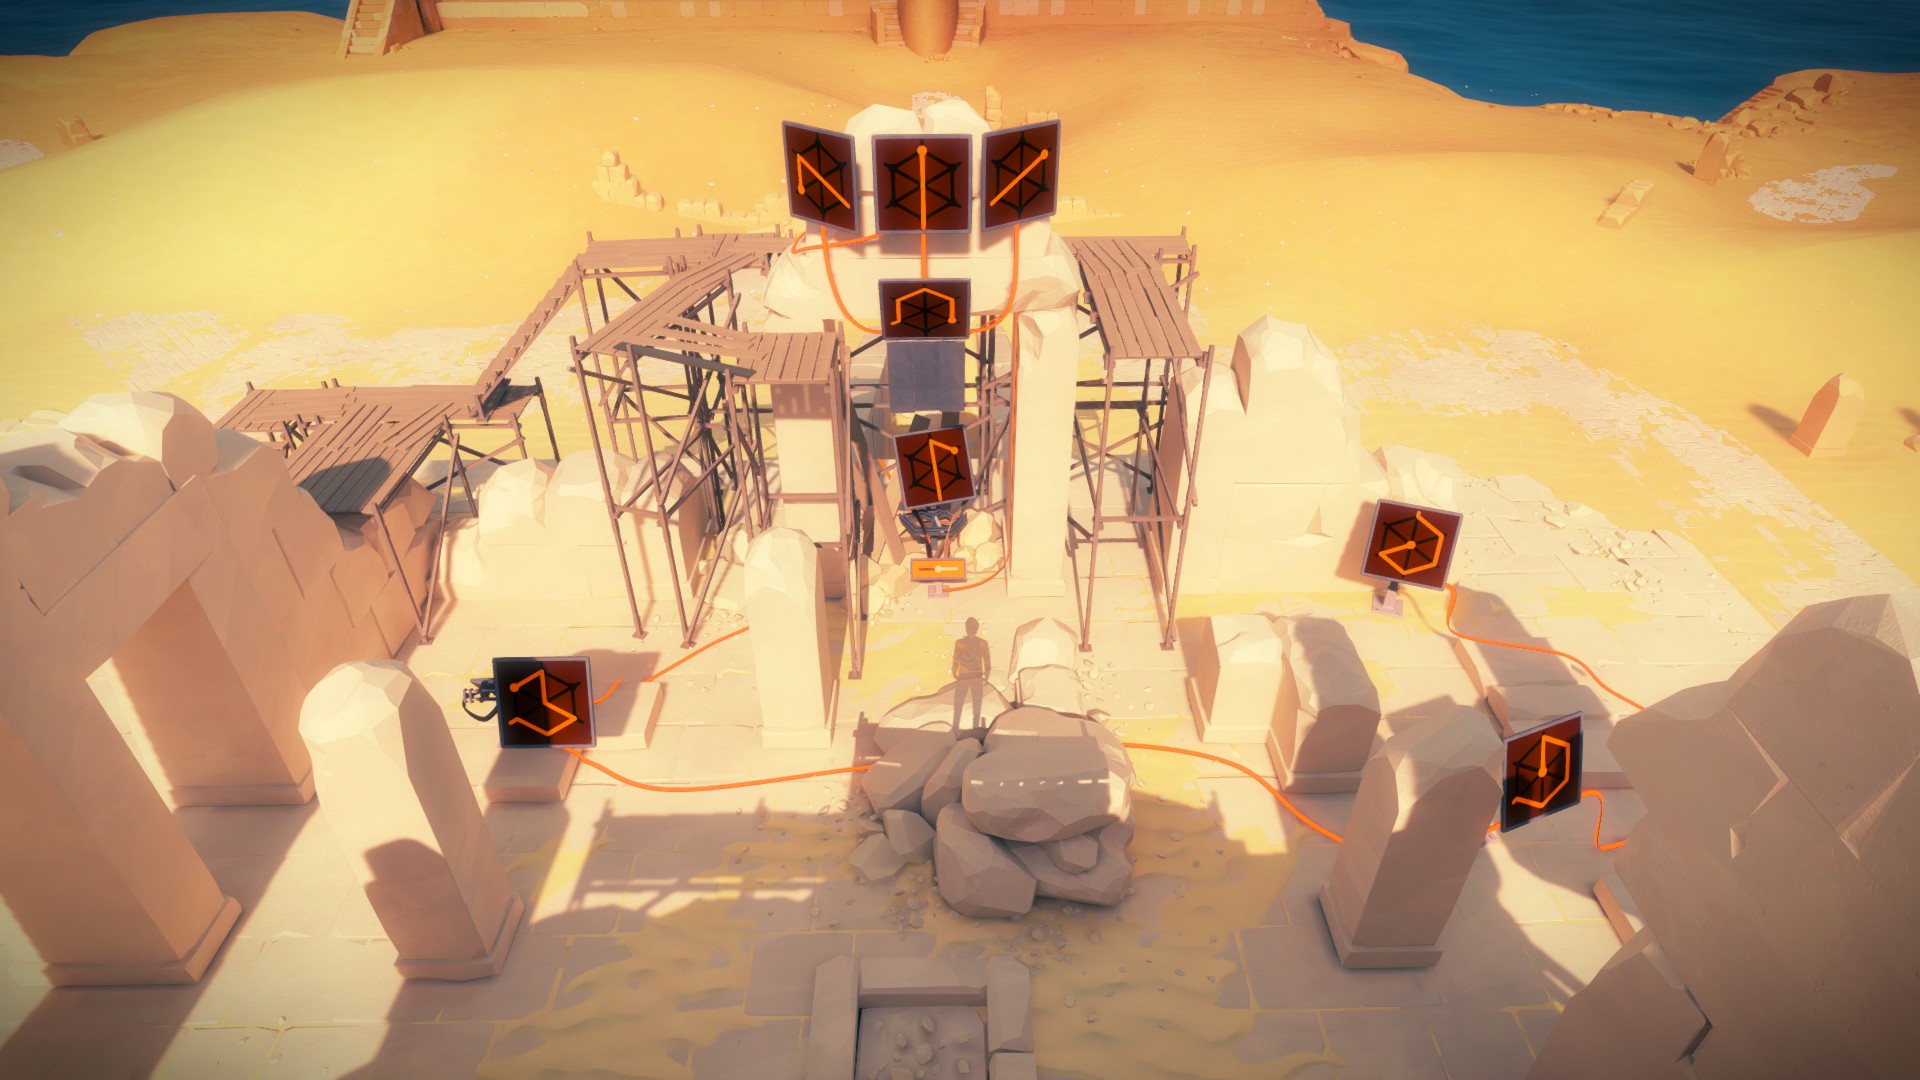


In the dark room you can use one of four places to raise and lower the water.


The wood blocks the path.

Finish the puzzle from the backside unobstructed.


Not Quite Finished
The laser has risen but isn’t pointing in the right direction. Follow the beam into town and adjust the panel to reflect the beam where it needs to go.


Courtesy of gugenheim tuning fork

Monastery
Area mechanic
Uses looking through objects in the environment to mask sections of the puzzle to reveal the correct path.


This small tree podium is the key to this building. By completing the puzzle making a U shape the third side left open and orange will cause the shutters on that side of the building to open. The direction you face while completing it is the side that opens. Opening the shutters on the left side enables you to get three hidden puzzles.

Open the right side to progress.


The solution for the third puzzle is blocked from the inside and needs to be inspected from outside.


This shortcut to the Monastery can be accessed from the other side from a path by the river.
This activated the interior puzzle.


The sticks form the path


The two views reveal each half of the solution.


The final piece was broken off and lies upon the floor.


Bamboo/Tropical Forest
Area mechanic
Sound is the key to this area. Bird chirps can be heard around each puzzle with varying pitch. The pitch of each note determines the path on the puzzle.


Greenhouse Color Rooms
Area mechanic
Separate each color into zones, but to see the true colors you may need to change the lighting or look at the puzzle through colored glass.


Elevator


Fall Forest
Area mechanic
Use the shadows of trees as hints towards the solutions. The path for each solution may be a path of shadows from branches, light from negative space in shadow, or a combination of the two.
There are three sections here with the first being a tutorial that opens two more sections. Each of these expands on different concepts and approaches which both need to be solved to open the final puzzle gate.
In the third area the paths for the solutions are partially shown with another section case in the shadows on nearby objects like trees and rocks.


For this puzzle the door you came through needs to be open so it isn’t blocking the light.


Here the path splits activating two sections.
Left area


Right Area


Once both gates are open the final puzzle can be solved by alternating between a light and shadow path for each respective half.

Industrial Quarry and Sawmill
Area mechanic
The white three pointed shape indicates that it will cancel out another symbol in the same zone.

Quarry


Opens shortcut from Fall Forest to Quarry

Sawmill


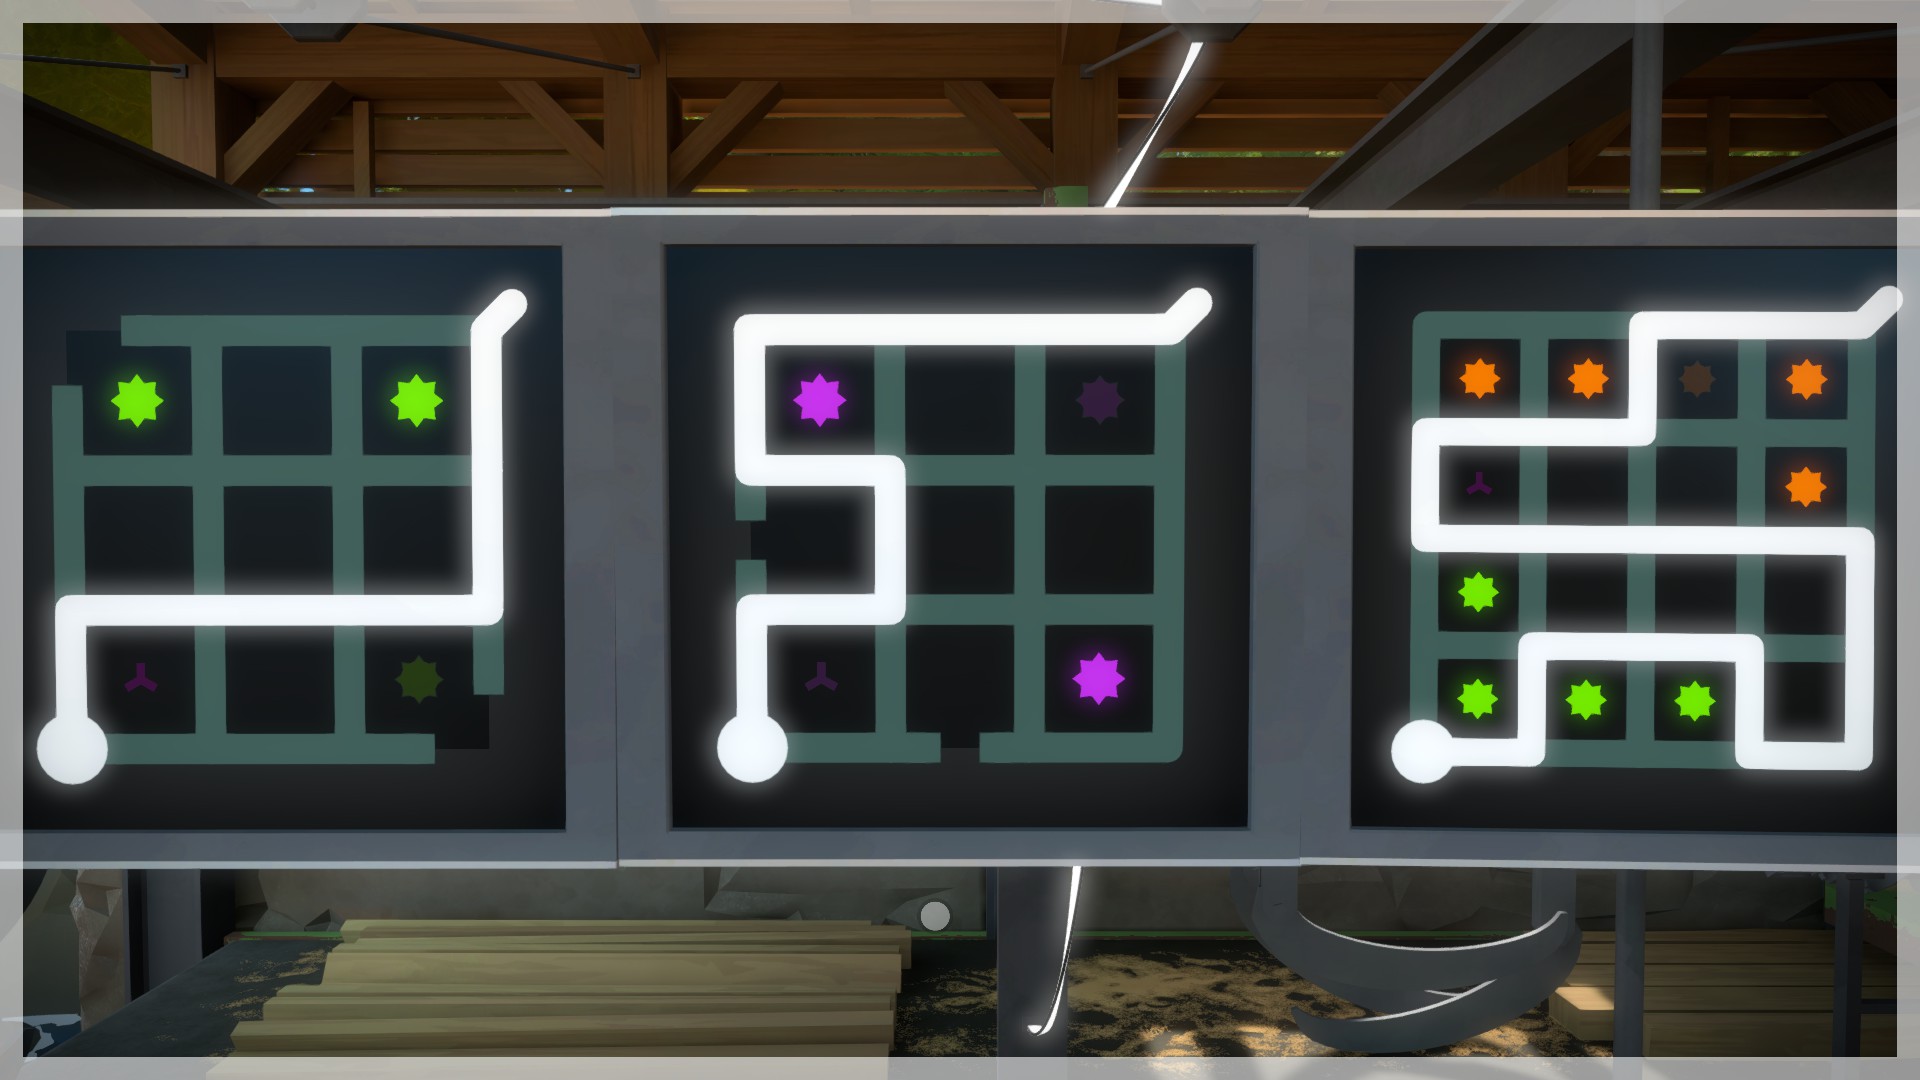
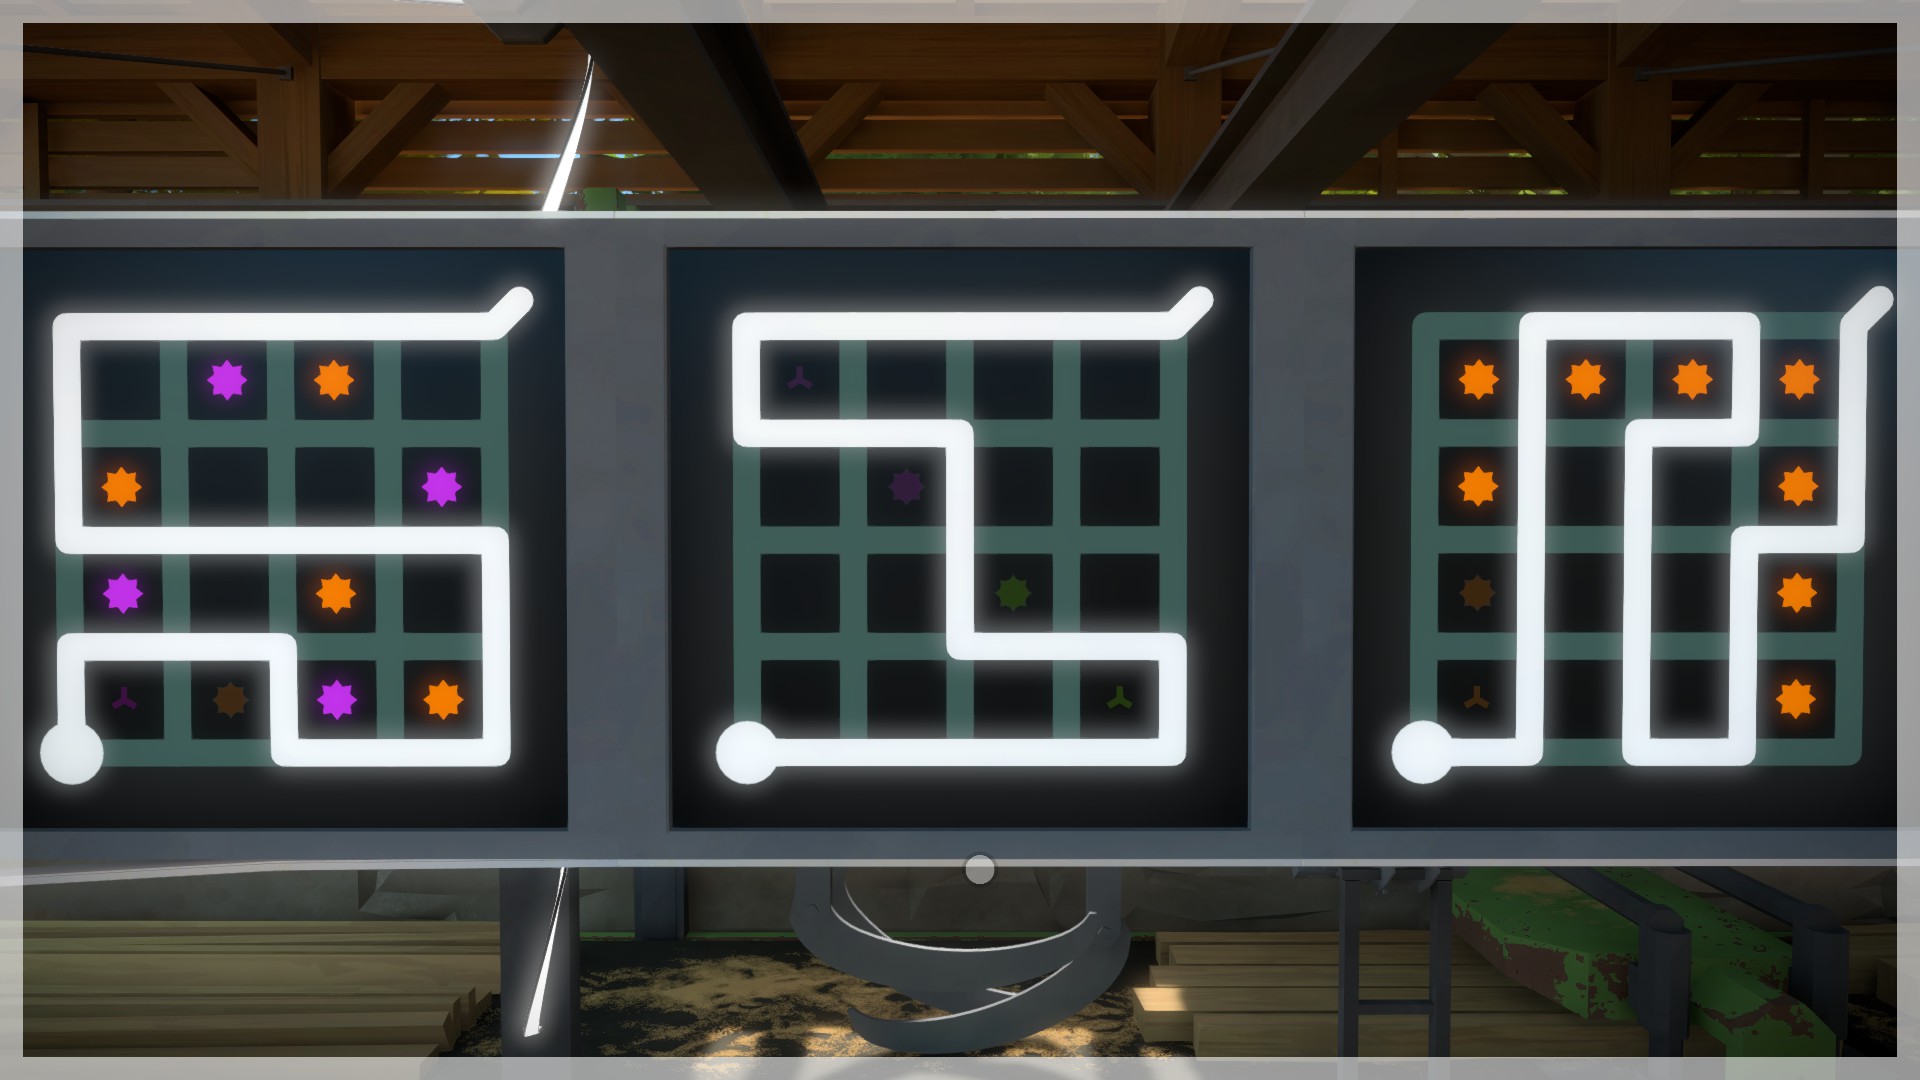


Final Puzzle

Castle Tower and Hedges
Area mechanic
The hedge mazes each have a different quirk to them for solving the puzzle at the end of each hedge maze.
The walkway platform grid section requires you to solve the puzzle at the podium by walking along the path on the ground to input the solution. If an incorrect solution or extra spaces are depressed the platforms can be reset with the L shape slider around the podium puzzle. These puzzles use mechanics learned in other areas so all sections may not be solvable upon the first visit.

Hedges

The solution is the path you walk for the maze.

The solution is the path not blocked by long grass.

The solution is the path that doesn’t change sound when walked upon.

The solution is a combination of the hedge maze and the puzzle. There is only one path that can be made between the two of them when overlaid.

Walkway platforms


To finish the path you will need to use the wooden section to cross between paths without activating incorrect ones.


Top of tower
Once a side has been completed the overall puzzle for that side unlocks and once complete either can trigger the area laser.

The hedge side is simply retracing the steps of all of the mazes at the same time.

The puzzle for this side is similar to the parts on the ground but not directly the same on the left half.
Submerged Swamps
Area mechanic
Tetromino type shapes will need to be made with the path with the yellow icon being somewhere inside the shape created.
- Multiple shapes can be combined in a single zone
- Multi shape zones don’t need the symbol to be contained inside the same shape as long as it is in the same zone overall
- Shape being tilted at an angle meaning the shape can be used at any rotation but not flipped
- Blue empty shapes reduce that number of yellow squares in the same zone
Multiple areas have puzzles that control the positions of the ground and the shape of the ground will reflect the shape of the current solution, often there can be multiple solutions that move the path around.


The bridge here moves depending on which solution you input.


Shortcut to boat dock.


Another bridge section that rotates and matched your input.


This bridge section can be set to a side or can have it all enabled at once to open a shortcut out the backside of the swamp up towards the mountain from the boat dock.
Submerged Rooms
From here you will solve puzzles to drain the next room you need access to.


The panel on the right controls the platform you initially entered the area on. Find a hidden puzzle using the porthole on the glass when the bridge is away from you to change the color to pink through the water.


Here you will need to stand on the platforms and lower them as you move about to get to the lower path moving forwards.


Shortcut path off to the side just before the laser after the final puzzle that leads into the mountain.
Treehouses
Area mechanic
The jagged edge colors need to be paired with another matching color and only in sets of two. Multiple colors can be in the same zone, just not more than or less than two of a color per zone.
This area can be reached using the boat to dock in the top right corner of the island. A shortcut out can be opened to exit the area at the end.


Yellow Path


Orange Path


Green Path


Treehouses Part 2
Pink Path


Pink Path 2


Orange Path 2


Adjusting Panels
To finish the area we will need to rearrange some paths so that we have time to reach the final switch before the timer runs out. To do this we will simply make a direct path there.


These two panels from Orange path 1&2 will need to be changed to these so that the paths meet.

You will then be able to activate this panel opening the final room and walk straight towards it as the timer doesn’t allow for any other longer paths. You should now be able to cross from Orange 1 to Orange 2.
Leaving the Treehouse
On Orange path 1 at the left turn change it to straight then the following section to right to get to the shortcut.
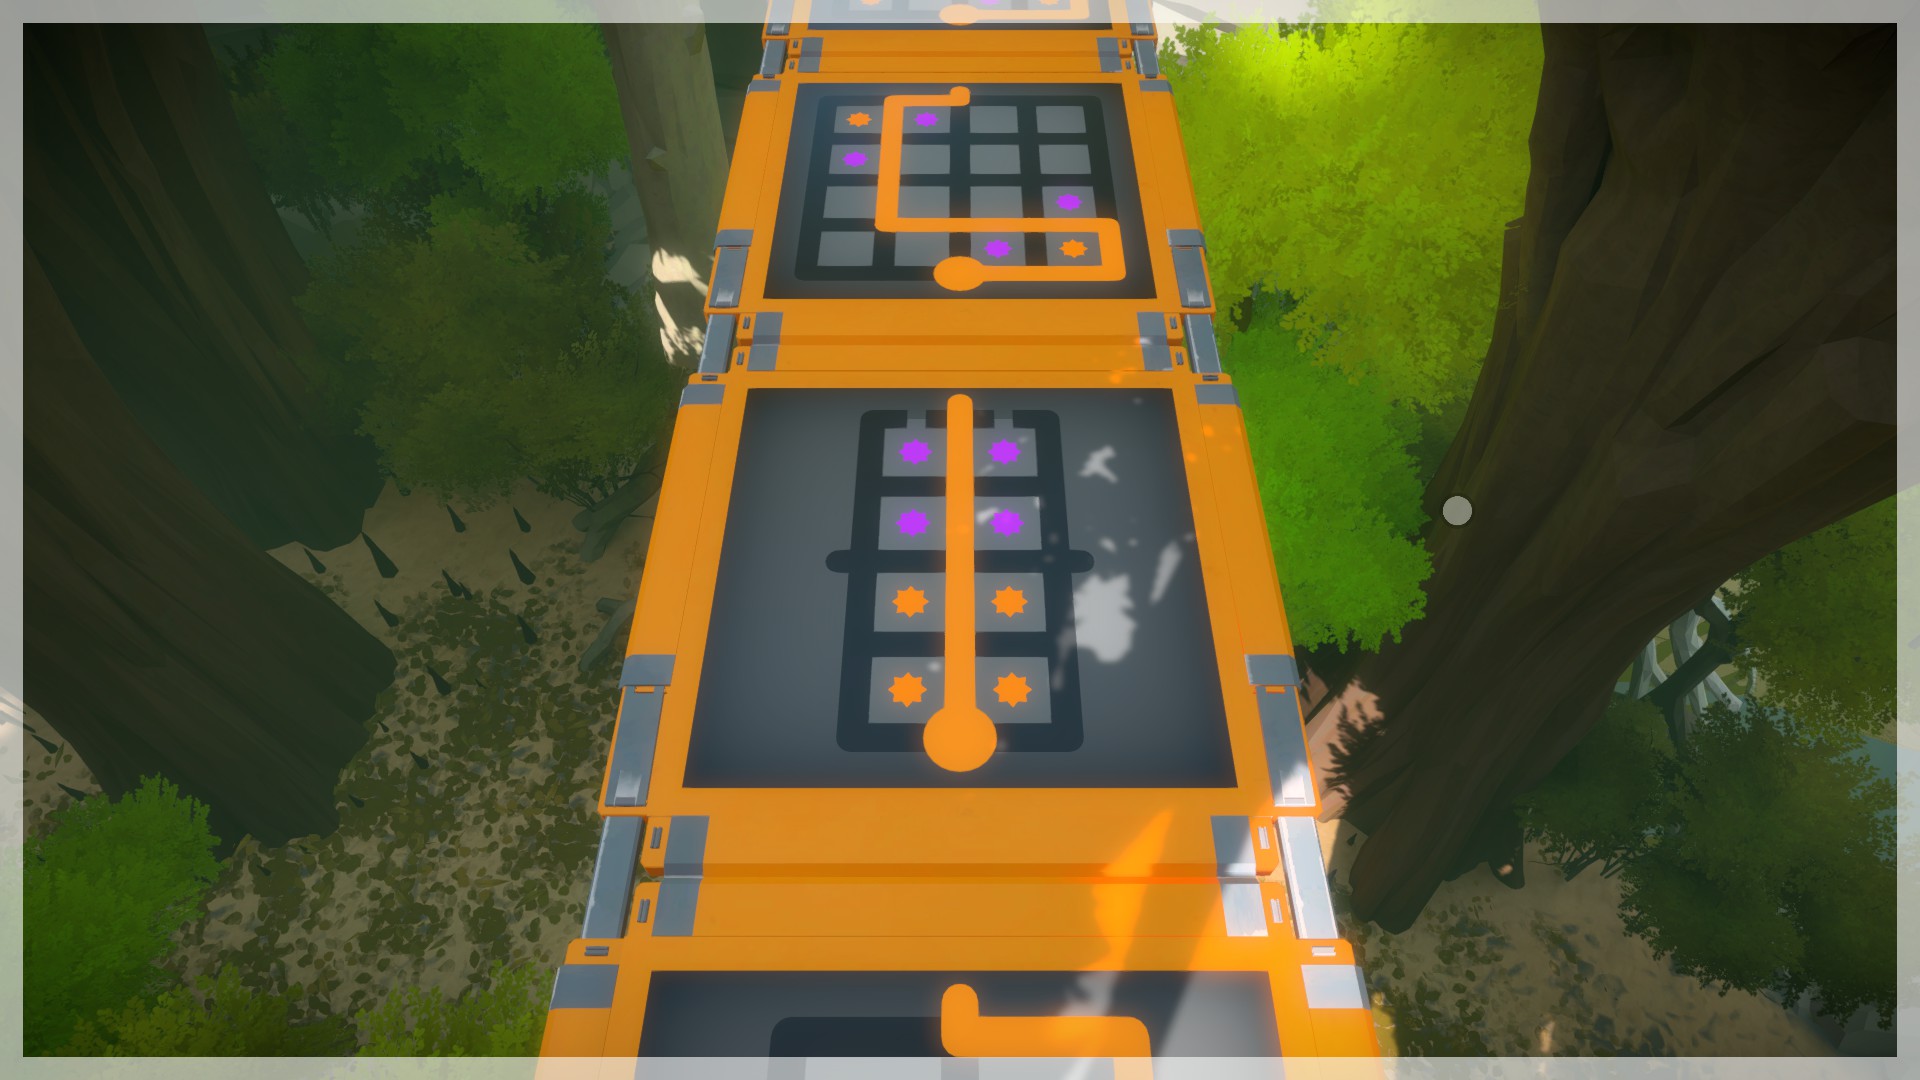


Town
Area mechanic
A culmination of mechanics learned all across the island. This will likely be one of the later areas finished.


The four directions of the puzzle correspond to each major branch of the tree and the location of the apple.
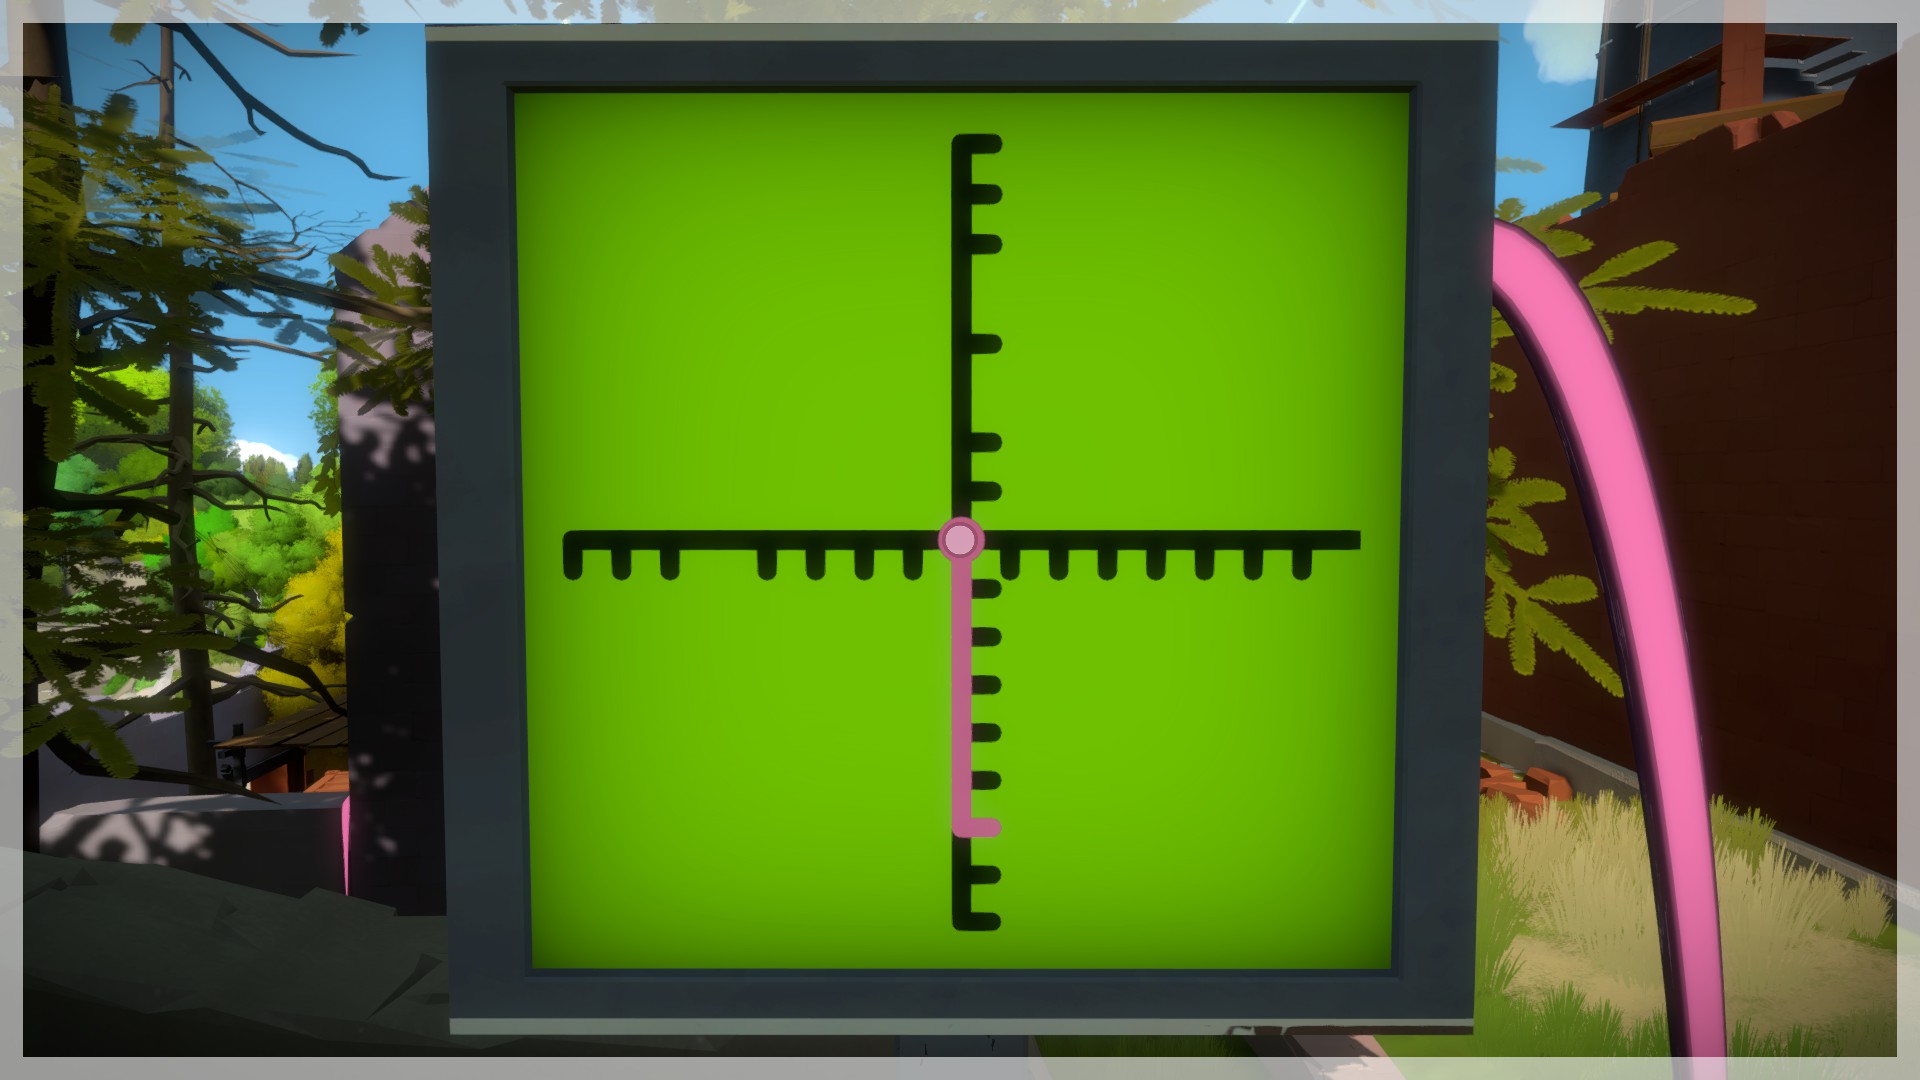


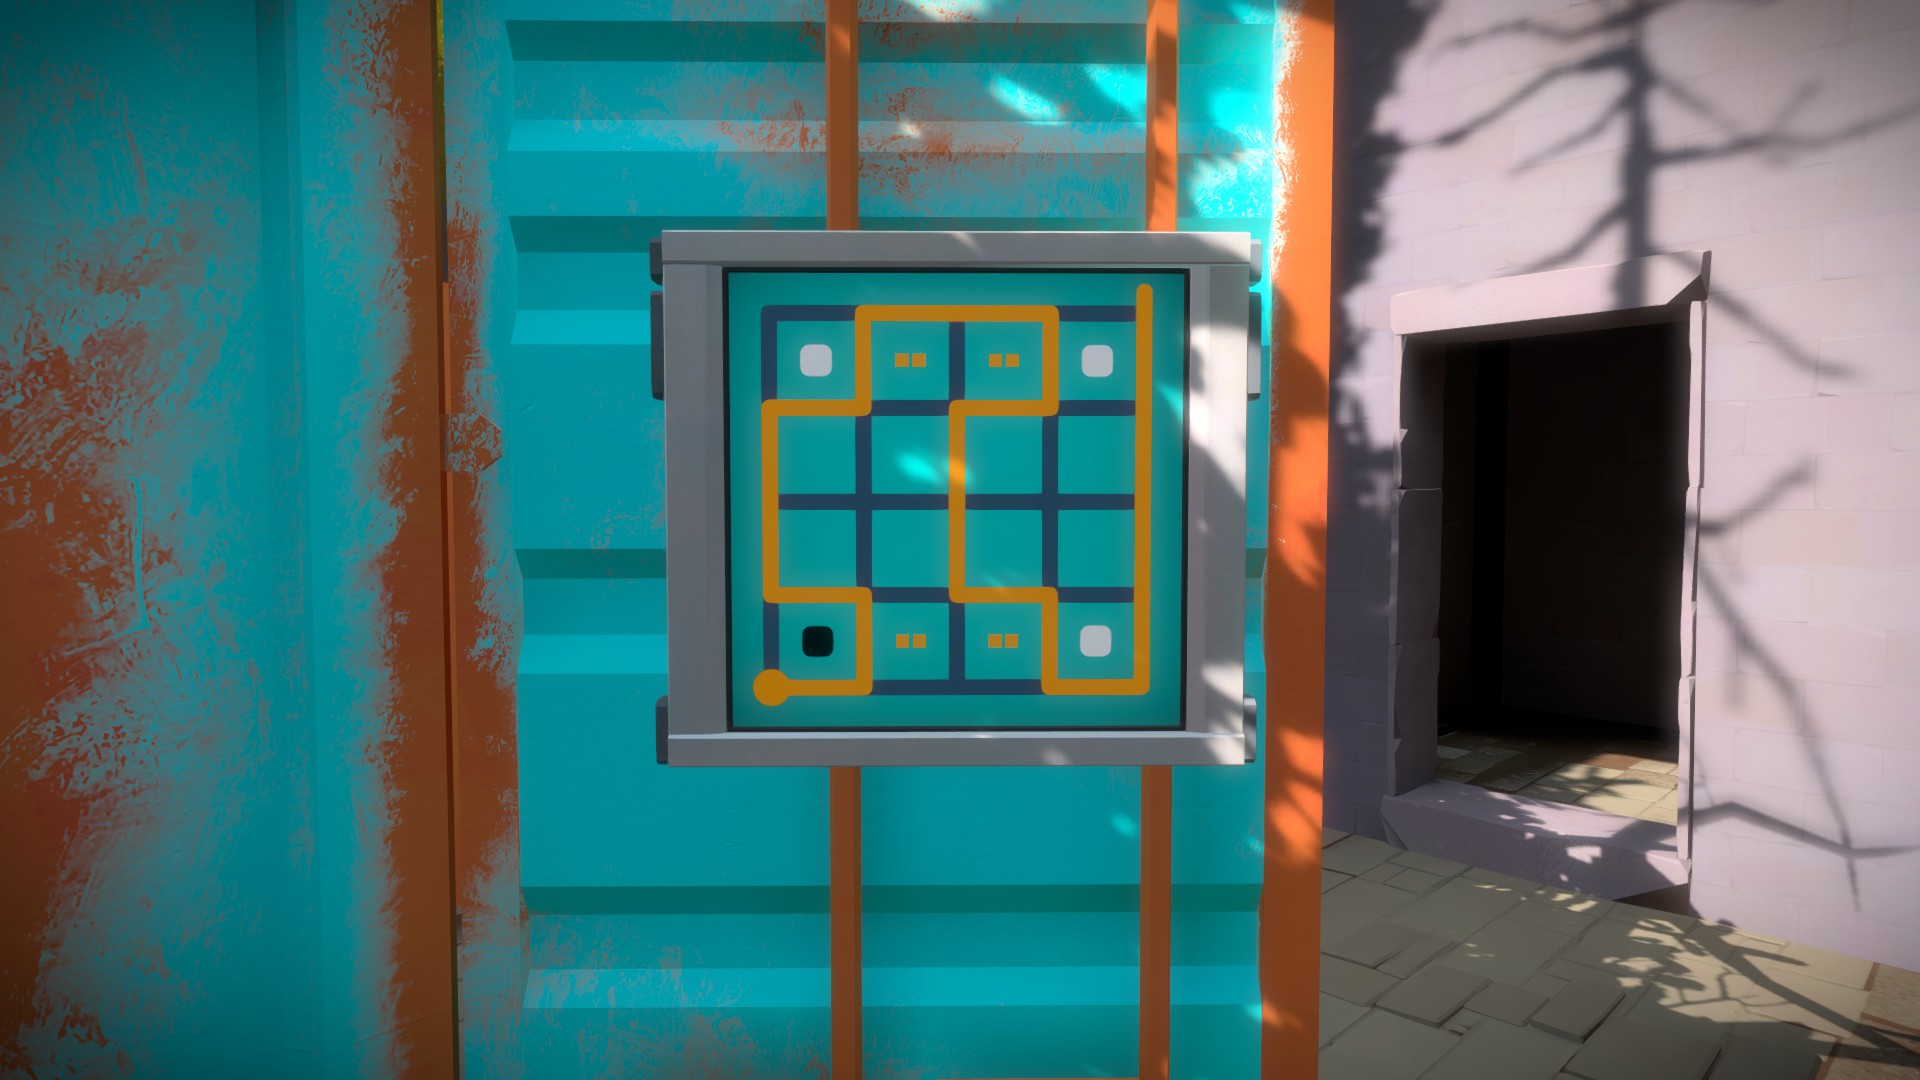


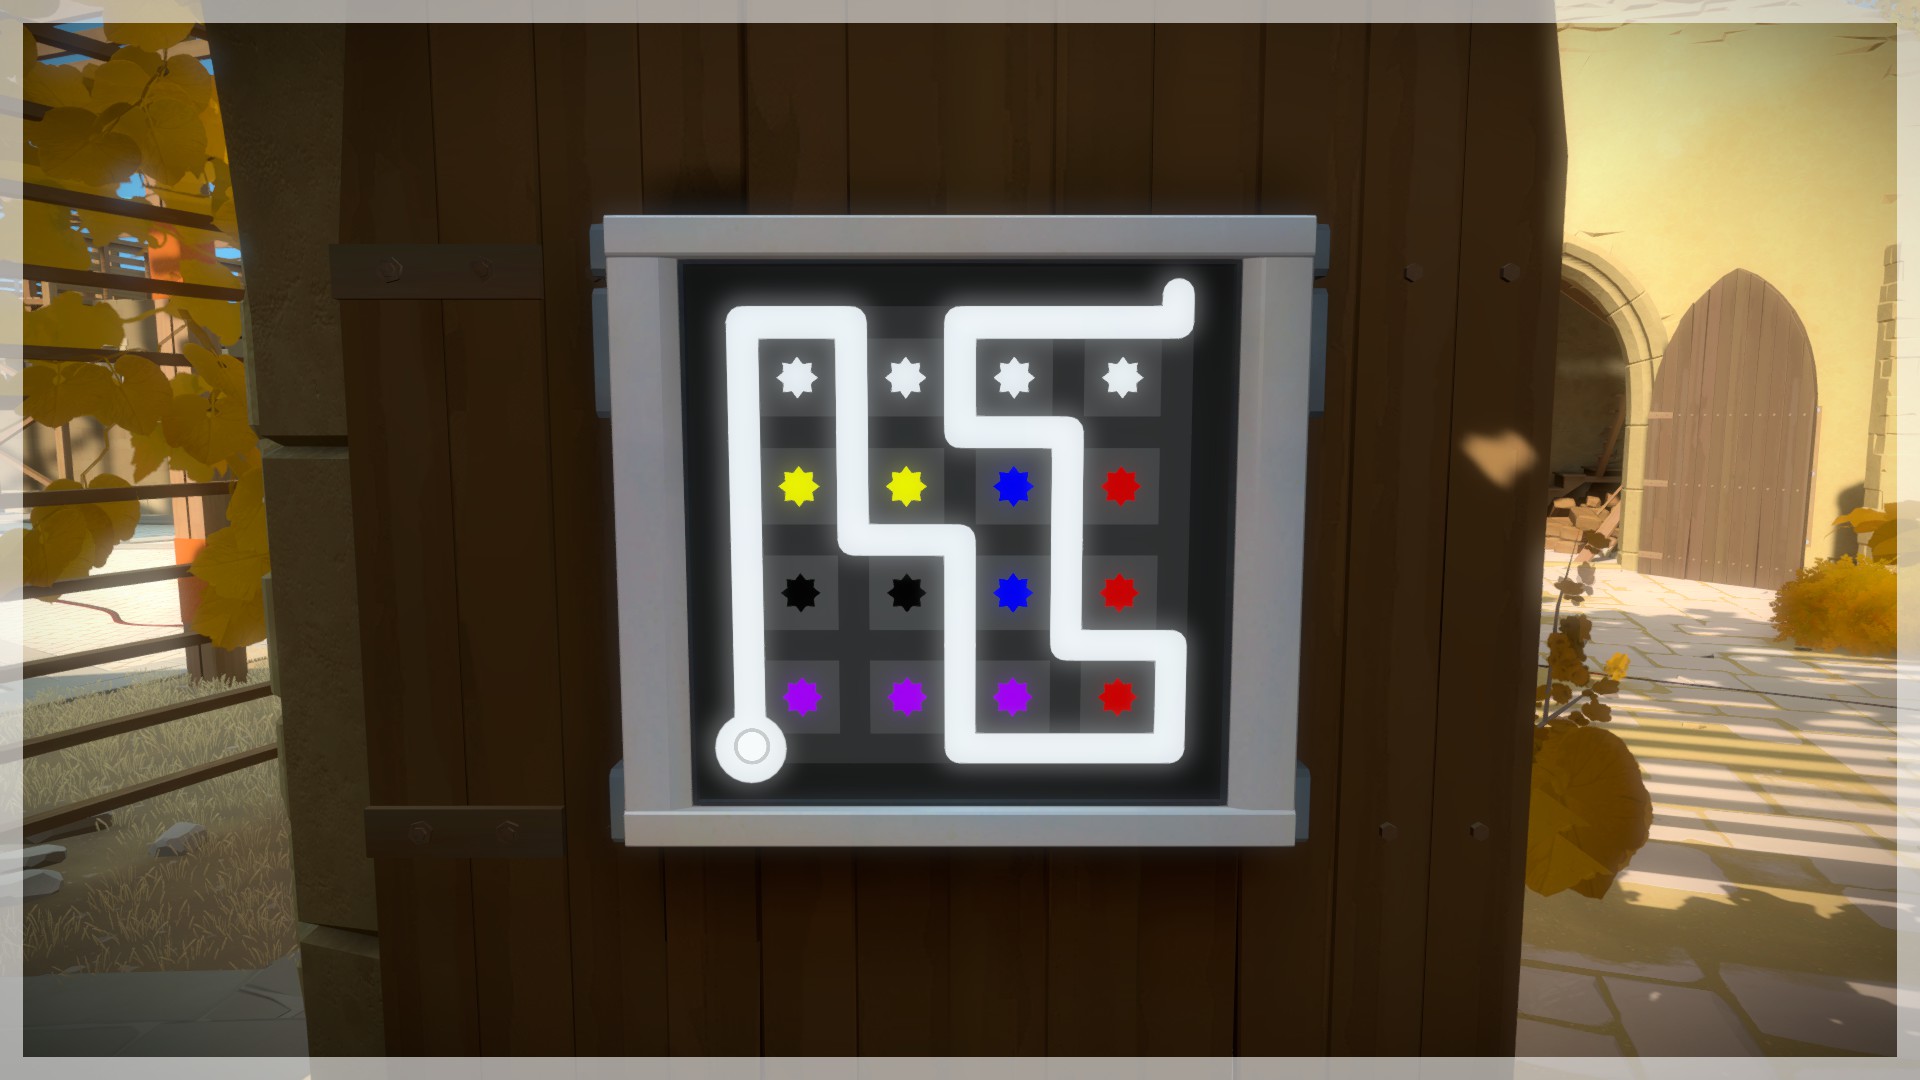


Courtesy of wizpig64


Overlayed images from the room with changing color.


Sunken Ship
This is a small area in the corner of the island and doesn’t have many puzzles but does have a few hidden puzzles. It can be accessed out the back of the Castle Tower area.
See the Misc Obelisk Puzzles section for more of what this area has to offer.


Underground Tunnels
Mountain
Finish all of the other areas to turn on the lasers and enable access to the mountain.


Opening the entrance


Courtesy of Ortsac


Inside the mountain
Various floor configurations that can be used.


Courtesy of wizpig64


Yellow puzzle panels
For these puzzles click and move your mouse where you normally would and not where you see it on the display. The image will be off but you still click as if it displayed properly.


Green puzzle panels


Blue puzzle panels inside room


Stand off to the side to be able to see the correct solution

Start at the top right
Rainbow puzzle panels


Grey puzzle panels
For these puzzles the path is drawn on all panels at the same time and all need to be solved at the same time with each new panel unlocked adding to the mix.


Mountain Part 2
Blue and Yellow combination bridges
To open the door you need both bridges to be drawn. You will need to cross back and forth continually adjusting each side little by little to transition the bulk of it to the yellow side while keeping the puzzle solvable as well. Keep an eye on both sides in the pictures and adjust the blue side first as needed in between then match the yellow to the next step as it will be the focus.


Elevator


Bottom floor puzzle room


Timed door
This door has a short window of time to solve the puzzles while standing in front of it. Once a side has been solved it is locked in. The big issue will be that the puzzles change each time it resets, luckily they aren’t too complicated you just need to be quick and focus on a side at a time.


Pillar puzzles
These puzzles are relatively simple once you are able to wrap your head around them.

Left side
1


2
Continue up the left edge wrapping back around


3


4
This puzzle is mirrored top and bottom so just follow the bottom path around


Right side
1


2
Just continue around the post

3
This puzzle will fold back over itself a few times in a stair step pattern


4
This puzzle has two paths that go around in tandem


Final Puzzle
Upon walking into the cage and activating it you will finish the game and earn the End Game achievement.


Obelisk Locations
These hidden puzzles are found all over the island as naturally occurring basic puzzles distinguished by a circle leading down a path to a round end. Often you will need to be standing in a specific location to line up the perspective to see the complete path. The Obelisks around the island help track and hint towards the nearby hidden puzzles.
Obelisk Locations

Between Desert Ruins and Beach Oasis

Between Castle Tower and Treehouses

Between Fall Forest and Industrial area
Hidden Puzzle Locations
Exact location information, especially initially, will be limited. If you are hunting hidden puzzles you should be reasonably familiar with the island and able to recognize the general area in each picture.


Along the waterline

The yellow cart side has a puzzle but you need to be quite far away


The Windmill has 3 hidden puzzles on it ending on each of the hidden blades. Use the two patches on the Windmill itself to transition the cursor between the moving blades.


For this one you will need to be able to move the elevator and ride it down while tracing the puzzle.


For this one you will need to close the shutters then quickly do the first half of the hidden puzzle and the second half after it closes.


Around Sunken Ship
This is a very long one that will stretch the next couple of screenshots. You need to be in the boat behind the Castle Tower and I recommend having the boat on one of the first two speeds. If you miss a transition you will need to start over.


The transition here goes by very quick so be ready for it.


From here on out it is smooth sailing till the end.


That wraps up one of the longest hidden puzzles.
Hidden Puzzle Locations Part 2


Ride the boat through the harbor


Look up from the floor below to see these.

Submitted Hidden Puzzle Locations
Courtesy of JorisCeoen


Continue riding the boat around the bend to finish this puzzle.
Courtesy of DoctorQuinn

You can see it while in the green room right before the top floor.
Courtesy of GoryMoon


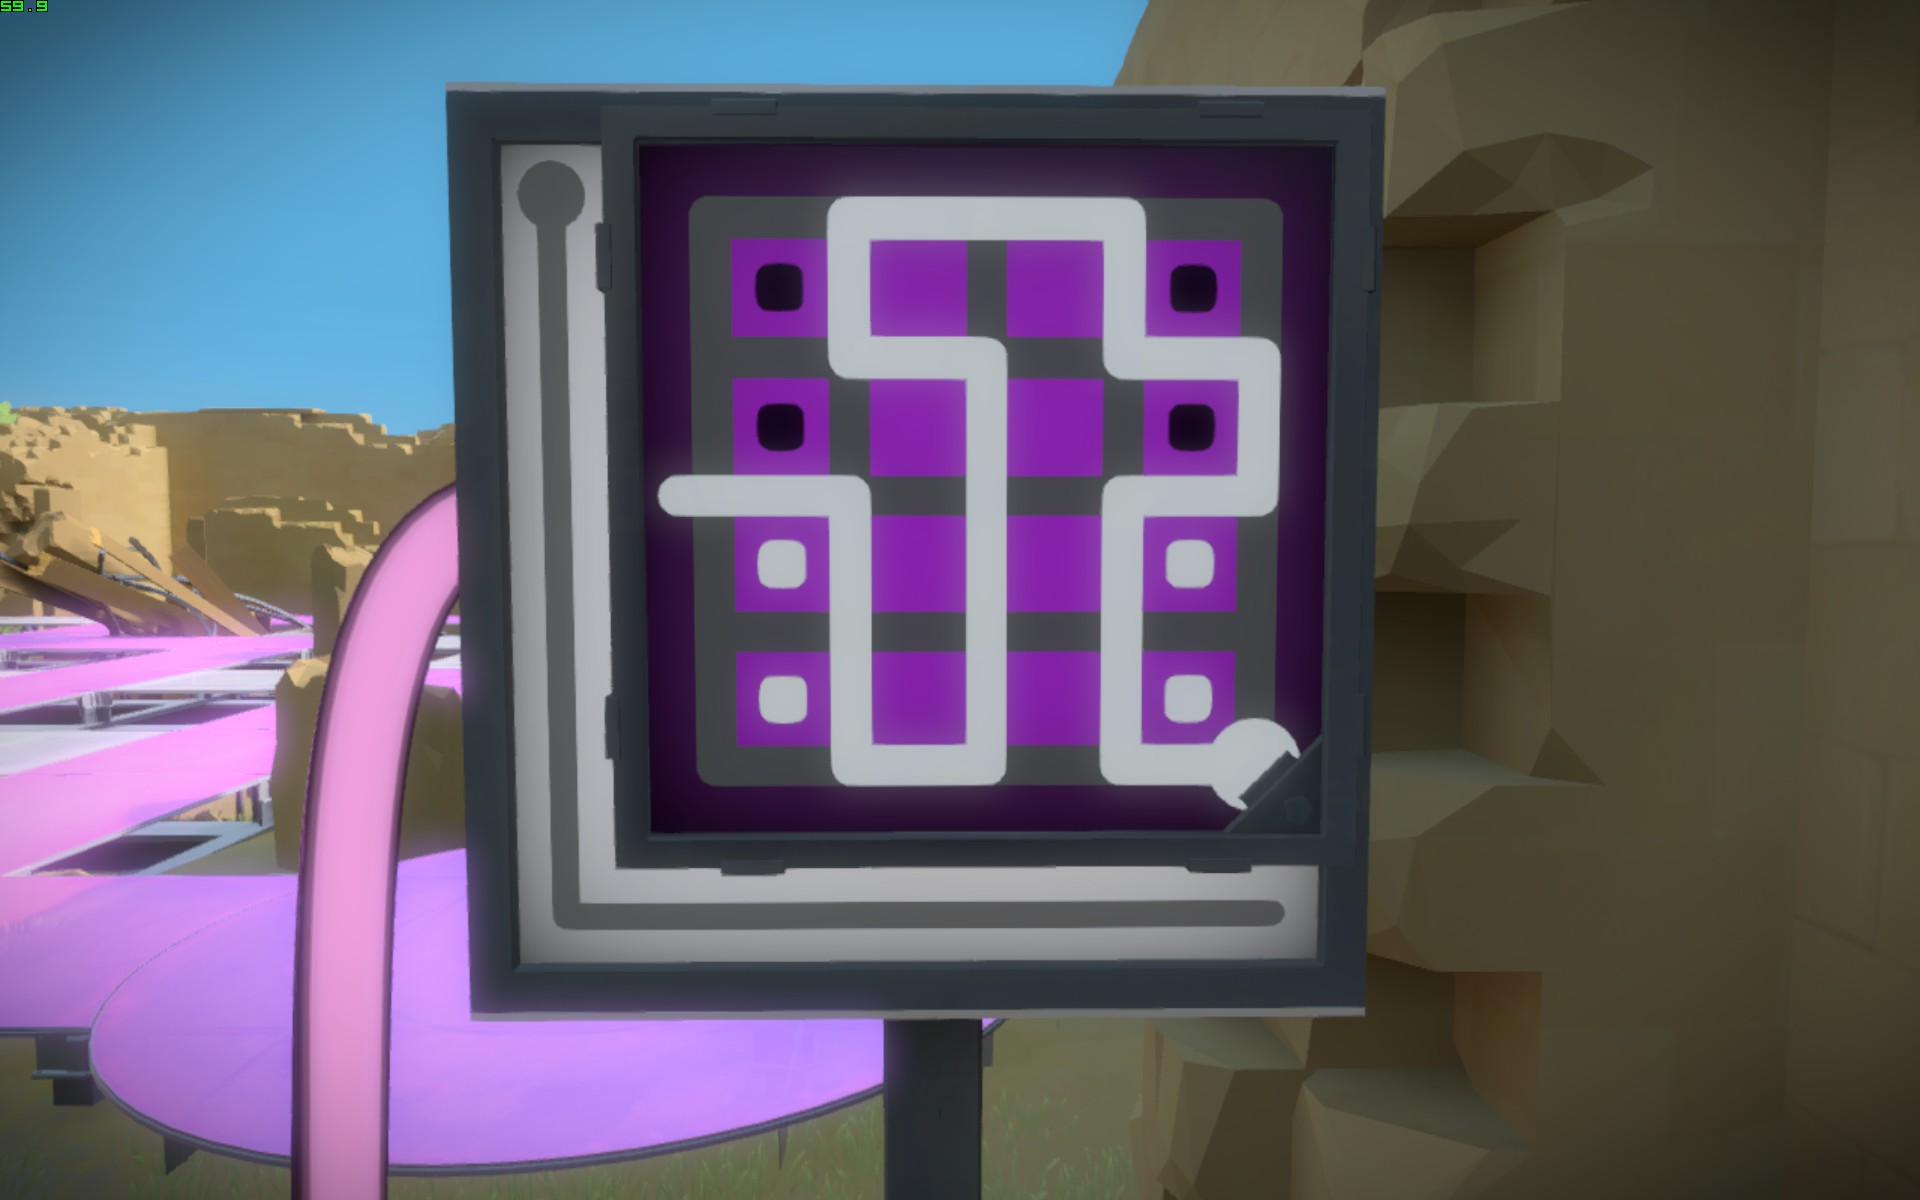
Need to walk around to get the other half because it’s blocked


Raise the right platform then transition across


Have the boat moving to finish


Setup puzzle at entrance

Courtesy of DIENER


This one needs to be done at the start of the game or can be gotten much later in the game after finding a paper with plans to reset the door and enable the puzzle again.
Courtesy of Yiasmat


Courtesy of Prefuse & the 7 🌠


Courtesy of WUB

Courtesy of Kas


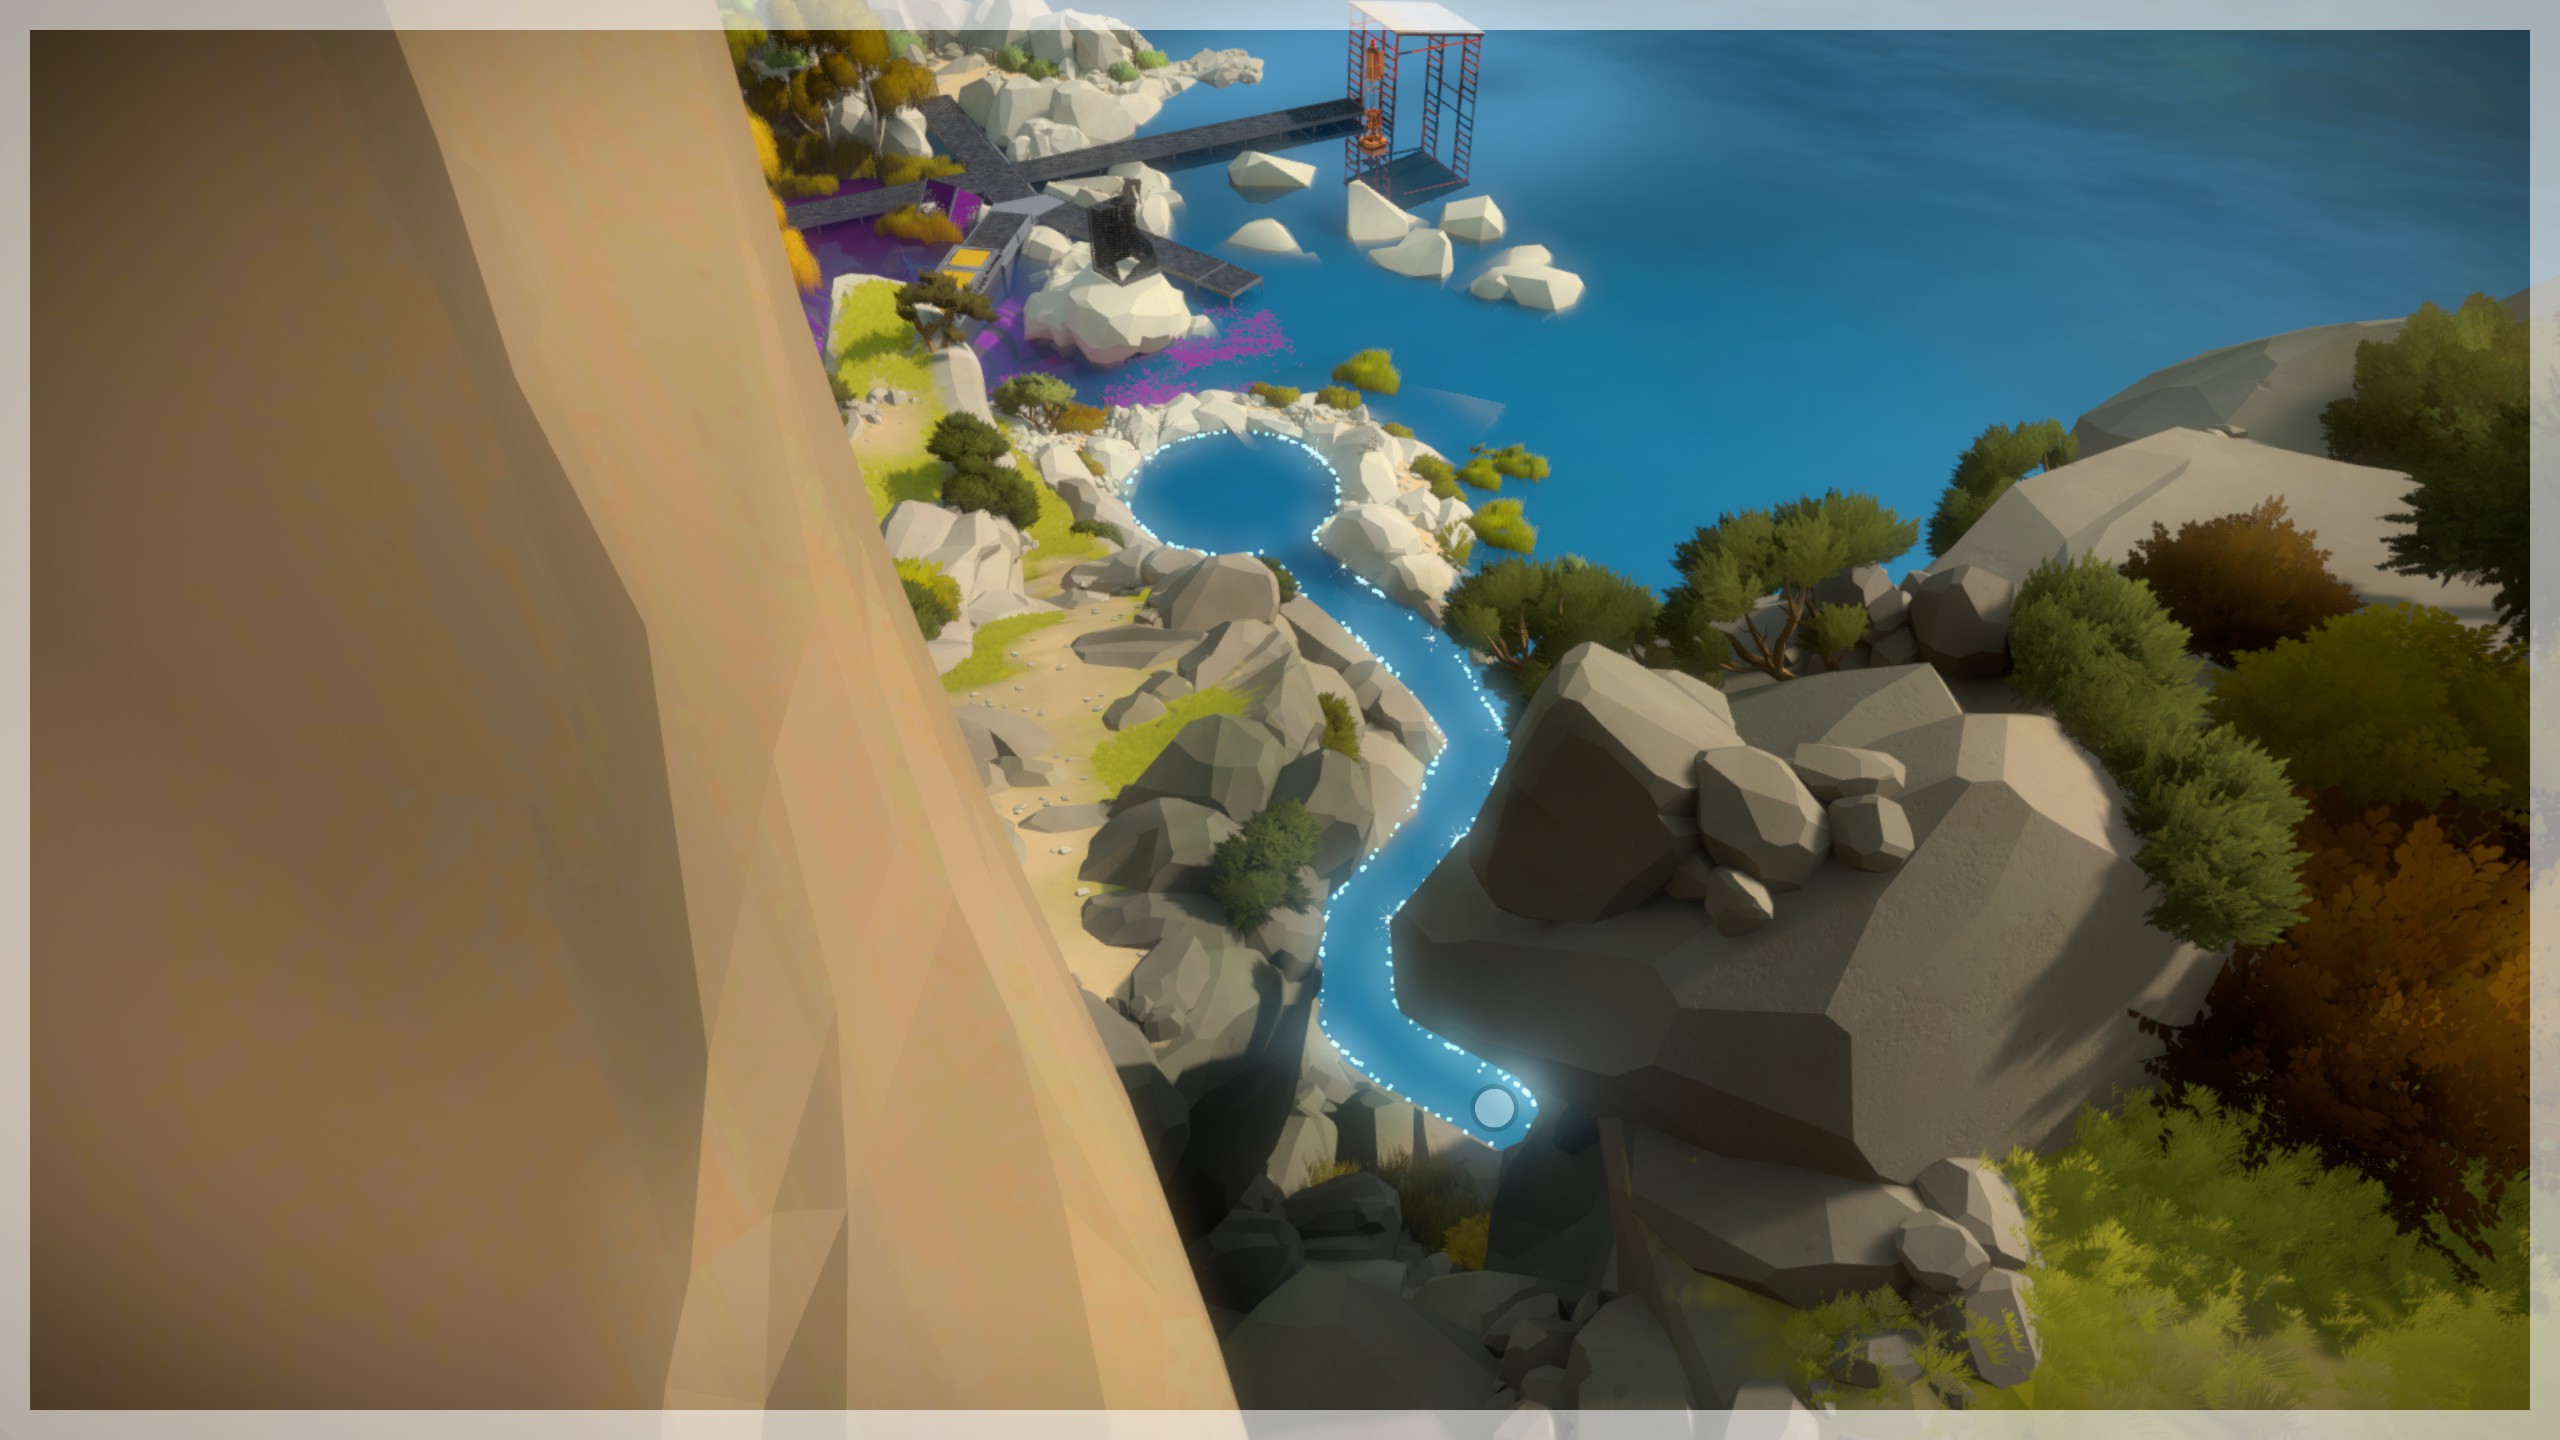

Stand here for the next one.


Audio Logs
Audio log devices can be found all over the item and merely need to be clicked while the cursor is purple to begin playing the quotes by famous historical figures.


Submitted Audio Log Locations
Courtesy of DoctorQuinn

Courtesy of GoryMoon


