Need a guide to help you get all the achievements in one go? Our guide will show you all the information and achievements you need. Check out our The Sinking City Achievements guide without wasting your time!
The Sinking City Achievements Guide
Welcome to our The Sinking City Achievements Guide. Need a guide to help you get all the achievements in one go? Our guide will show you all the information and achievements you need.
Tips
Tips #0 : If you like walking. Hit CAPS LOCK on your keyboard.
Tips #1 :There is two types of cases : Main cases & Side cases.
At the start of each main case, i suggest to save the game and make a backup of the save somewhere on your pc. Because, if you are too far in the case, you can go back if you missed something.
The save are located in the link below :
C:UsersUSER_NAMEAppDataLocalTSCGameSavedSaveGames

Tips #2 : Some achievement are line related. So, pay attention on what you pick as a dialogue line. Dialogue in this game are no reversible. You can’t go back, if you miss, you will need to load a previous save to do it again.
 Tips #3 : When you visit a location for a case, you have evidence to collect, some of them are hidden behind illusion. (Some walls seem real but are not, …) So, it’s difficult to know if you find everything. Gladly, the game offer you an icon on the map allowing you to know if you have complete a location at 100%. There is a magnify glass icon on the location on the map. If the icon is green, it mean than you found everything. If you want everything at 100%, NEVER leave a place without having a green icon. You never go back to an already visited location during a case.
Tips #4 : If you didn’t figure out yet, there is a feature called the mindplace in the menu of the game. It’s the place where you link evidences from the main case together to make facts (They can be true or false, doesn’t matter. You need to do it to advance in a case sometimes, it become more and more true when you go deeper in the game). Sometimes, the mindplace offer you to make a choice, changing the fate of a case.
N.B : The mindplace doesn’t exist for side cases.
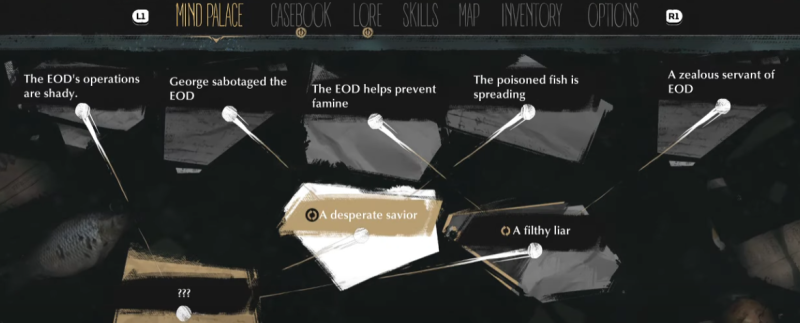
Tips #5 : When a case is finish, always go back to your room in the hotel. There is sometimes a cut scene and/or a piece of newspaper stick to a board. Allowing you to know what happened from your choice. Sometimes, Charles Reed write something in his journal, also. When there is different location with npcs still alive, i also suggest to go check on them before/after the end of the case.
Open-world Achievements

All evidence collected : Harvest every evidences in every cases of the game. (including side cases).  Everytime you leave a location, be sure to have a green magnifying glass icon on the map.
Missable

The Pleasure of Finding Things Out : Use the archive at least one time during a case. It can be everywhere, at the police department, the city hall, the Hospital, the Oakmont chronicle, …
———————
The Oakmont Chronicle

Extra! Extra! The first time you go to the local newspaper office named the Oakmont Chronicle. To access the archive for a side case or the main case. When you enter in the building, there is a black lady behind a counter. She ask for an interview. You must accept the interview.
N.B : Normally, you get that during “Lost in the sea” case, but it is possible than you get it earlier if you enter the building earlier or if you are doing a side case or something.

Main Case : 1 – Frosty Welcome
Case 1 – Frosty Welcome
- Part 2 : Finding Albert Throgmorton

Tempting Fate : In the starting area, there is a bar named “Under the Keel”. You are suppose to go there to do your investigation about Albert Throgmorton. In this bar, there is a fortune teller at a table. She will propose you to read your future. You must accept to get this achievement.
Missable
N.B : You need to give her a bullet ! So be sure to have a spare one in your inventory.

Case 1 – Frosty Welcome
- Part 4 : Conclusion

Hook, Line, and Sinker : You need to solve/finish the first case about Albert Throgmorton in Grimhaven bay.

N.B : Tips for beginner. To know if you have find all the evidence in a location (house, bar, …), you need to open your map and look at the magnifying glass icon. If it’s green, then, you have find everything and you can go to another location. If it’s another color (yellow or gray), it mean than you still have evidence to find.
Main Case : 2 – Lost At Sea
Case 2 – Lost At Sea
- Part 2 : Expedition Headquarters

Extra! Extra! When you leave the Expedition Headquarters, you need to go to the Oakmont Chronicle to access the archive. When you enter in the building, there is a black lady behind a counter. She ask for an interview. You must accept the interview.
Missable

N.B : I believe it’s possible to get the event early if you go at the Oakmont Chronicle for another reason (like doing a side case or exploring), so pay attention on this one.
Case 2 – Lost At Sea
- Part 4 : Hospital of St. Mary

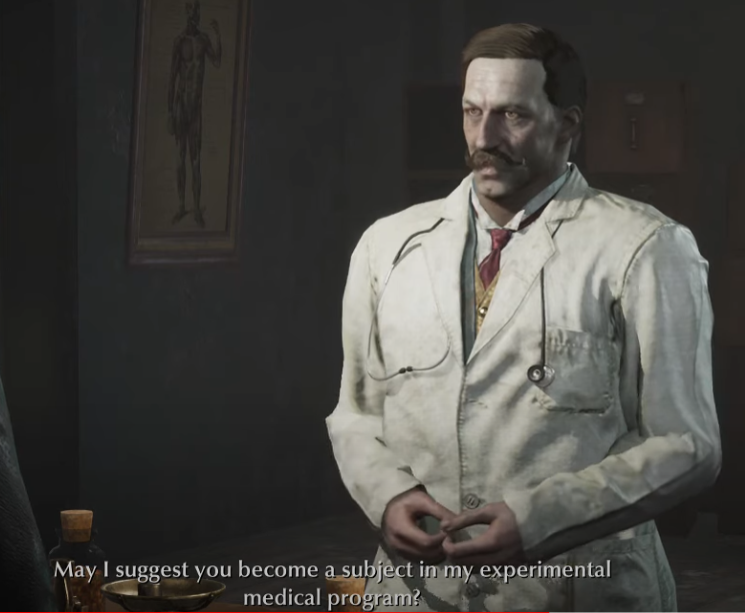
First, Do No Harm After leaving the port to look for Sanders who is badly wounded, your path go to the Hospital St. Mary. Talk to the doctor behind the counter. During the conversation, he will try to do a diagnostic of your condition. Then, he propose you to become a test subject. You must agreed to his offer and take the medicine.
Missable:
N.B : “May i suggest you become a subject in my experimental medical program ?”
N.B2 : If you go at the hospital early, during a side case or while exploring, it is maybe possible to have this dialogue outside the story. So, pay attention at what you choose.There is no further tries on this one.
Case 2 – Lost At Sea
- Part 5 : Diving

Deep Breath At the end of the case, you are suppose to go on boat to an island named Devil’s Teeth. To continue the game, you need to wear a diving suit to go into the deep of the ocean. Doing this grant you the achievement.

Main case : 3 – Quid Pro Quo
Make a backup of your save before the next one. The achievement force you to make a choice who could be in contradiction with your way to play the karma of the main character.
Case 3 – Quid Pro Quo
- Part 2 : The Fish Storage

Brutal Honesty : When you leave the fish market, Anna ask you to investigate the fish storage. At the fish storage, there is a innsmouther who guard the place. When you have finish with the investigation of the fish storage, you have the choice to betraying him and/or being honest with Anna. When you come back for your report to Anna, you must be honest about the fact than the Innsmouther wasn’t doing his job during the incident. So, betray the Innsmouther.
Daryl, the Innsmouther guard : “Please don’t tell Anna it was my fault, or she’ll have me quartered!”
You, Charles Reed : “I won’t tell her”/”I will tell her”
… [A few moments later back at the fish market] …
Anna : “One thing still bothers me. The guard at the storage, Daryl, what was he doing at the time ?”
You, Charles Reed : “He missed the intrusion.”
Missable


Daryl & Anna
Case 3 – Quid Pro Quo
- Part 3 : The University

Reanimator : Your investigation guide you to the university. At the location, you meet Samuel behind the counter of the Department of Medicine. He ask you to clean the lab. When the lab is cleared, you will find a button against a wall, in the next room, at the right side of the entrance blocked by a crate.
Just push the button.
N.B : I suggest to take all the evidence in the lab before pushing the button. I don’t know if the dead monster count as evidence or not.
Missable


Case 3 – Quid Pro Quo
- Part 4 : Cavendish’s flat/Fish Storage – Choice 2 – Poisoning the fresh haul

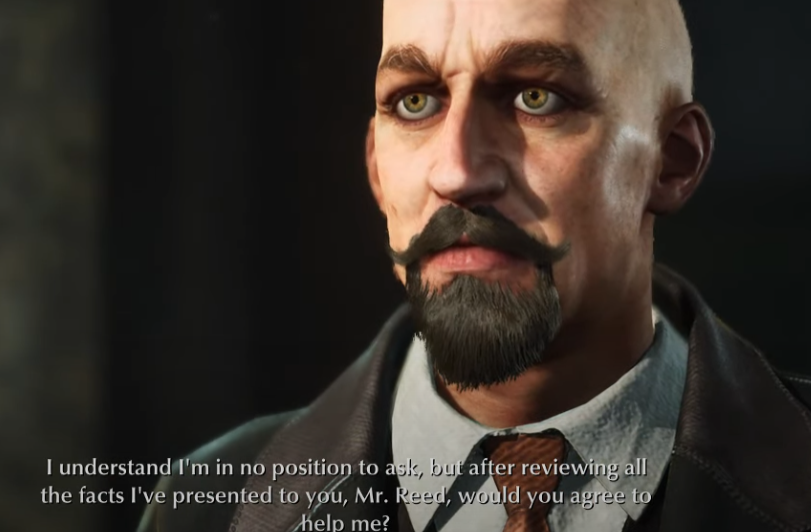
Compliments to the Chef : Cavendish was the suspect trying to poison the fish in the fish storage. You meet him at his flat. He ask you to help him finishing the job and poison the fish.
– Pause –
Tips for new players : If you didn’t figure out yet, there is a feature called the mindplace in the menu of the game. It’s the place where you link evidences from the main case together to make facts (They can be true or false, doesn’t matter. You need to do it to advance in a case sometimes, it become more and more true when you go deeper in the game). Sometimes, the mindplace offer you to make a choice, changing the fate of a case.
– End of Pause –
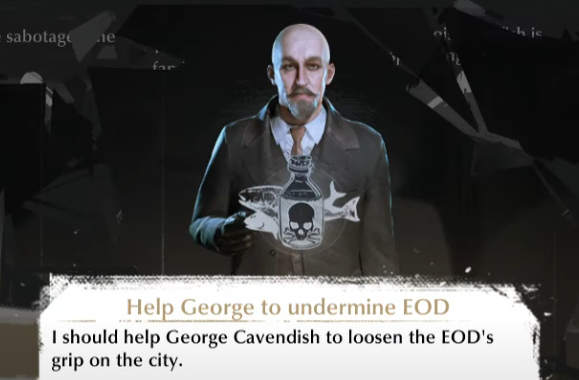
In the mindplace, you have two choice possible here : Choice 1 – Killing Cavendish OR Choice 2 – Help George to Undermine the EOD. You need to choose the choice 2.
When it is done, finish the case by following Cavendish tasks. Poison the fresh haul of fish in the fish storage and the achievement should unlock at the end of the case.
Missable
Main Case : 4 – Fathers and Sons
Case 3 – Fathers and Sons
- Part 6 : Redemption Church

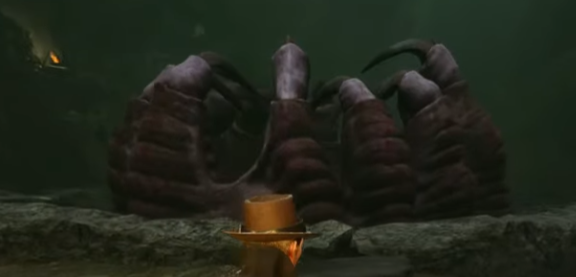
Use Protection : During your visit to the Redemption Church in Salvation Harbor, the game lead you to a temple/cave underwater where you need to dive. In the middle of this cave, there is monster/boss to beat : the Fecund Mother. When the boss is destroy, the achievement should pop up.
N.B : Apparently, it is possible to miss this fight. I don’t know how. So, pay attention and do save backup on this one. It is maybe buggy.
Make a backup of your save before the next two. You can’t do both, you need to do one, then reload an oldest save to do the other one. Those achievements also force you to make a choice who could be in contradiction with your way to play the karma of the main character.
Case 3 – Fathers and Sons
- Part 6 : Conclusion/Carpenter’s Manor/Carpenter’s Hideout
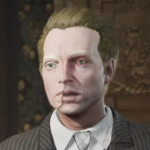
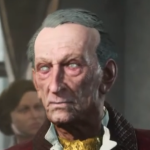
Near the end of the case, you need to complete the mindplace and choose a side between Graham and his father, Brutus.

Sic Semper Tyrannis For unlocking this achievement, you need to choose to help Graham.
So, go back to the Carpenter’s Manor and talk to Graham. After a long dialogue, he admit to have tried to clone his father to usurp his power. He can’t do it without you so he ask you to kill his father.
Agreed to it and go back into the hideout of his father, Brutus Carpenter. After a short dialogue with him. Choose the answer : “Graham should take over. Time to end this!”.
Be ready for a fight. You can raid the place without doing the dialogue for safety. But it’s more funny to see his surprise in his eyes before killing him.

Et Tu, Brutus? For unlocking this achievement, you need to choose to help Brutus, the father.
Whatever you do, at the end. Go back to the hideout of Brutus Carpenter and talk to him, like previously. Same as above, but instead, choose the answer : “It was Graham”.
N.B : I don’t know what happen if you try to kill Graham before or after this. There is maybe more than two ending on this matter.
N.B2 : There is a cut scene in the hotel for each choice. So, make a detour to your room before reloading a save file.
Missable
Graham & Brutus
Main Case : 5 – Nosedive
WIP…