In this classic adventure, you take on the role of young Scotland Yard Detective Brent Halligan, who is tasked with solving the puzzle surrounding a mysterious Druid cult and a series of gruesome murders. Check out our The Mystery of the Druids Walkthrough guide for every bit of information to guide you through this adventure.
The Mystery of the Druids Walkthrough Guide
Welcome to our The Mystery of the Druids Walkthrough Guide. Another Mystery of the Druid’s guide. There will be a quick guide and a spoiler-free “hint” guide at the end.
The Mystery of the Druids Controls
The mouse cursor has 4 different modes. Normal, Special, Directional and Magnifier.
Left Mouse Button:
- 1 click – Normal. This moves the character.
- 2 clicks – Special. This picks up objects, and opens doors/items.
- If you hover over certain spots, the directional and magnifier cursors can appear, which you can also left click. Note: This game is a pixel hunt. Ensure you check every spot on your screen, as this game can be very unclear if there’s zoom in spot or a new location at the edge of the screen.
Right Mouse Button:
- Special arrow alternate control. This also picks up objects, and opens doors/items.
- Cancels using an item when holding it.
Esc button brings up the menu, or skips dialogue.
Part 1
- Exhaust dialogue with Chief Miller – get case file.
- In your office, examine drawers near your coat stand. (There are four separate draws) – Get green scarf, plastic evidence bags, the bottle of apple juice and the gloves.
- On map, go to Epping Forest. Exhaust dialogue with policeman. On the far right, a texture is interact-able on the forest screen. In the bone screen, use evidence bags on pile of bones – pixel hunt: it’s a very specific bone at the bottom. Get bone in bag. Use evidence bags on burnt grass also on screen – get grass in bag.
- At Scotland Yard lab, show bone and grass to Chris. Exhaust dialogue with Chris – unlocks anthropology museum.
- At anthropology museum, left of sidewalk, exhaust dialogue with old man. Get homeless man’s flask (click the bottle outside of dialogue, but still crouched next to him).
- At Scotland Yard lab, get fingerprint powder from right-shelf screen. On left-shelf screen, use green scarf on middle shelf jars. Talk to Chris and accept alcohol. When awake, go to left-screen shelves again, and use fingerprint powder on middle shelf jars. Get the bottle with fingerprints on it. Pour ethanol into flask, then pour apple juice into flask. Put jar back on shelf.
- At museum, give old man flask, get coins from his hat. On right of museum, enter phone box. It must be done in a certain order: Pick up phone handle -> Click phone directory at bottom and find number -> put money in slot at top left of box.
- At Scotland Yard lab, exhaust dialogue with Chris.
- At museum, ring Melanie again using the same method above. Then go to museum entrance.
- As Melanie, pixel hunt: On the right of the screen, use bone on the bone shaver to get slither of bone. Use slither of bone on microscope, click until focused + dialogue happens. Then go to table of weapons, and use big bone piece on the sickle (pixel hunt is iffy, keep clicking until it pops). Examine the magazines on the weapon table. Then talk to Brent Halligan again.
- As Brent, go to Arthur Blake’s house. Talk to Arthur Blake.
- Go to Portsmouth, and go to the other country on the ferry to the new map. Speak to the fisherman, then the captain, then the fisherman. Exhaust the dialogue until a cat appears in the zone. Get Brent Halligan’s model to stand near the barrel in the bottom right of the screen, closest to the camera. When the cat comes out and walks between the lamppost and the crate, use green scarf on cat. (This may take a few tries with timing/jank). Get cat in scarf.
- On fisherman screen, use cat in scarf on bait tin. When fisherman leaves, get fishing pole and bucket. Combine fishing pole and bucket in inventory. Click the bottom of the boat, and use fishing rod with bucket on the salt-encrusted boat to get salt.
- Go to castle by clicking the far right of the screen. At zoomed-out castle screen, click far left, next to the ruined tower (the directional arrow will appear). At the next window, click left on the forest where the cursor changes. You’ll see an iron gate.
- At iron gate, use case file, gaining access to graveyard. In graveyard, examine a grave (there are three that work, find one of them – recommended going left immediately after you enter the graveyard before you even go down the steps, there’s one there).
- Use salt lumps on indent on gravestone. Use evidence bone on salt. Now click it again and get ground salt.
- Move to the back of the graveyard and click near the tree until the directional arrow appears, until you see a small mausoleum/castle. Pixel hunt: use salt on mausoleum. The “spot” to click is slightly to the left of the entrance. Open box, get amulet.
- Go back to ferry and leave. On ferry, Pixel Hunt: click the underside of the vent in top right, on the unclear grate. Open the grate, then use amulet on grate.
- Go to Arthur Blake’s house.
Part 2
For people using this walkthrough out of order, this part starts immediately after you have told Arthur Blake you lost the amulet after it was stolen on the Ferry. You may want to glance over part 1 and make sure you have the underlined items from that part.
- In Scotland Yard Chief Miller’s office, click and get the box of matches on his desk if you haven’t already.,
- In Scotland Yard server room, exhaust dialogue with Janet and get a database procurement form. Click the counter/desk at the far back of the room. Click and get the sheet of carbon paper, a clipboard, and a stationary procurement form. Combine the clipboard with the carbon paper and both procurement forms in your inventory.
- In your office, click your desk with your phone. Pixel hunt: This is another fiddly one like the phonebox, and needs to be done in a certain order. Change the answering machine to the 5th message beginning with “Miller here” -> press the speaker button on the phone (next to F5) -> Dial 196 -> Press the top button on the voicemail machine to play the 5th voicemail when Lowry picks up.
- In Scotland Yard Lowry’s office, it should now be empty. Get scissors from stationary pot on desk and combine them with the form in your inventory.
- When Lowry is out of the Chief’s office, bring the form to Chief Miller to get signed. Then bring the signed form back to Janet. When she prints off the form, click the printer on the left of the screen in the server room, and get the sheet.
- In Scotland Yard’s lobby, photocopy the sheet you just got, get photocopy.
- At anthropology museum, post the photocopied sheet through the letter box at the front of the museum. This unlocked Lord Sinclair’s mansion on the map menu.
It is strongly recommended that you save here.
- At Lord Sinclair’s mansion, click and go left. Use box of matches on freshy cut grass pile next to the wheelbarrow. When the gardener is gone, get sheers from wheelbarrow. Now go right of the mansion. Pixel Hunt: There’s a tiny pixel in the bottom right of the hedge that will show a magnifying glass option. On the hedge screen, use the sheers on the branches, and fence, until the sheers break. Then use the scissors until they break. Then push the fence open using gloves. Then combine the green scarf and evidence bag, and put that padding at the bottom of the hole. Crawl through.
- In the locked room, click the large painting on the wall over the bed, and get painting. Use the painting on the nail still in the wall to get nail. Combine nail on painting in your inventory, to get frame and painting.
- Click at the bottom of the door, where light is coming through. Use nail on the crack of the tile in the very bottom left corner. Put the painting in the gap where the tiles were. Click back to the room. Pixel Hunt: There’s a point half-way down the door, on the left hand side of it – it’s a keyhole. Use the nail on the keyhole.
- Go back down to the bottom of the door. Pull the painting back under it. Pixel Hunt: the key is on his face, on his eye. Get the key, and unlock the door.
It is strongly recommended that you save here.
- As Melanie, go through the hole in the fence as well. Melanie will automatically get stones. Throw the stones at the bush on the left. When the patrolling guard on the right runs past and shows his back, run to the second bush on the right, and then the open window. (This is timed. You have to do it before he comes back. Do not run straight to the window, or you’ll be caught. Some people say you can’t run, or you’ll be caught, but I never had issues with running. But it is worth keeping in mind if you struggle.)
- In the study, click the pentagram painting. Move the bead and outstretched man to 6’o’clock, you’ll hear a click. Then click the gold-framed painting next to the pentagram, and click the painting to reveal a safe. The safe is like a clock face, so the combination is 10, 1, 6 – you have to input each number with a button click, not just turn to it. When that opens, get amulet and parchment.
- As Brent, go to Arthur Blake’s house. After that, go to Library of Oxford. Inside the library at the camera angle that shows the librarian and three doorways, pick the door on the right, then click the stack of books on the right-side of the table/desk in there, to get book.Then go back out to the main hall, and go to the room on the left. Exhaust dialogue with the old man in the room, then use book on the professor’s coat.
- Now go back to Lord Sinclair’s estate, and go back to the hole in the hedge screen. At the bottom right, there is a small piece of wire. Click it and get wire.
- At Library, use wire on the gap at the top of the window of the car parked outside. Go back to the computer the professor was using, and use it. Then go to the main room behind the librarian’s desk and click the shelves on the right, closest to the door. On bookshelf C, click the middle section of the third row down to get book.
If you attempt to take the book out, there is a sometimes game-breaking crash. It’s recommended you save your game when you find the right book, and don’t try to check it out at all.
- Instead, go back into the room on the right, and use the book on the stack of books on the table. Then check out the hidden book with the fake cover..
- Go to Arthur Blake’s house, and give him the book.
- At Twelve Bridges, click the “Caution Danger” notice board and get the two planks. Then continue forward, clicking the stone bridge path on the left until you reach a broken part. Use boards on the gap on the right, and then click the board. Then use the second board in front of you, and step onto that plank. Then pick the plank behind you, and step on that piece, etc etc until you reach the other side.
- Put amulet of transformation in the bucket, use board to keep door propped, then take back amulet. Unscrew the screw out of left side of the bucket to get hook and screw.
- Go inside, and once inside, click on the board near the door to close the door, and reveal the hourglass.Click the middle of the hourglass,and use the scissors to unscrew the screw and then put the hook into the slot on the side.
Part 3
For people using this walkthrough out of order, this part starts immediately after you have travelled back in time and woken up as Melanie. You may want to glance over part 1 and 2 and make sure you have the underlined items from those parts.
- Leave through the doorway, and exhaust the dialogue with the soldiers sat at the table (flirt with them until he lets you see his equipment). Pixel Hunt: Click the tiny bag that you can see hanging off the back of the soldier’s chair and get some money.
- Pixel Hunt: back in the kitchen, click the item on the barrel at the far left, closest to the doorway to get the Medieval book of recipes. Examine/Read it in your inventory. Click the shelves nearest the table, in the little nook next to the fireplace. On the shelf, click all the jars to get some herbs from each of them, and a small gold dish in the bottom right corner of the shelves. On the table, click and get the dark brown bowl, too.
- Use the darker bowl on the fireplace to get water in bowl, then go over the the scales on the barrel in the bottom left. Put the small gold dish on the scales. Use money on the bowl on the right, and use herbs on the left. You need two ounces of the herbs that smell like cinammon, two ounces of the “dried leaves” that Melanie isn’t sure about, and one ounce of aniseed. Combine them in your inventory in the water bowl. It’s correct when she says “the water in the bowl is absolutely clear”.
It is a good idea to save here, as the game can crash when you give the men the potion.
- In the other room, give them the potion, then go back to the kitchen. Then come back out to see them asleep. Click on John, the quieter soldier, and get the key, then click the doorway the soldiers wouldn’t let you go through, and then down the stairs. Interact with the door and talk to halligan. Use the key on the lock to his cell.
- Now click to the right of the screen, revealing more of the room. Click the boxes to reveal a passage. Go through the passages and just keep going any way.
For the upcoming section, I won’t be telling you directions. Just explore on your own (the hallways are daunting at first, but it’s literally just a square-loop), and avoid touching the abacus structure behind the throne in the throne room.
- As Brent, look out both windows. Then, exhaust dialogue with monk. Then leave your room, and visit Brother Maglor in his room.
- In the kitchen area, go to the table on the far left and get the roots. At the counter on the right hand side of the room, take the small black bucket.
- Visit Serstan’s office and get kicked out. Keep bothering Serstan until he lets you stay and watch.
- Visit Melanie in the library and exhaust the dialogue with her.
- Visit the blacksmiths outside (to the right) and exhaust the dialogue with him.
- In the candle room, Pixel Hunt: click the self on the right until you acquire some candles.
- Outside on the right, follow the path past the blacksmiths and Pixel Hunt: get the piece of wood from the chopping block.
- Outside on the left near the crops, there’s a grate. Put the roots on top of it. Continue down this path to the very back showing a large stone cistern. On the left of the cistern, on the pipe, Pixel Hunt: click until you see and use a lever, turning the water on.
- Get worms from the drowned crop field. Then go back to the blacksmiths – Exhaust dialogue. Leave blacksmiths, and click the right-hand side of the roof. Use worms on the roof away from the nest, so the bird has to leave the nest, then click and remove the nest.
- Inside, in the room with the lit fireplace (with no people in it), use the iron bucket on the fire, then put the candles in the bucket, to get a melted wax circle.
- Then go back to Serstan’s office. Pixel Hunt: There is a hole in the bricks on the right hand side, underneath the painting. Use the small piece of wood in the hole.
- Go talk to Brother Malgor. Ask him to get you undisturbed access to Serstan’s office. Then go back to Serstan’s office. There is now a brick in the hole. Take it out to get brick and small trinket box. Place the box on the small table next to the hole, and take the key out of it. Combine the key with the wax lump in your inventory to get an indent, and put the key back – and then put the box and the brick back.
- Go back to the blacksmith and talk to the blacksmith. Then give him the impression of a key.
- Go to the throne room and either talk to Melanie in the library, or look at the beads (without touching them). Then go back and visit the blacksmith who has the key ready now.
- Go to the creepy, dimply lit inner sanctum looking room, and Pixel Hunt: use the key on the door on the two locks to the right and left, and then remove the wood to allow access.
It is recommended you save here, because if you get the order muddled up, you can load fresh here.
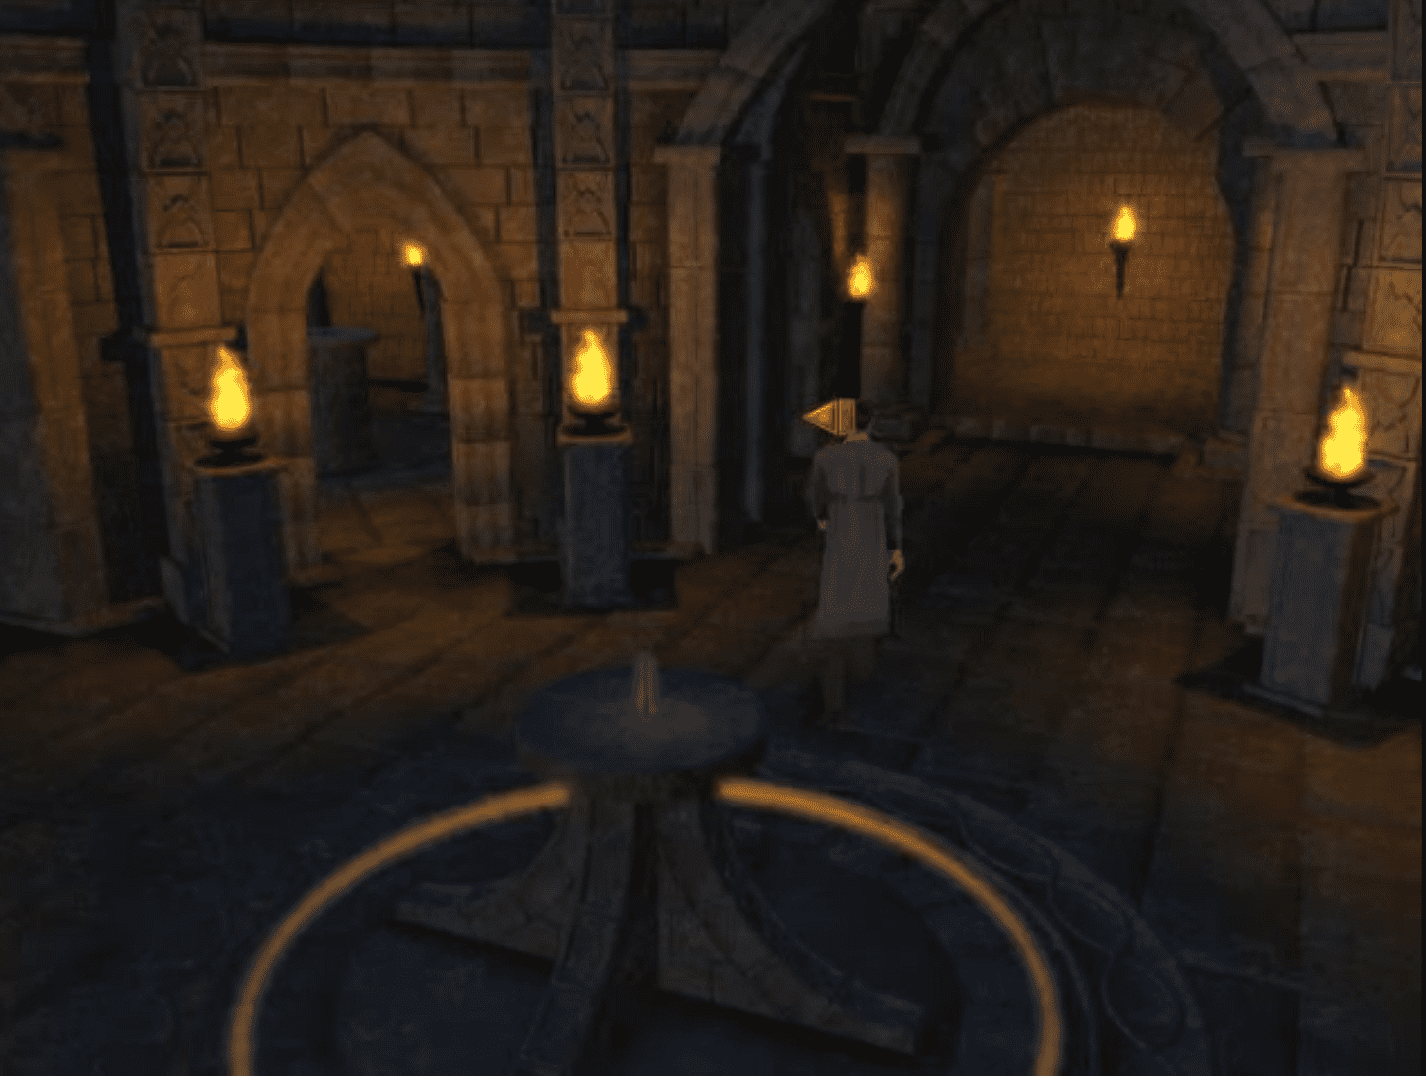
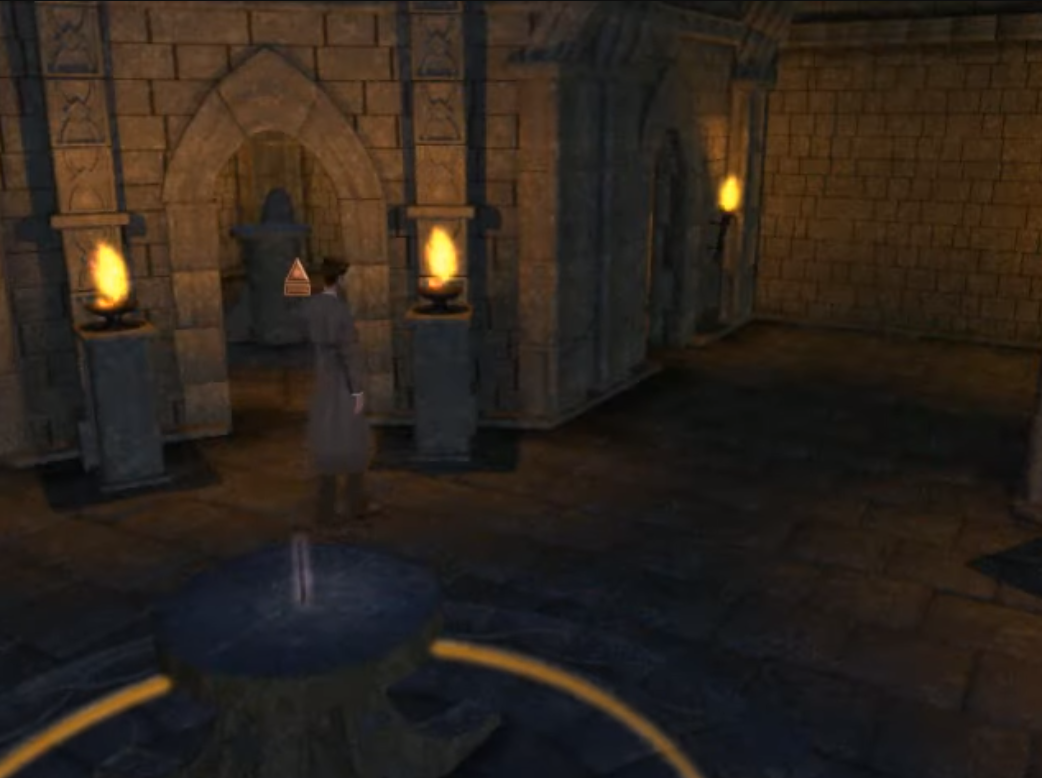
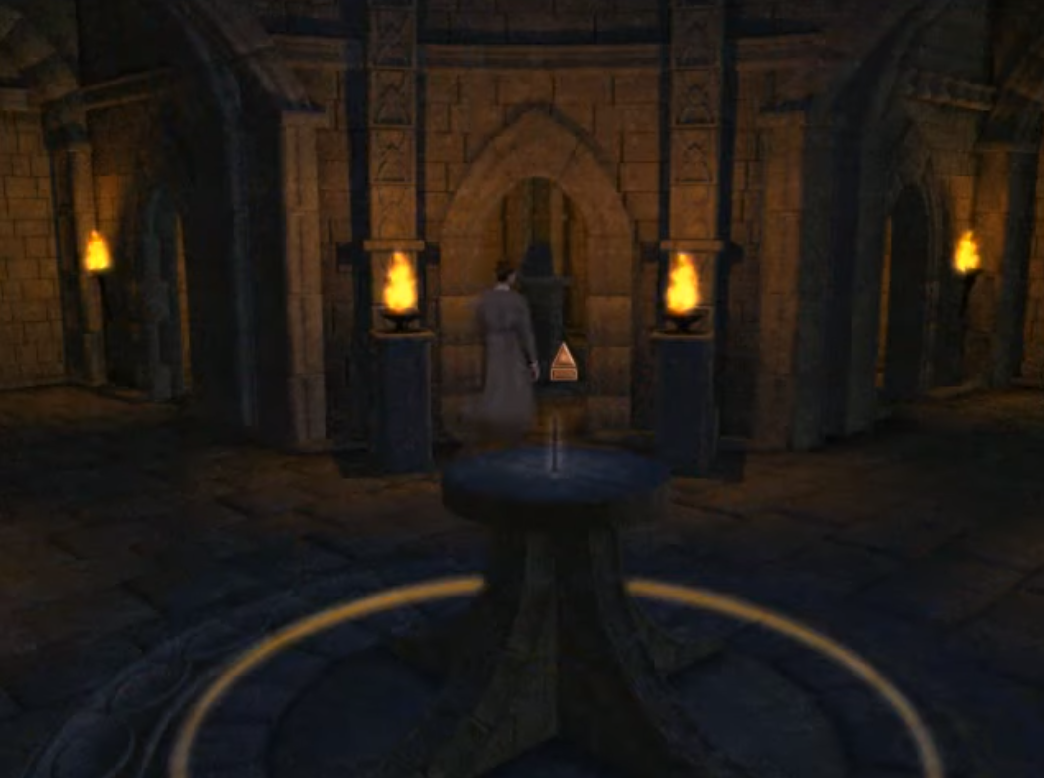
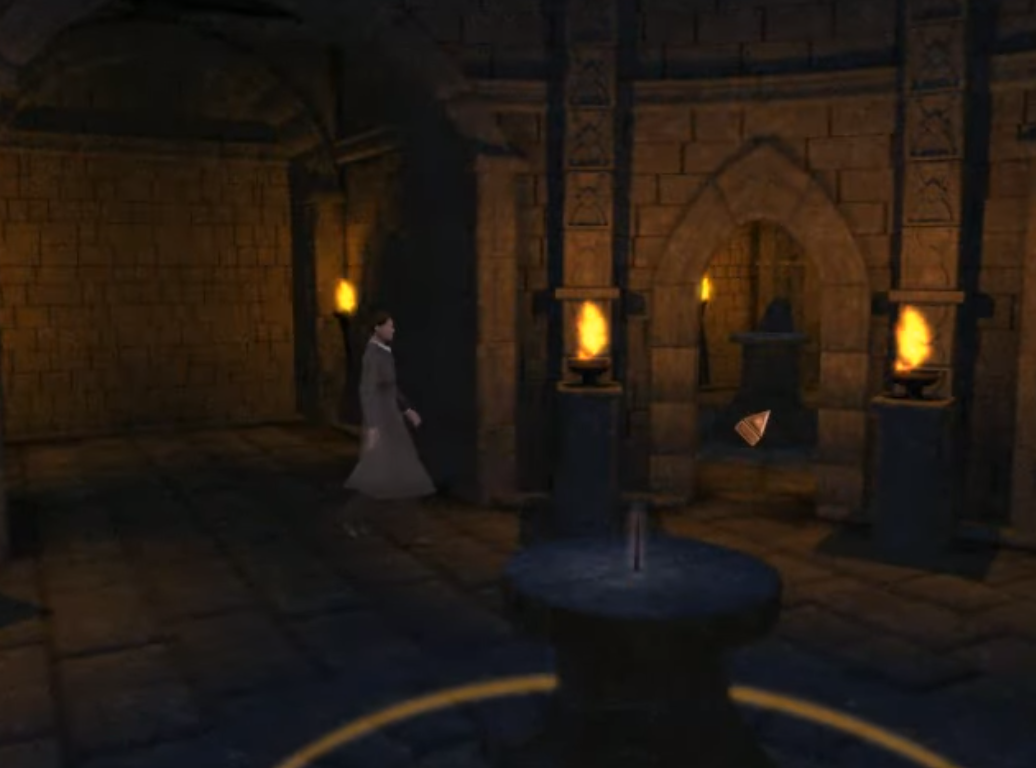
- Go through the doorways in the correct order: Right, Middle, Furthest Right, Right, Backtrack (He should now say “oh no, this looks like it might prove a little difficult”), Furthest Left, Backtrack, Middle, Furthest Left, Backtrack.
It’s recommended you save here, because that was hell, and you can crash on an upcoming cutscene.
- At the bottom, in the room with the rock eye, close the doors behind you. This opens the eye so you can enter it. Use the crystal ball. Go left in the room, around the edge of the circle (directional arrow with show) until you get to the abacus symbol.
I will not be explaining this puzzle in the “fast” guide, but this is the solution:

- Use the crystal ball with this formatting to see the necessary scene.
The Mystery of the Druids Walkthrough Part 4
For people using this walkthrough out of order, this part starts immediately after you have looked into the crystal ball and decided you needed to speak to Maglor. You may want to glance over part 1, 2 and 3 make sure you have the underlined items from those parts.
- Go to your chambers, and talk to Brother Maglor. Take sheet from bed, and use it on the candle. Look out the window on the left, and use sheet on it.
- Bottom right of screen changes directional arrows. Make your way through the forest. Click on Maglor, highlighted by the sunbeam (Pixelhunt, he looks like a root).
- Look at the back of the forest (right hand side) where there’s a magnifying glass. Use gloves on nettles to move them out the way, and get Mistletoe.
- Attempt to help Maglor with Mistletoe. When you hear “damn it”, search Maglor’s body to get a spinning top.
- Cross the river over to the temples. Enter the left temple first and use the spinning top on the strange table.
It is recommended you save, because you might get lost.
- Enter the spinning chamber, then enter the spinning chamber again. There are switches in the ground – click the middle one, then enter the spinning chamber again. Get the flint in the plate/altar. Go upstairs, and get the iron ladle from the plate/altar.
- Enter the spinning chamber again, and again. Go up the stairs and get the small shovel from the plate/altar, and then enter the spinning chamber again, and again. Go upstairs to get another piece of flint from an altar, and use the iron ladle on the altar/place containing water.
- Enter the spinning chamber again, and then again. Go upstairs and get the bellows from the altar/place, and use the shovel on the soil in the altar downstairs. Enter the spinning chamber 4 times.
- Use the bellows on the sack on the altar. Then go back in the chamber, but only the one time. You should be at the exit. Go enter the second temple now.
- In the second temple, use the Amulet on the lock to a half cage/sphere orb full of straw. Use the flint on the straw and then light the nearby torch on the fire.
- In another room, there is a fully covered orb that is empty (with straight lines on it). Put some soil in it, then close it again. Then use the torch to open the grate underneath the orb.
- In another room, there is a fully covered orb that is empty (with zigzag lines on it). Put some water in it, then close it again. Then use the torch to open the grate underneath the orb.
- In the final orb room, use the bellows in the small hole in the orb, and use the torch to open the grate underneath the orb. Now go to the altar and get key.
- Use key to open back door. As you descend the sets of stairs, pixel hunt: there are eight slits in the wall on Halligan’s left. Get the 8 element plates.
Again, I’m not explaining this puzzle on the fast guide. Because the orientation is hard to really grasp through text, I’m showing you the angle you enter the room, and what plates to use in it:

Three horizontal straight lines on the top slot, and three vertical wavy lines on the bottom slot.

Three zigzag horizontal lines on the top slot, and three vertical wavy lines on the bottom slot.

Three vertical wavy lines on the top slot, and three horizontal zigzag lines on the bottom slot.

The remaining two plates – Wavy vertical lines with an X on the bottom and top.
- Go get the staff.
- Use broken shears on Melanie. Then use Mistletoe on Melanie.
Congrats, you’ve finished this moon logic game.
Long Version
Long Version Walkthrough with more things like this will be coming in a couple weeks. An example of things on this route will be:
- Hint 1: You’re supposed to be at Scotland Yard.
- Hint 2: You need to get the homeless man a drink.
- Hint 3: Explore the lab.
- Hint 4: Examine the shelves thoroughly.
- Hint 5: You need to figure out which jar is alcoholic.
- Hint 6: Remove old fingerprints, and ask Chris for a drink.
- Solution: Use the green scarf on the jar.