This Rolling Line How to UV a Model guide will teach you how to take a finished model in a blender and give it a view table uv. This guide will not teach you how to model and will assume that you have a basic enough understanding of blender to be able to navigate through menus, model and follow instructions, and that you have the basic knowledge of an image editor to create templates.
This is the guide supershinx it was created by. You can find the author’s link at the end of the guide.
Rolling Line How to UV a Model
How to make a model UV for Rolling Line? You can find in our guide how to expose a finished model to UV rays in a blender, the details needed for the rolling line to work properly.
I’ll be using this existing MILW Hiawatha coach as an example.
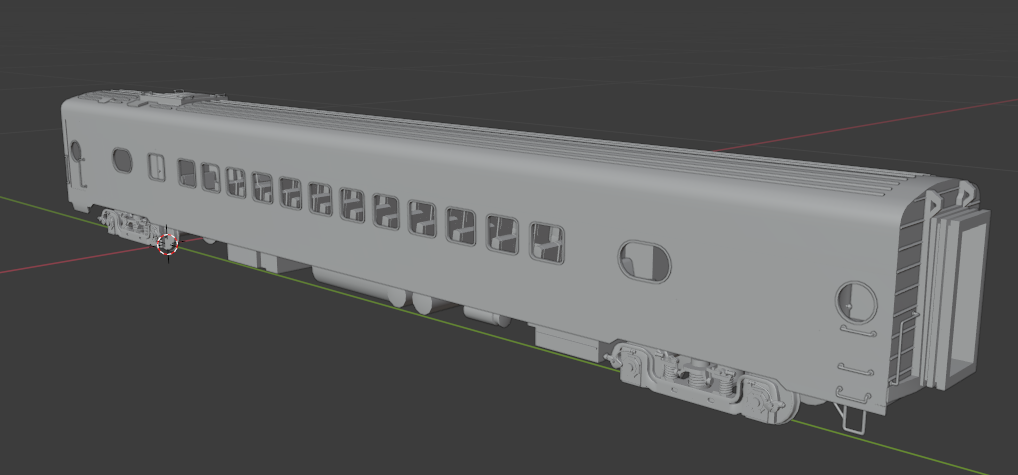
PRE-UV
before you start UVing, its important to make sure the model is set up properly.
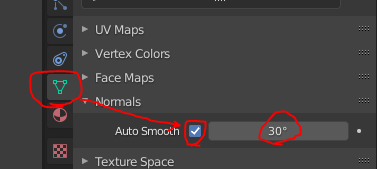
I recommend smooth shading everything, and then autosmoothing to 30-50 degrees.
First, create a blank image in an image editing software, like paint.net, and save it in the custom assets folder

next, you want to add a texture so you can easily see your changes
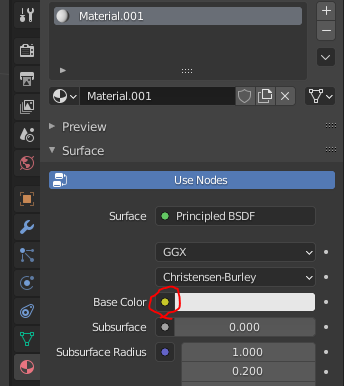
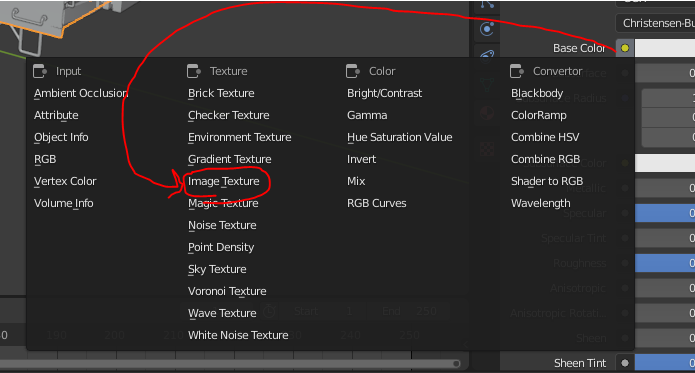
click image texture, then select the image you just created
to see the texture, make sure texture view is selected
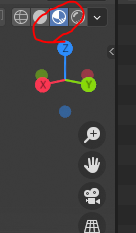
(you will need to do this in the UV tab as well
Color Boxes
the first thing to do when UVing is to start with details that don’t need to have detailed paint, and will almost always be solid colors.
as an example, we’re going to use the window frames on this coach
first, go onto the texture in your image editor and add a box for the color (usually i use 10×10 pixels), and make sure to label it.
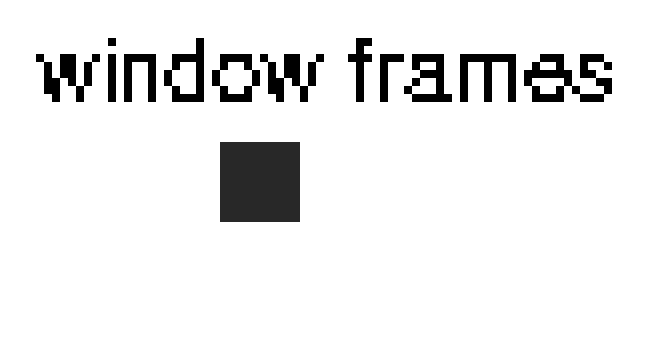
save after you do and go back to blender
then in blender, go to the UV editing tab if you arent already there

select the object you want, in this case the window frames, and go into edit mode.
make sure you have this option turned on in the top left of the UV window, as it will make seeing your changes much easier

if you set up the texture properly, it should already show up. you can hit alt+r to refresh the image whenever you save the texture
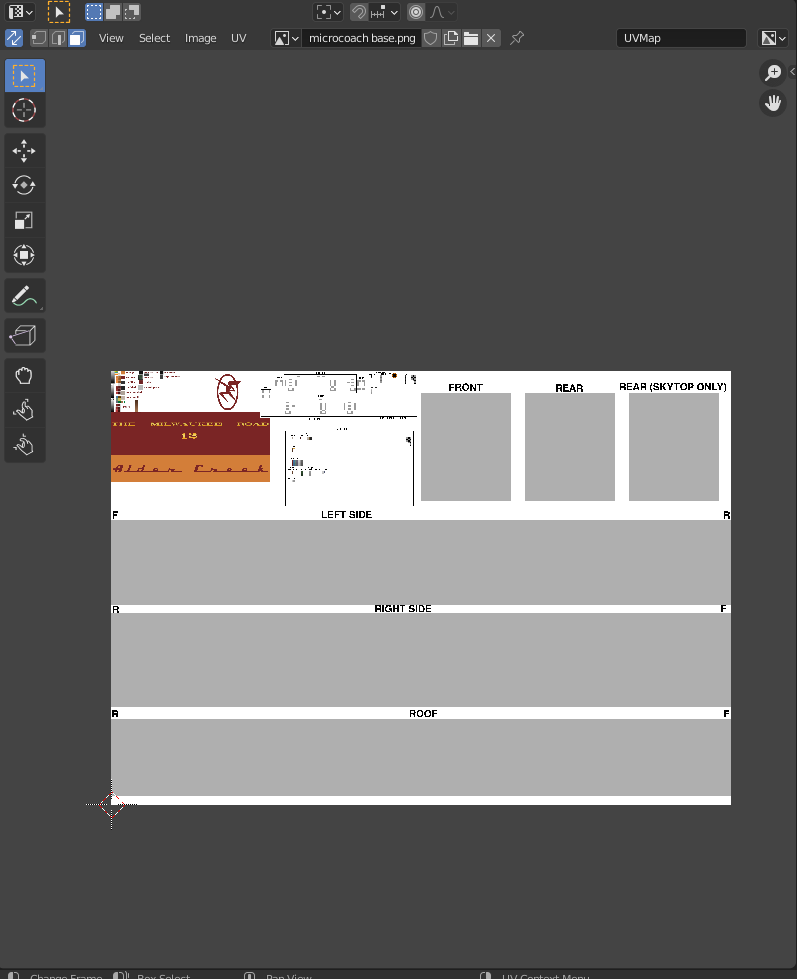
with something simple like window frames that only require a single color, you can simply select everything, and scale it down and move it until its all inside the box you created
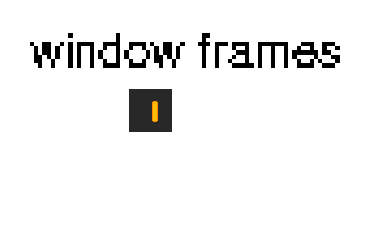
when you finish, it would look like this
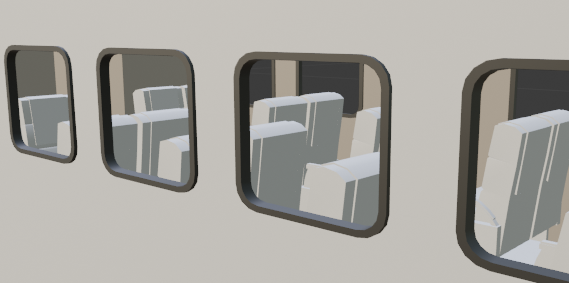
for the basics of shading and multi color objects, lets use something more complex, like this door.
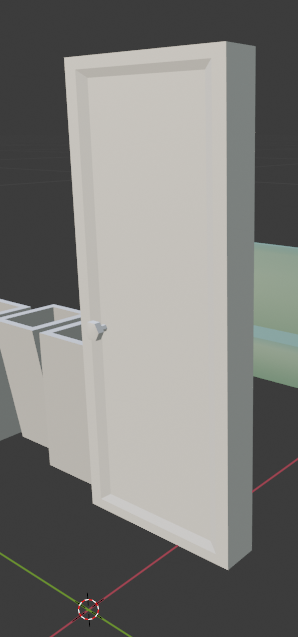
we’re going to have at least 2 colors of brown, as well as a gold for the handle

first, select the door and go into edit mode, just like before. select everything but the handle and scale and move until its inside the first brown box. then select the handle and repeat the process until its in the gold box
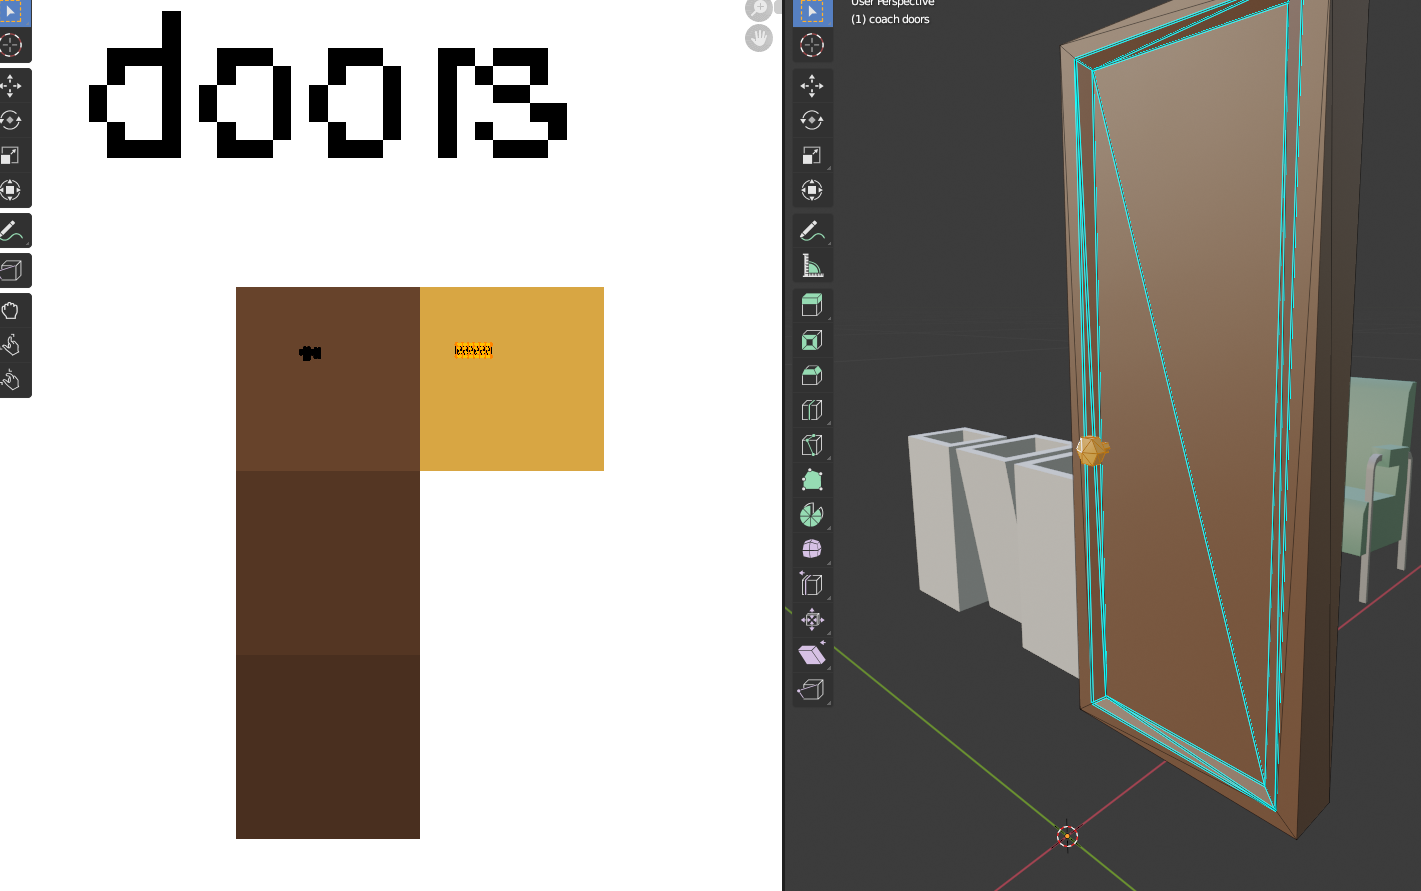
Shading can be as simple or as complex as you want. just make areas you think would be darker be darker colors, and areas that would be lighter lighter colors. In this example, we’re going to make the indented area of the door a darker brown. select the areas you want, then move them until they’re in the next box down.
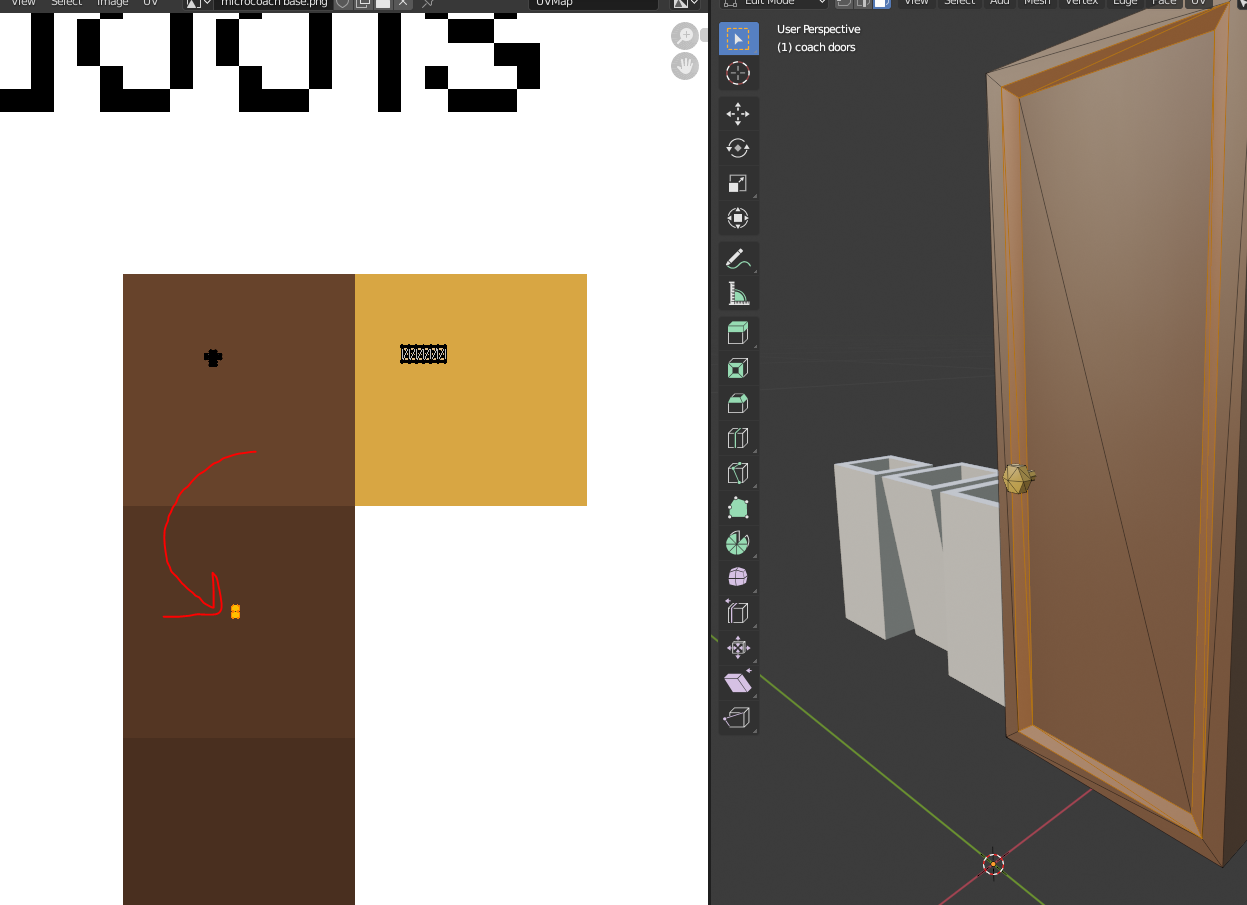
at this point, just continue the same process with anything else that won’t need detailed livery work, then move on to the main body.
Main body
once you have all of the details UVed, its time to finish with the main body, which is the easiest part.
simply select all models that have parts that will be uved as part of the main body, and put all of them into edit mode.
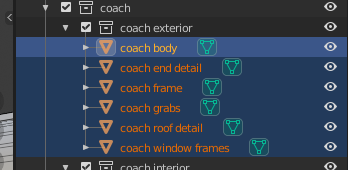
next, on the UV side, select everything already in color boxes, and hit H (hide) on the model side
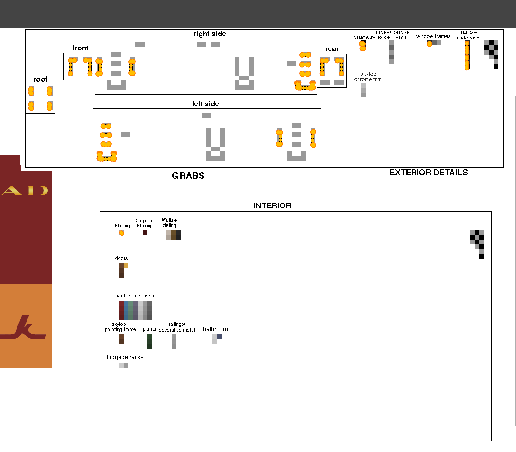
most models won’t need a bottom texture, so start with whichever side is easiest. for this coach its the ends, but on locomotives its usually the roof.
select everything you want included (select multiple objects with shift or ctrl, then click edit mode on the active object, whichever one is highlighted), then go into orthographic view on the axis you want it shown on in the texture, hit the home key to reset scaling, and then project from view.
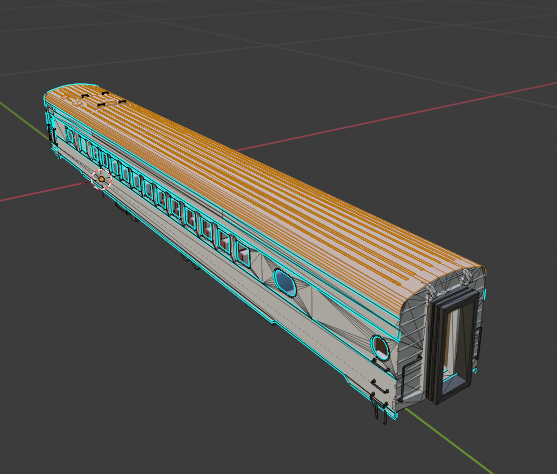
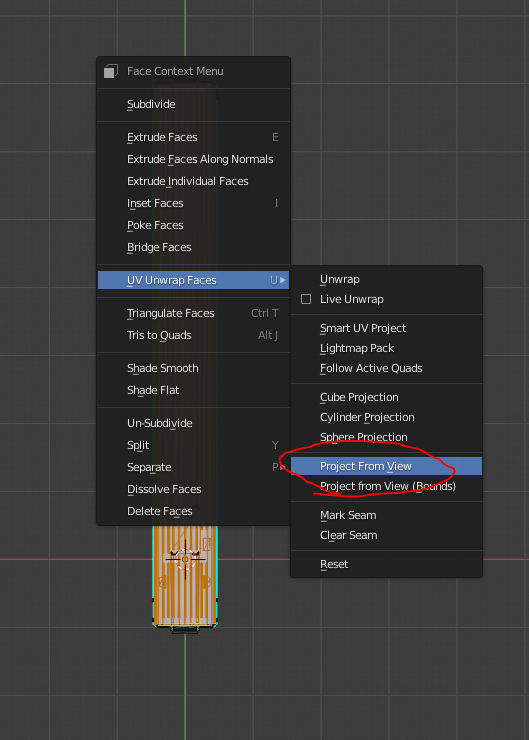
once you do that, move the new selection into the proper place on the UV side, and then hide it.
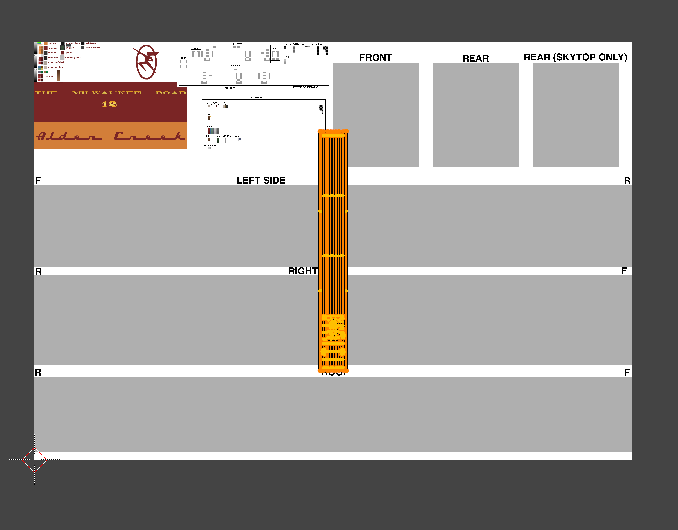
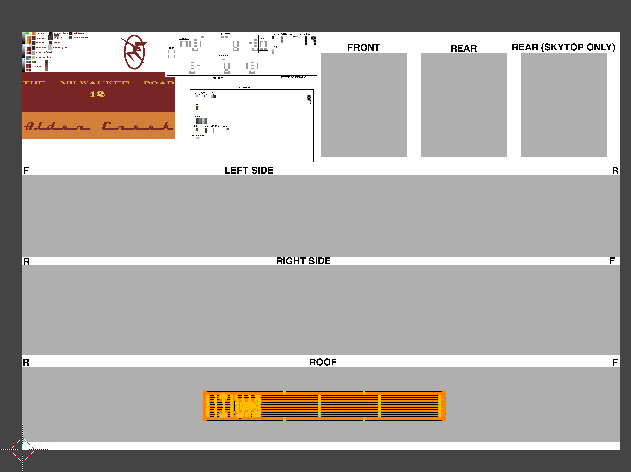
repeat this process until nothing is left.
once everything is UVed, you may need to scale. either scale everything at once and move it back into place, or scale to a specific number. Just make sure to stay consistent and keep everything at the same scale.
Exporting the UV
Once the UV is completely finished, you can export the model to put into rolling line.
It’s also a good idea to export the UV for livery making, which is simple and easy. First, merge all models into one, then go into edit mode. then on the UV side, click UV, export UV layout, and save it somewhere you can find it.
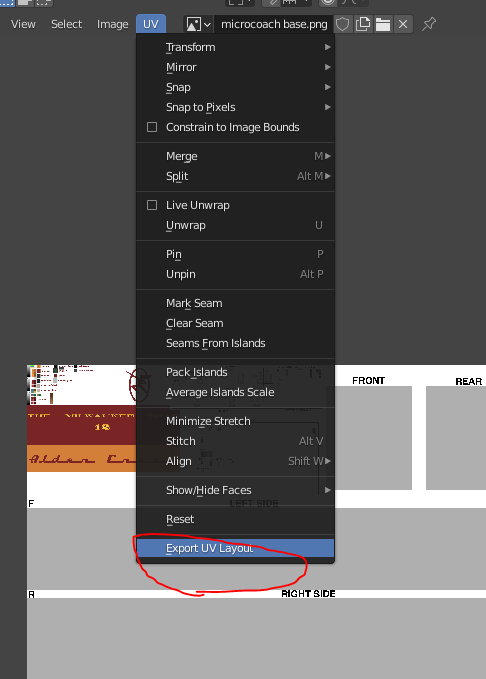
then just add it as a layer in your texture for livery making.