Hello from our Pharaoh + Cleopatra Map Editor guide! Dive into Ancient Egypt from the age of the great pyramids to the last years of the New Kingdom with the game Pharaoh + Cleopatra. You can find details about the map editor on this adventure in our guide!
Pharaoh + Cleopatra Map Editor Guide
Welcome to our Pharaoh + Cleopatra Map Editor Guide. This guide will teach you some things about the map editor. If you follow all chapters you will learn how to:
- Use basic UI
- Create a basic map with terrain and resources
- Set up the options
- Create a kingdom with cities and trading routes in the Kingdom Map
- Set up food types of your Kingdom
- Set up other resources
- Create events
Basics
First, you need to go to the Mission Editor and load any map available there.
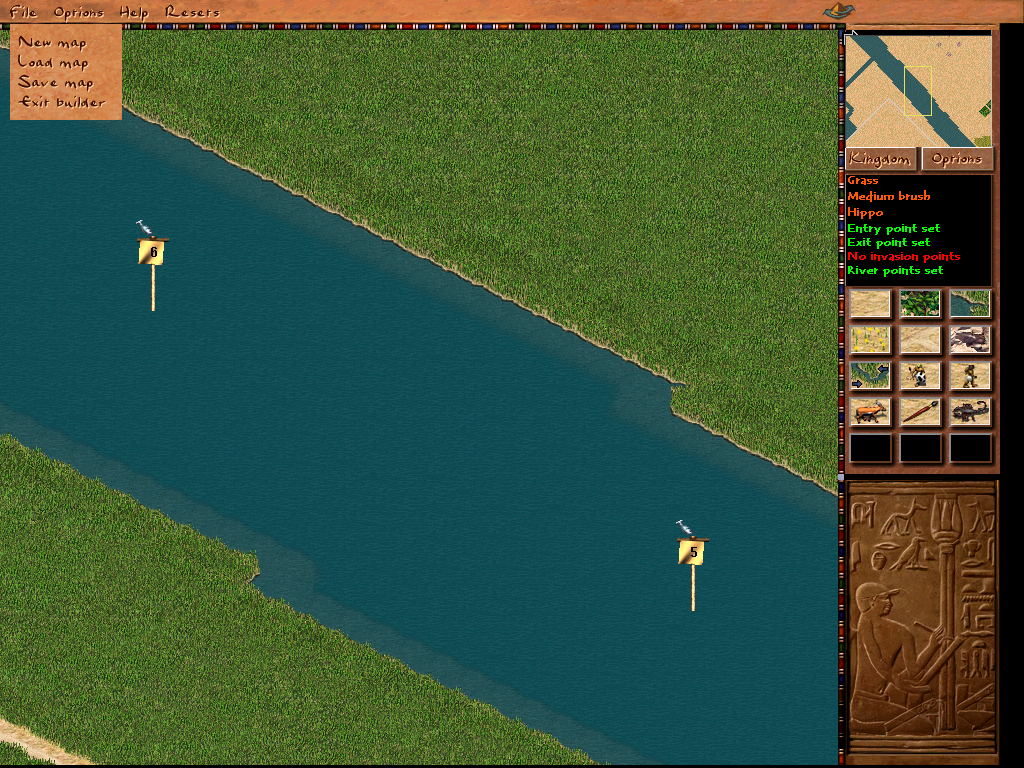
Once the map is loaded go to File and choose New Map.
Select your desired Map Size.
For the sake of the guide, I will select the smallest size.
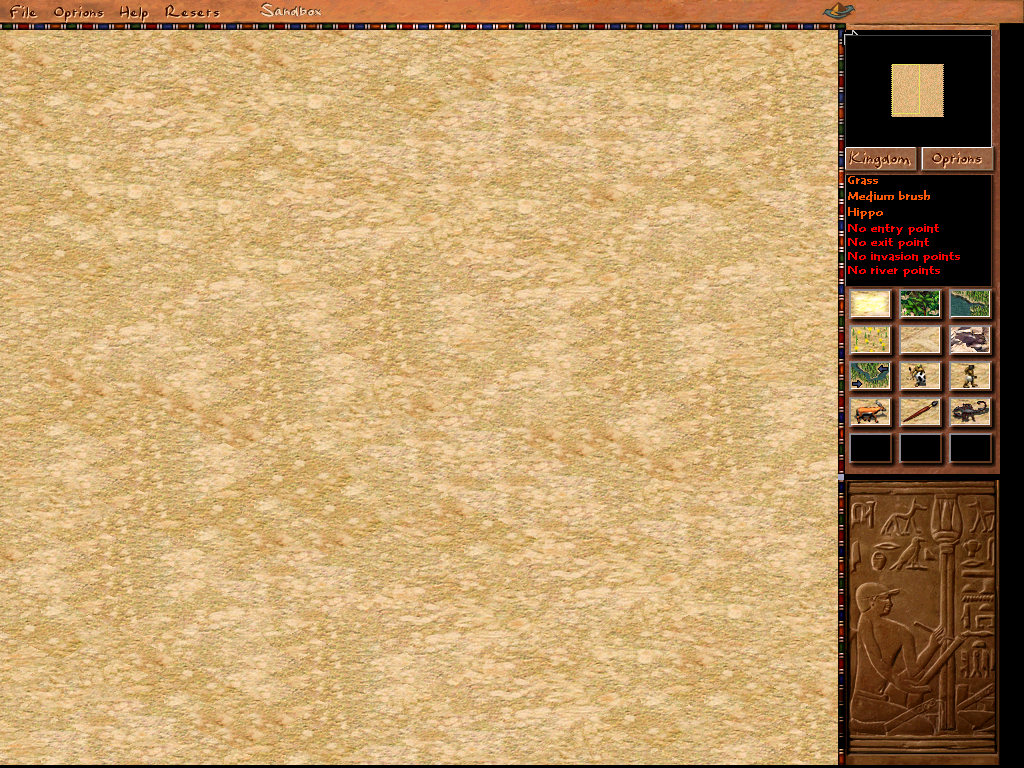
You will now see a new blank Map loaded in.
The best is to save your new Map already using a new name to not overwrite the previously loaded map.
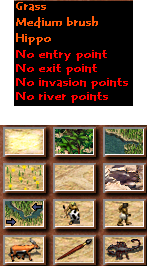
Let us talk about the panels.
On the top you can see the info panel showing you information in this order:
- Current Selection
- Brush size
- Current killer type
- Entrypoints set
- Exitpoints set
- Invasion points set
- River points set
On the bottom, you can see the action panel.
 Grass, lets you place the standard grass/desert tiles.
 Forest, lets you place the standard forest tiles.
 Water, lets you place the water, flood plain and marshland.
 Meadow, lets you place the meadow tiles.
 Road, lets you place road tiles.
 Rock, lets you place the standard forest tiles.
 River Points, lets you place the river entry/exit points for trading.
 Invasion Points, lets you place the Land and Sea Invasion Points.
 Entry Points, lets you place the standard map entry and exit point for immigrants and traders.
 Prey and Killer Points, lets you place prey and killer spawn points as well as disembark points for sea invasions.
 Brush Size, lets you choose your brush size.
 Killer types, lets you select the type of killer if there are more than one for the current climate.
Map Building
Now that you know the basics let us build a proper map. We will build a map with all resources available.
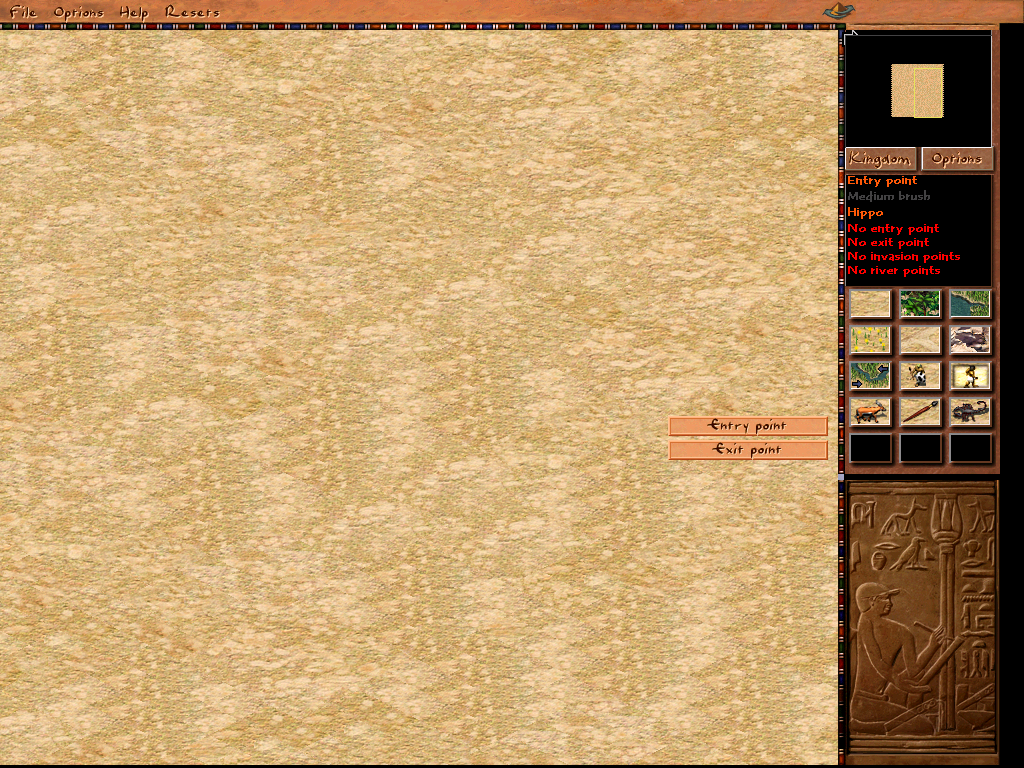
First, let us select the Entry Point tool and select where our immigrants and trading caravans will enter the map.
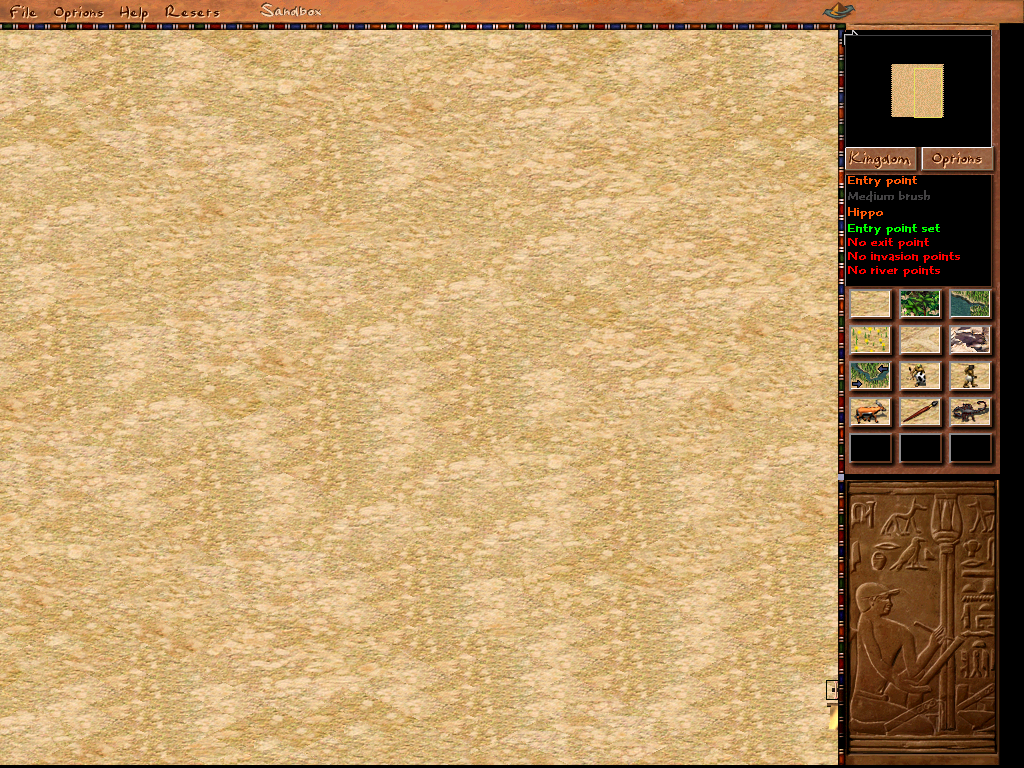
I will place mine at the bottom right corner of the map.
Entry and exit points can only be placed at the edges of the map.
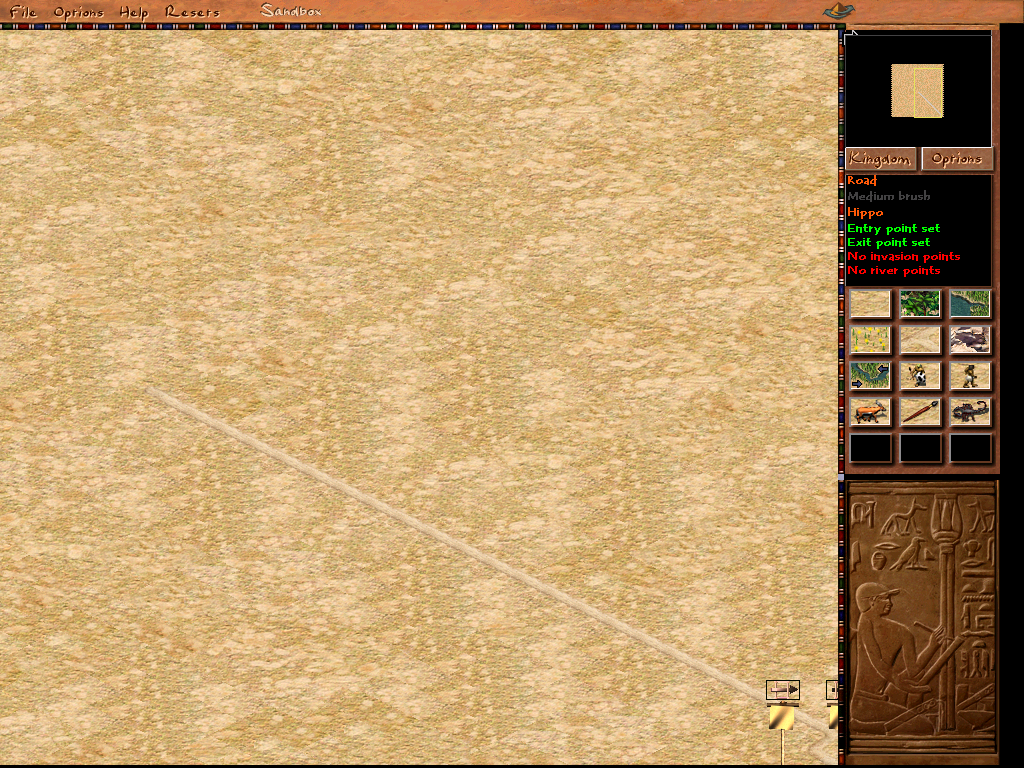
Now let us place an Exit Point next to the entry point and let us place a little road there.
Of course, you can also place the exit point on the other side of the map, draw a road there and put an exit point to not have the entry and exit point at the same location.
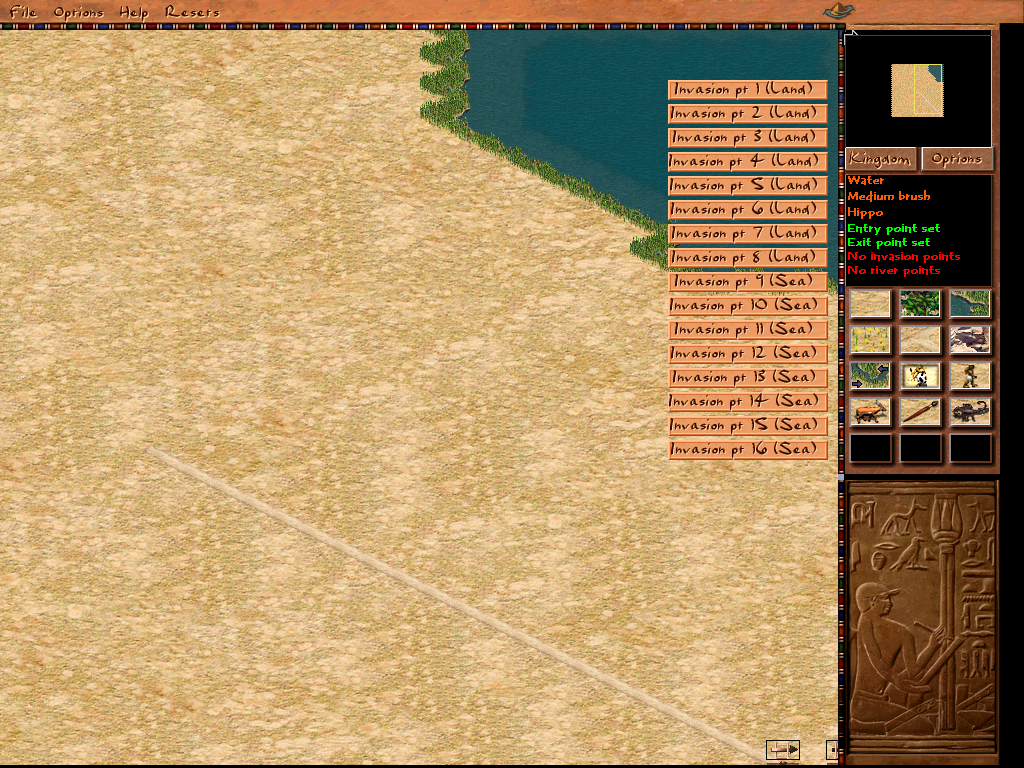
Now let us select the Water Tool and place a small body of water at the edge of the map to the north.
Then go to the Invasion Point menu and select the first invasion point.
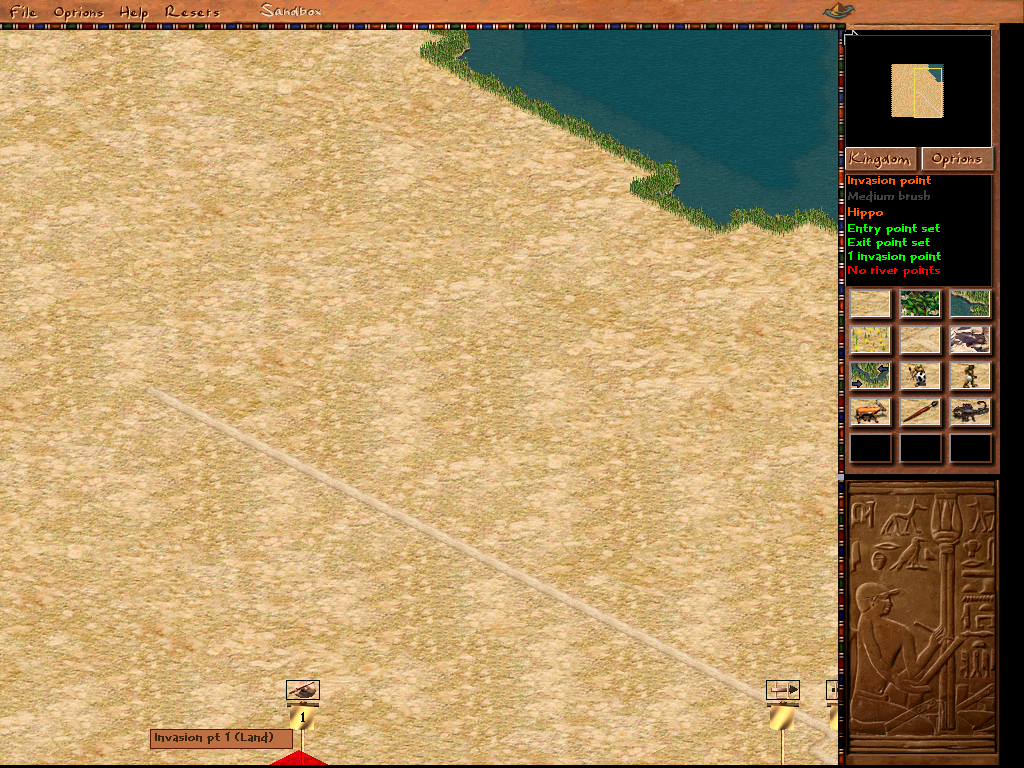
Place the invasion point one somewhere at the south edge of the map.
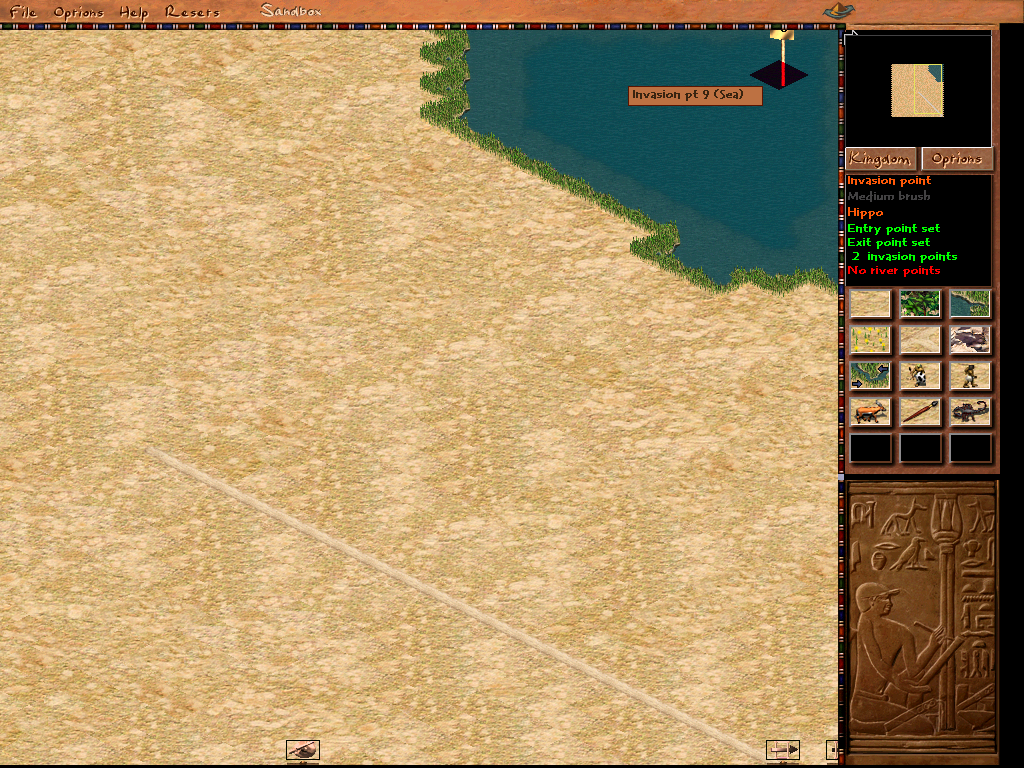
Select a Water Invasion Point and put it at the edge of the map inside of your earlier placed water body.
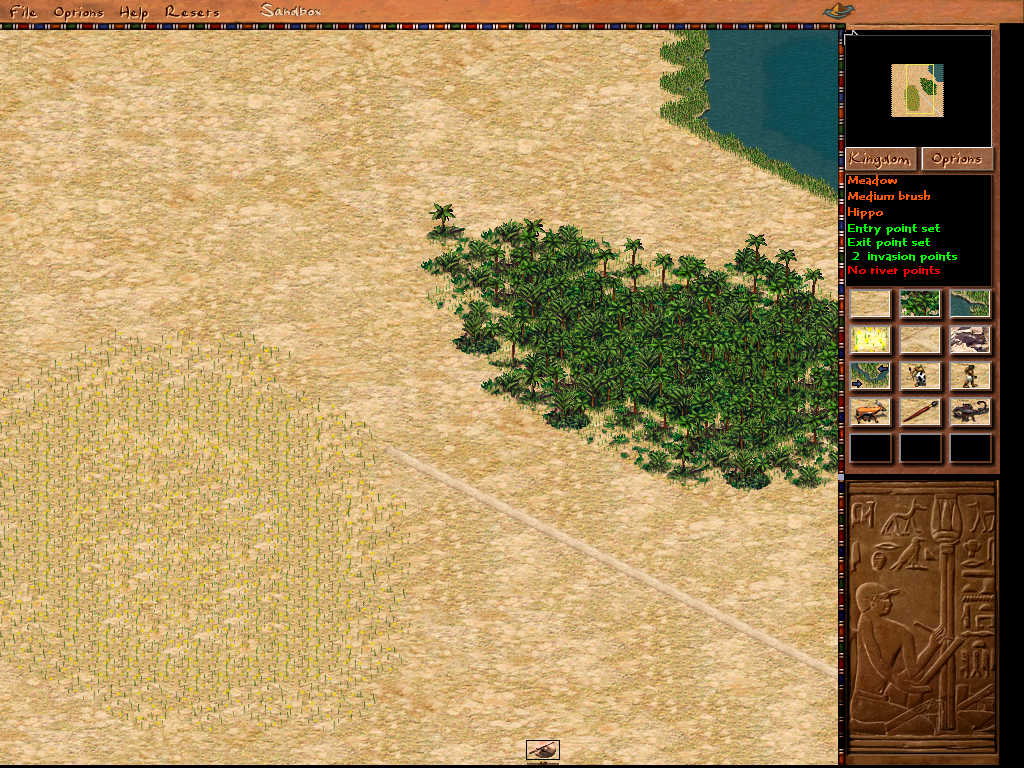
Use the Forest Tool, place some forests, and do the same with the Meadow Tool. Forests are used for wood production while meadows are used for farming. (Though it is also possible to farm on flooded or irrigated soil using water lifts and irrigation ditches.)
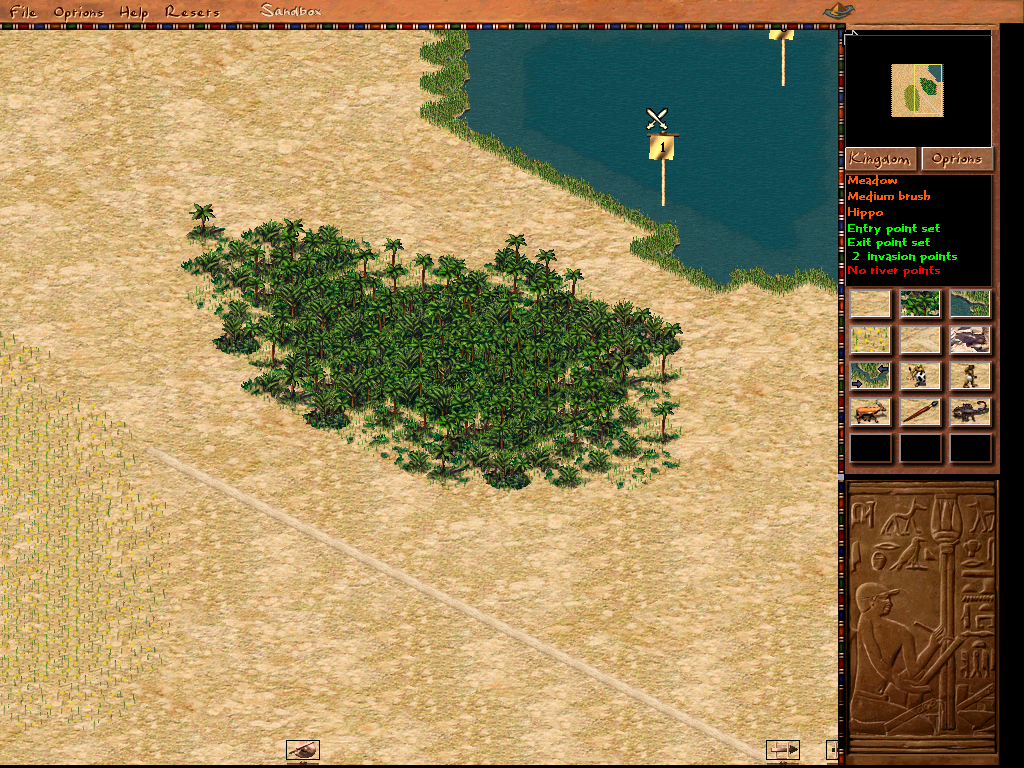
Remember the water invasion point we placed earlier?
We still need a disembark point for the AI to land and disembark.
You can find disembark points within the Prey and Killer Brush.
Select the first disembark point and place it near the coastline.
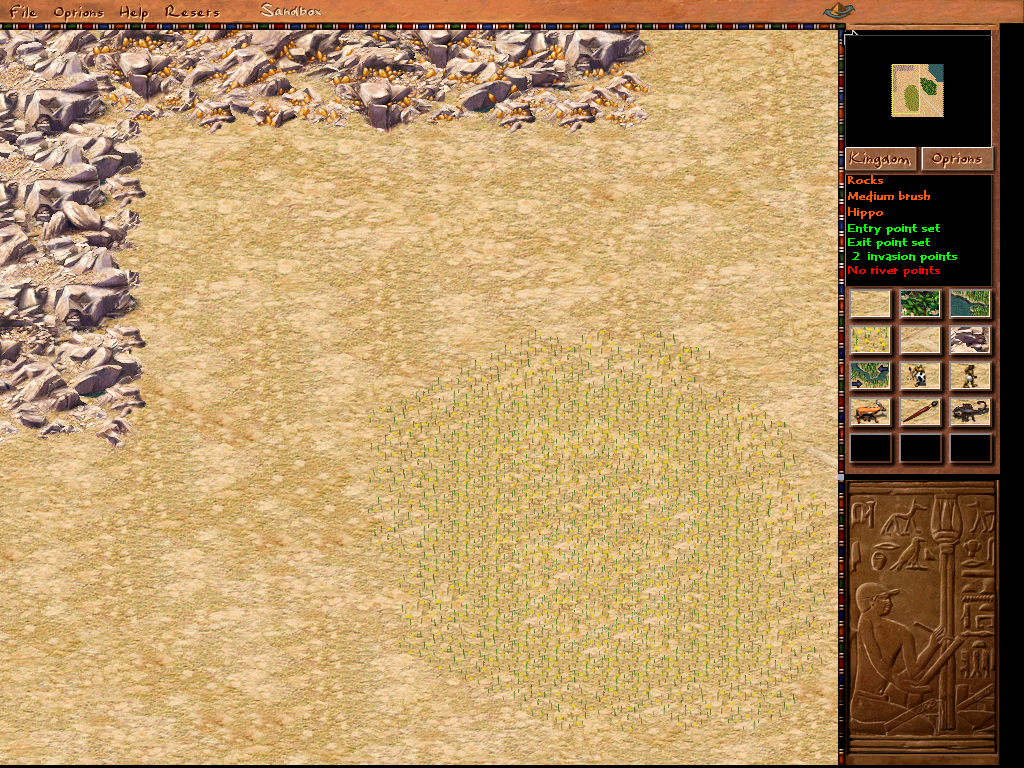
Select the Rock Tool and place some ordinary rock as well as ore-bearing rock.
Ordinary rock is used for mining different types of stone and the ore bearing rock is used for mining gold and copper. (What exactly is being able to be mined we will set up later.)
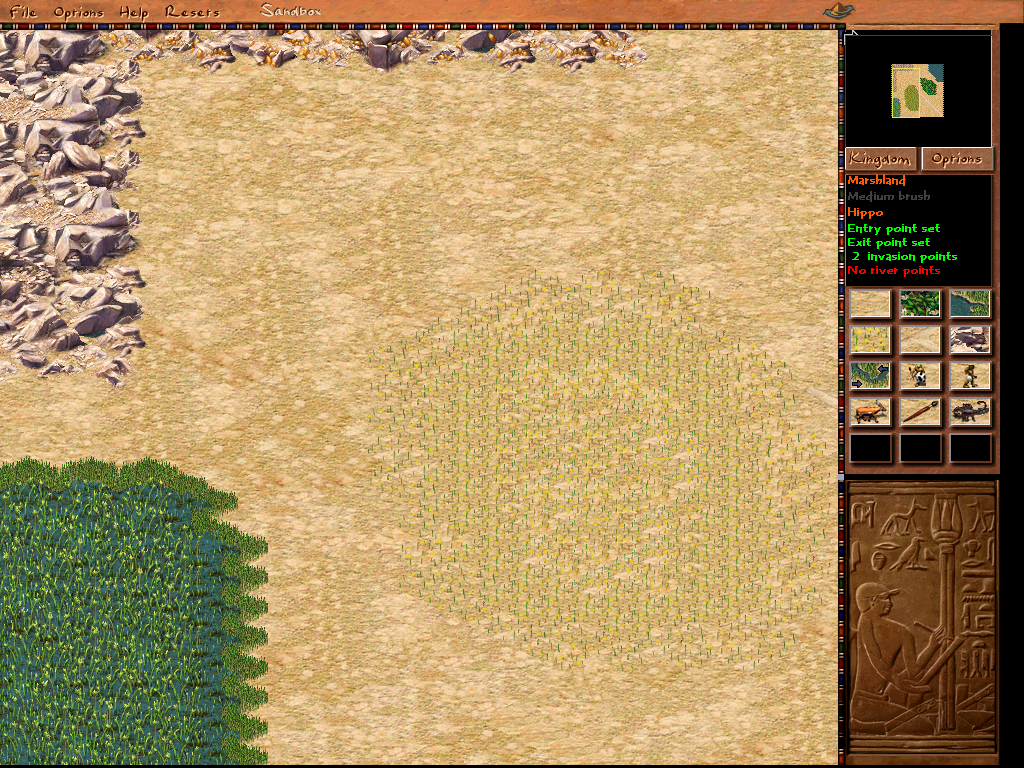
Now let us place some Marshland to be able to gather reeds which can be turned into papyrus. You can find it inside the Water Tool.
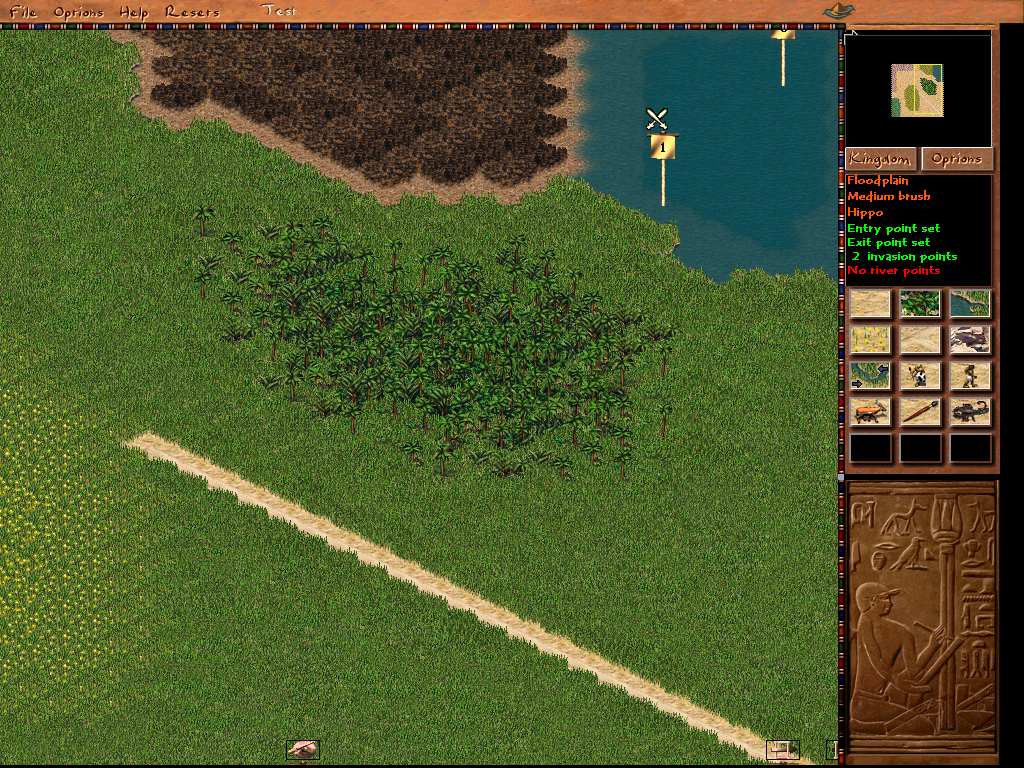
Let us place some flooded plains, which are also in the Water Tool, near the water body we placed earlier. Flooded plains can be used to build farms but will be flooded for some months during the year.
You will notice that the flooded plains you are placing look odd and different from the ones in the game. The map did not update the visual of the flooded plain. To fix this simply go to the Reset Options and select Refresh Map.
My map now updated the grass as well because the pre-defined climate was wet, but earlier it was shown as a dry climate.
We will talk about climate more in the options section of this guide.
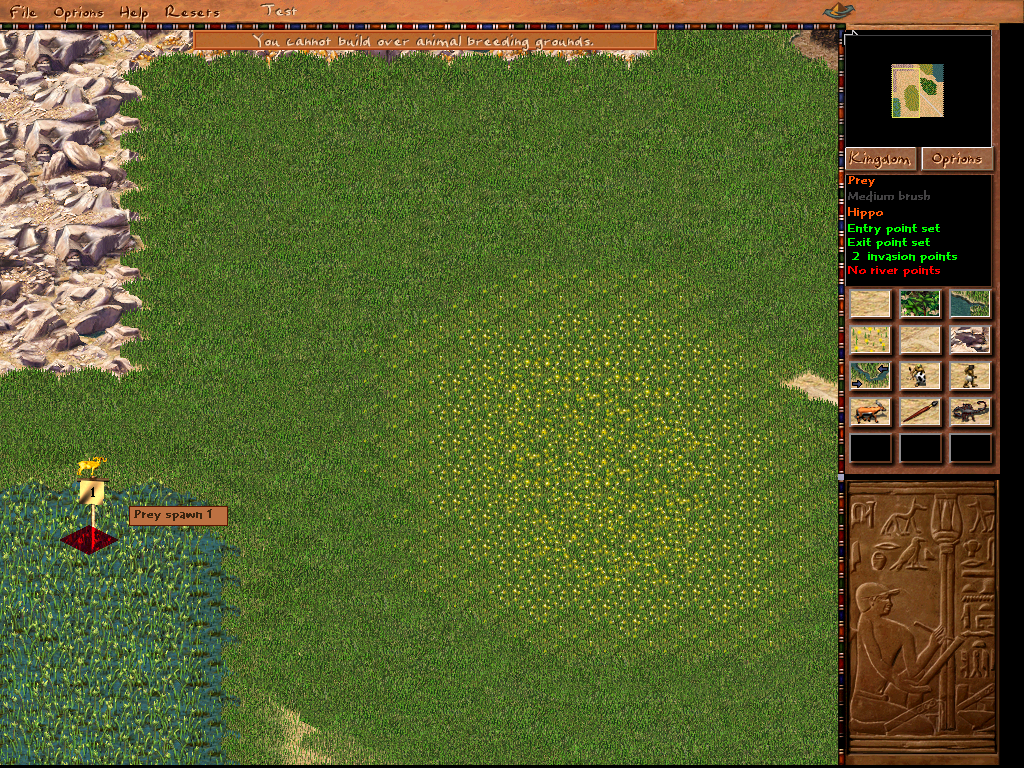
Now let us place some prey using the prey point option, either as decoration or if we set it up later also for hunters to gather game meat. In this case, I can only place the prey inside of the Marshland because it is a wet climate and the prey for wet climate is birds who live in the Marshlands. If you will later learn how to change the climate of your map prey can also be land animals that can be placed on all land in normal climate for example. Now do the same with a killer point. In my example, I will place it either into the Marshlands or Water because the standard killer in wet climates is the Hippo and they can only be placed in Marshland or Water.
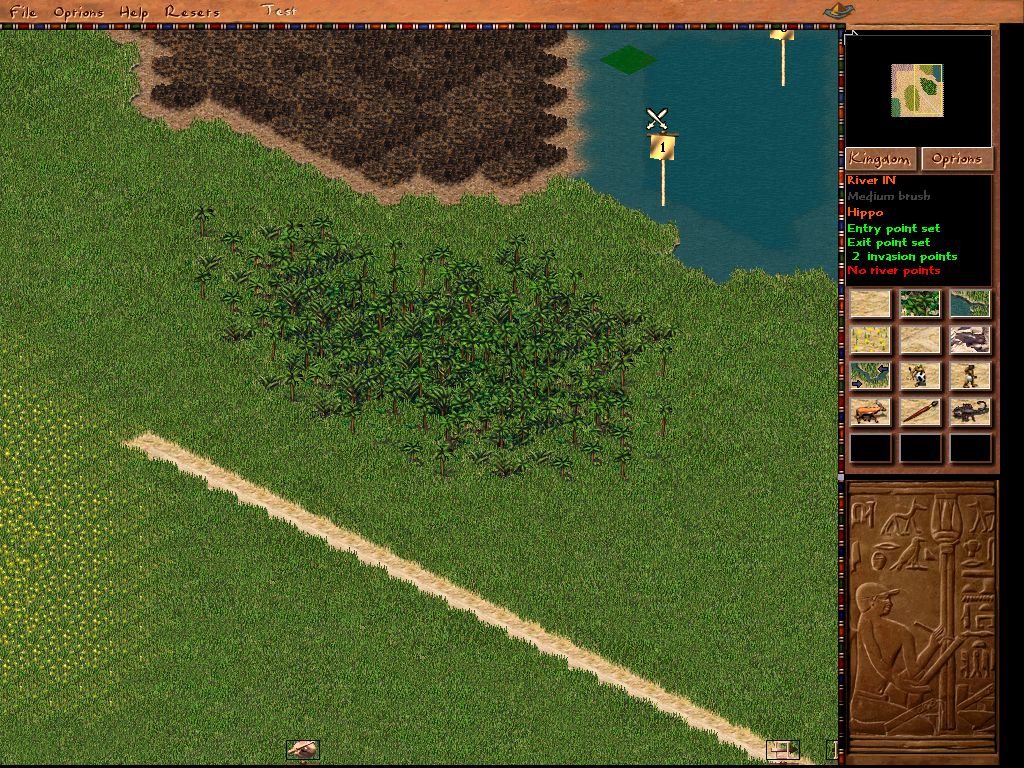
Now we are almost done. One last thing to do is set up the river entry and exit point for river and sea trading. Select the river points and place one entry and exit point inside your body of water near the edge of the map.
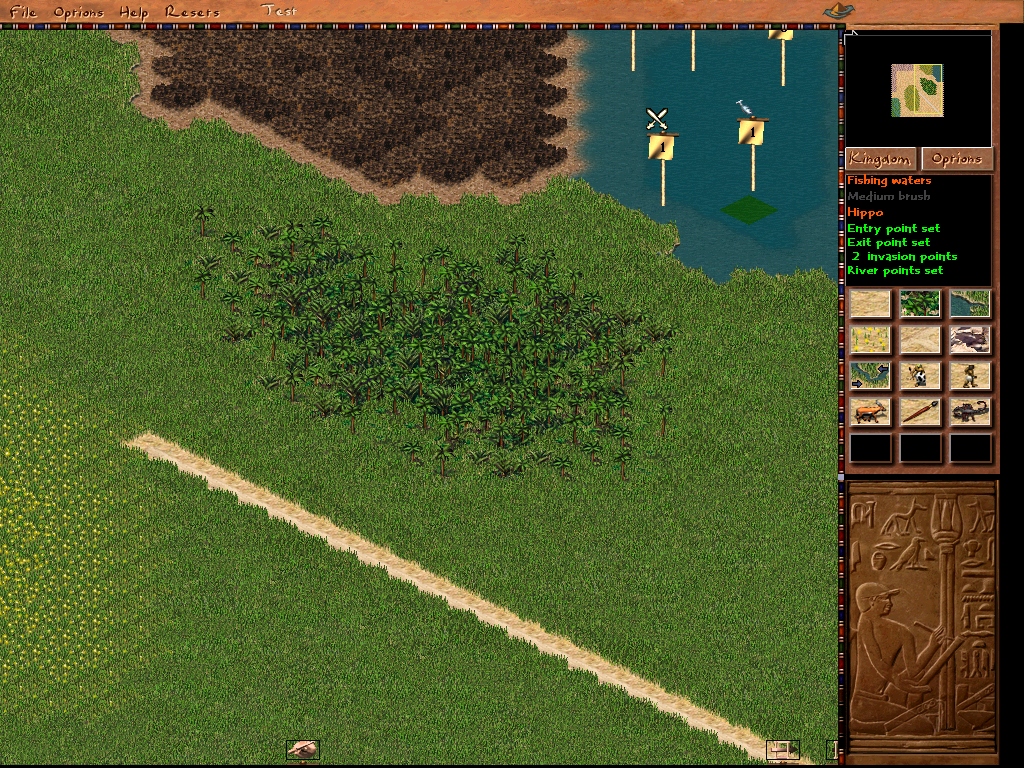
One optional thing is to place fishing points. For them to work one of the 4 food sources of the kingdom has to be fish. (We will later learn more about food types).
For now, simply go to prey points and select a fishing point and place it inside the body of water.
The first step to creating your map is done.
Options
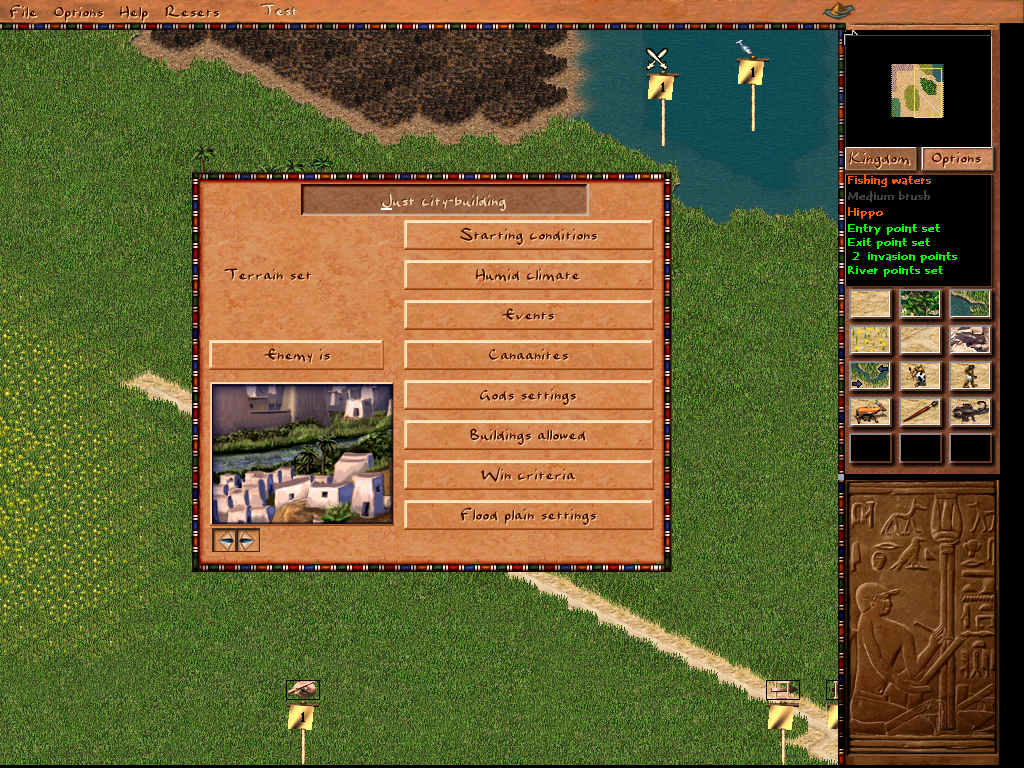
Now that we created a map let us take a look at the Options Screen. You can find the options button underneath the mini-map next to the Kingdom map button.
In this menu, you can select the climate of your map discussed in the last section.
Remember that a switch in climate may make your prey and killer points invalid and you will have to set them again.
Also, you will see the Events button. We will talk about Events later in the Events section of this guide.
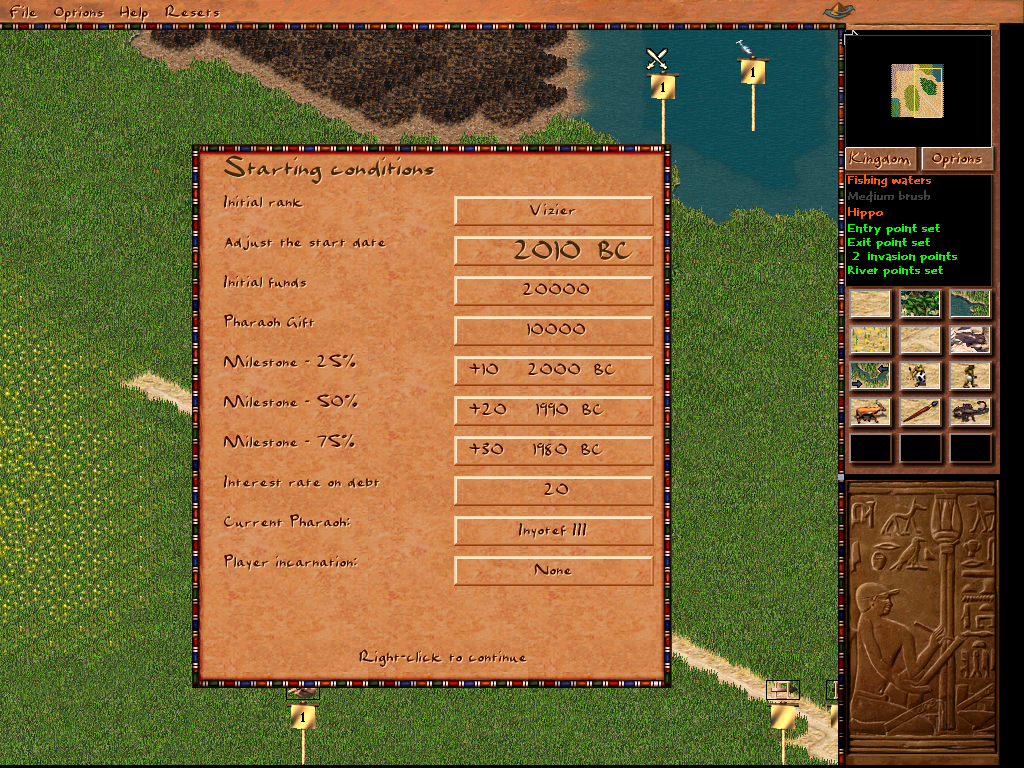
Starting Conditions
Initial rank
Your initial rank in the kingdom.
Start date
The starting date of the mission.
I usually select a date between 2000 and 6000 BC.
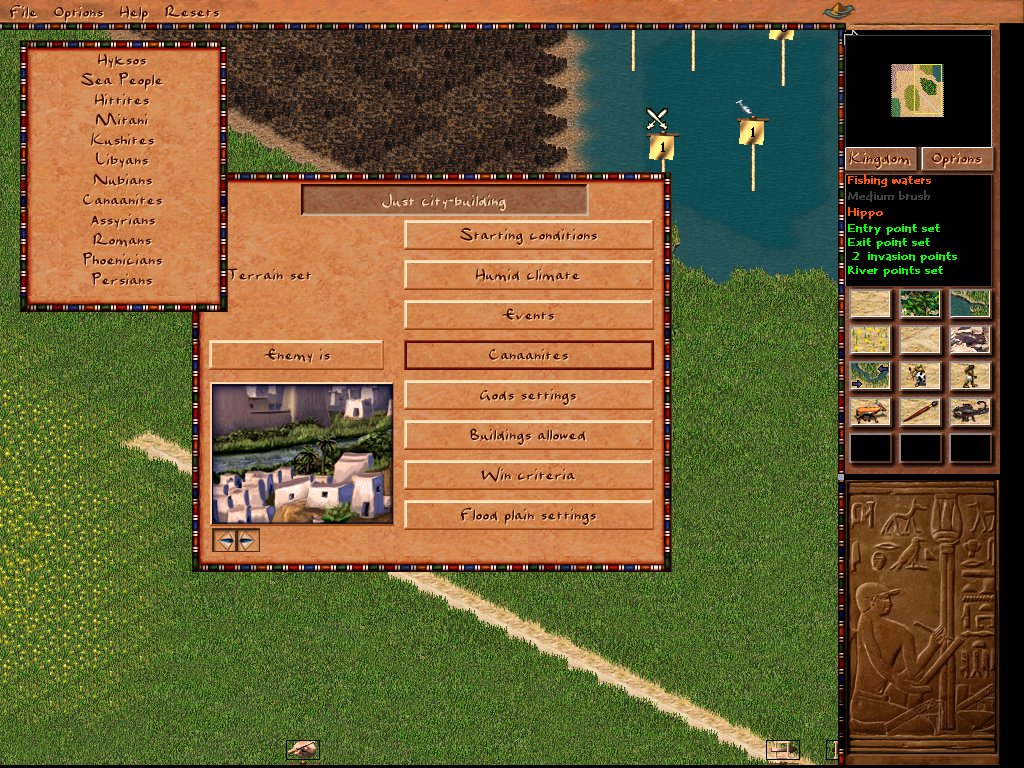
You can choose between the listed enemies.
Switching the Enemy is button to Player against Egypt in my experience simply changes the models of your soldiers into those of another civilization.
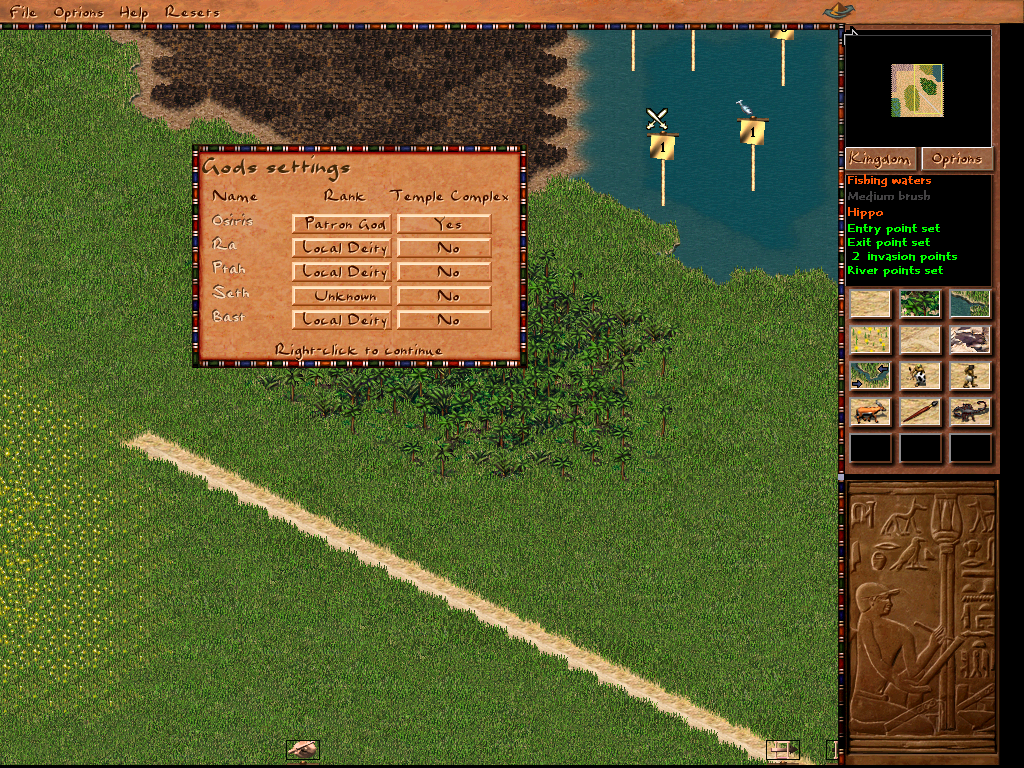
Inside the Gods option, you can set up one Patron god, the local deities that can be worshipped, and if you can build their temple monuments. Remember that only one of the temple monuments can be built. Selecting unknown for a god disables said god.
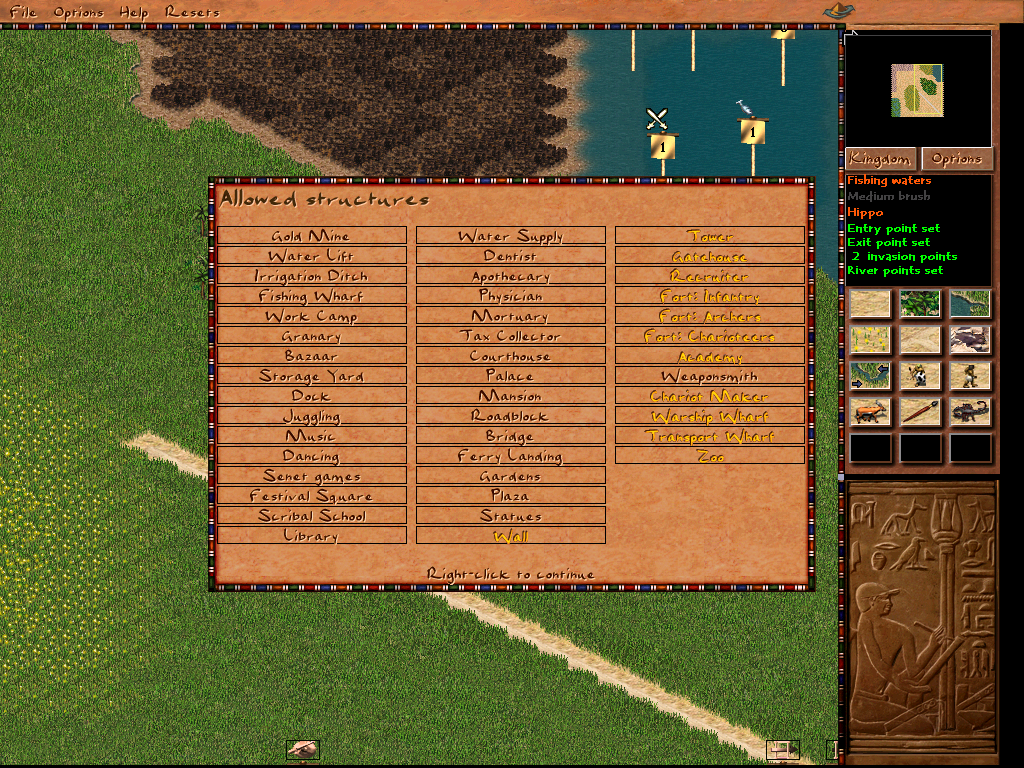
Allowed Structures let you choose which structures are available to be built in your map.
Black means you can build them, while yellow means they are disabled.
You will notice that buildings such as the copper mine or the hunters lodge are not listed here.
We will talk about these buildings in the later chapters Choosing food types in the Kingdom
and Choosing game meat, stone, and copper production within the city.
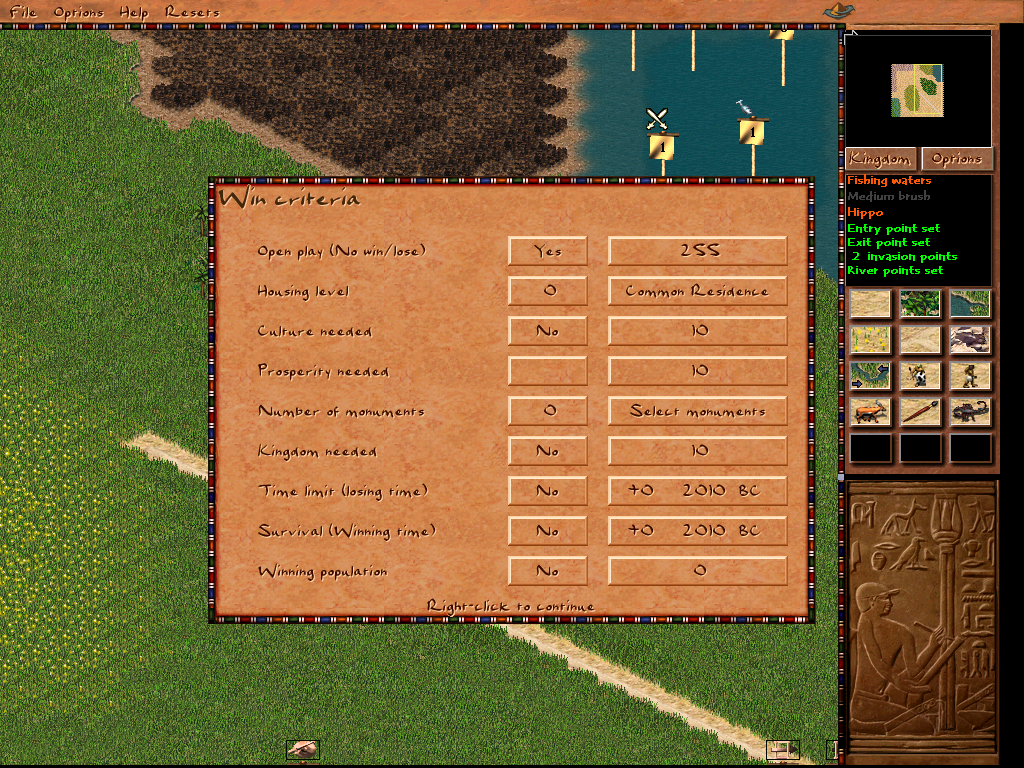
You can select the winning conditions here. Most of it is self-explanatory.
However. With the Monument option, you can set building monuments as winning condition as well as unlocking them as structures that can be built while playing the map.
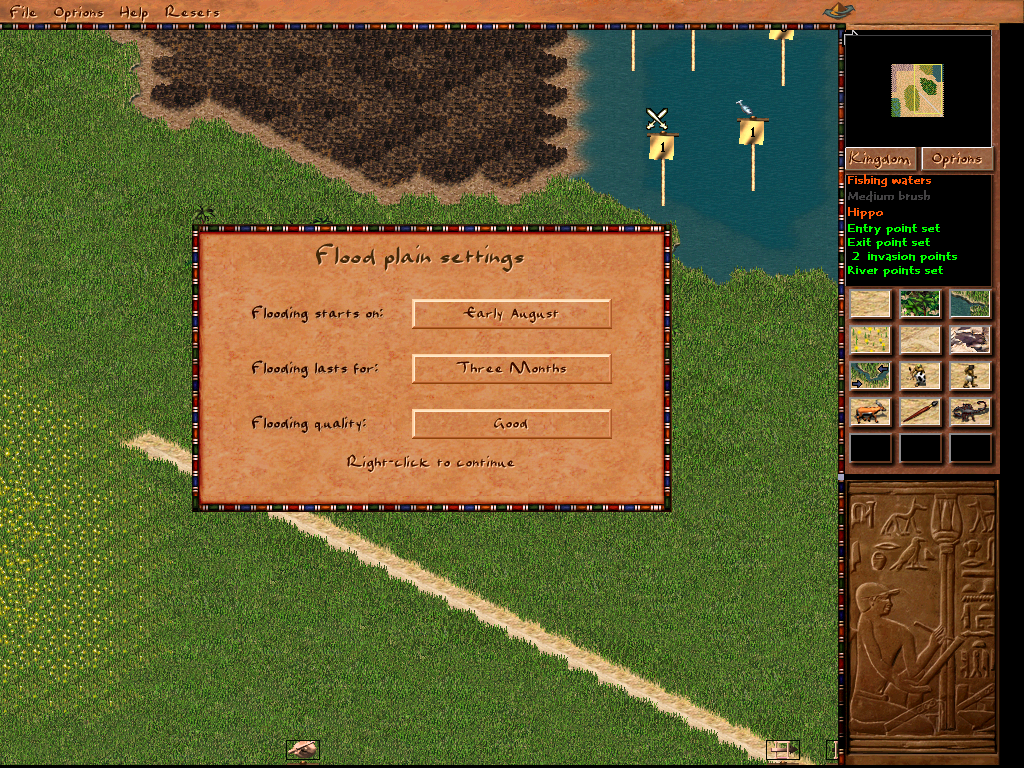
You can select flood timing and quality for the flood plains you put into your map using the flood plain settings.
Kingdom Map
For the kingdom map press the button next to the options button underneath the mini-map.
You will see some cities and trade routes already there from the previous map you loaded.
First, click on reset to get rid of all objects. If some cities still remain simply click select objects right-click on the city you want to delete and then click Delete Object.
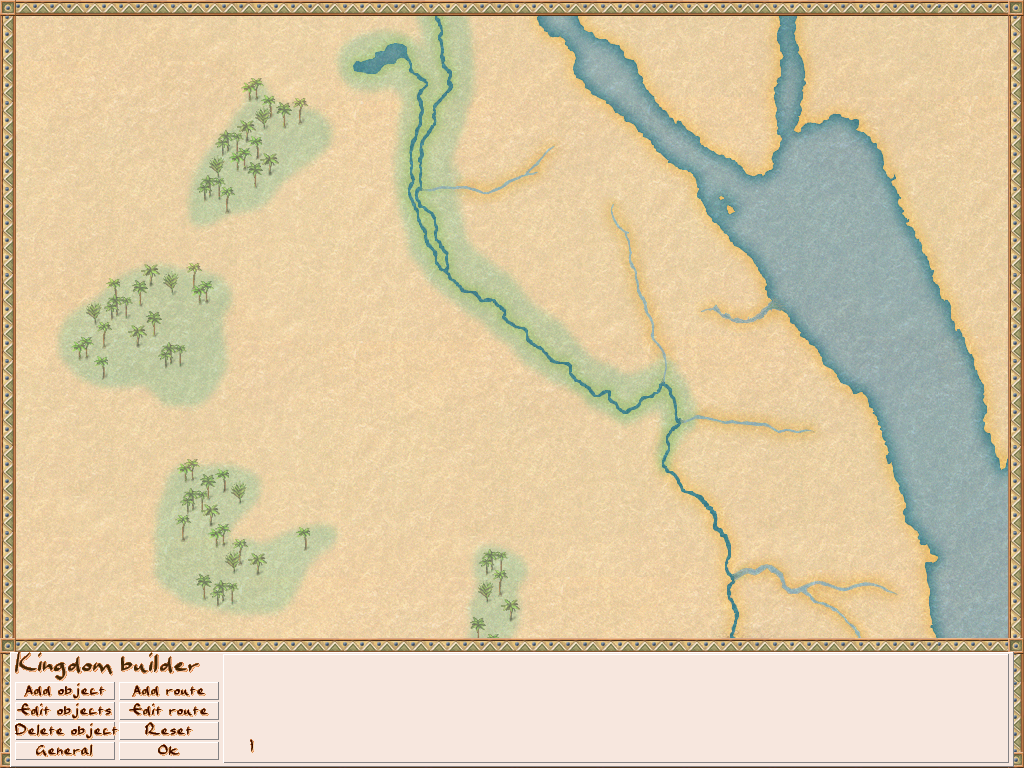
After these steps, you should end up with an empty map.
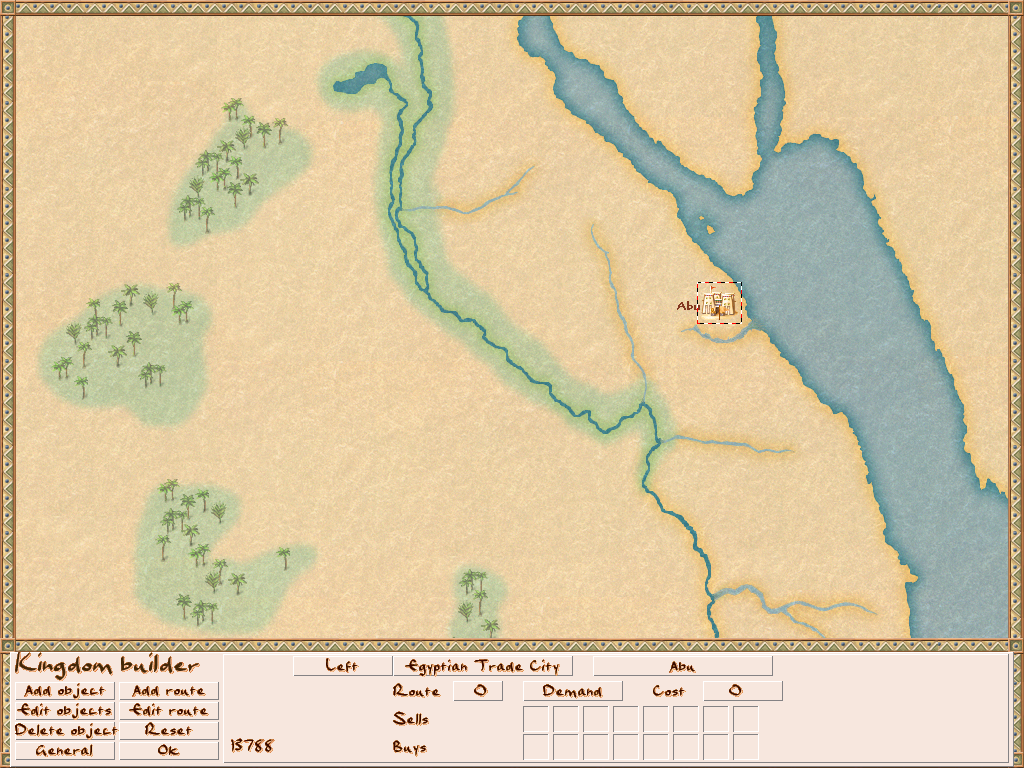
Click on Add Object, select City from the right menu, and click on a free space on the map.
After this click Edit Object and select the city you placed.
You can change where the name is displayed, the type of the city, the name of the city, which trade route the city uses, the rates of the goods being traded, the cost of opening the trade route, and finally the trading goods themselves.
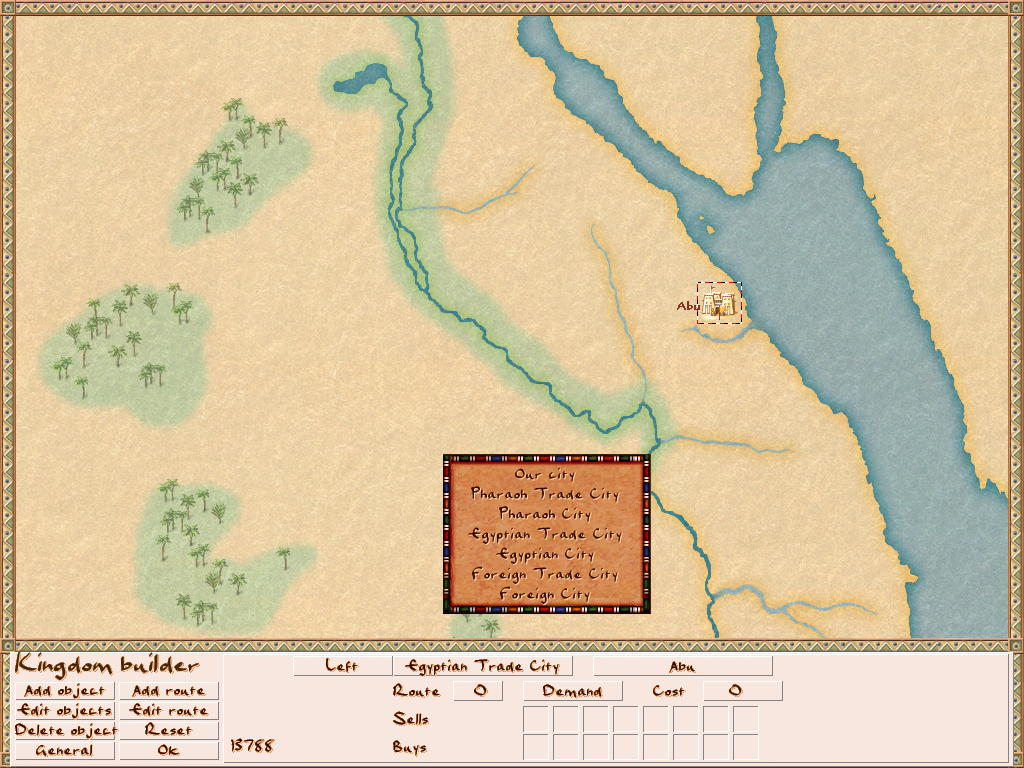
First, click on the type of your city and select Our City from the menu.
Also right next to this, you can select the name of your city.
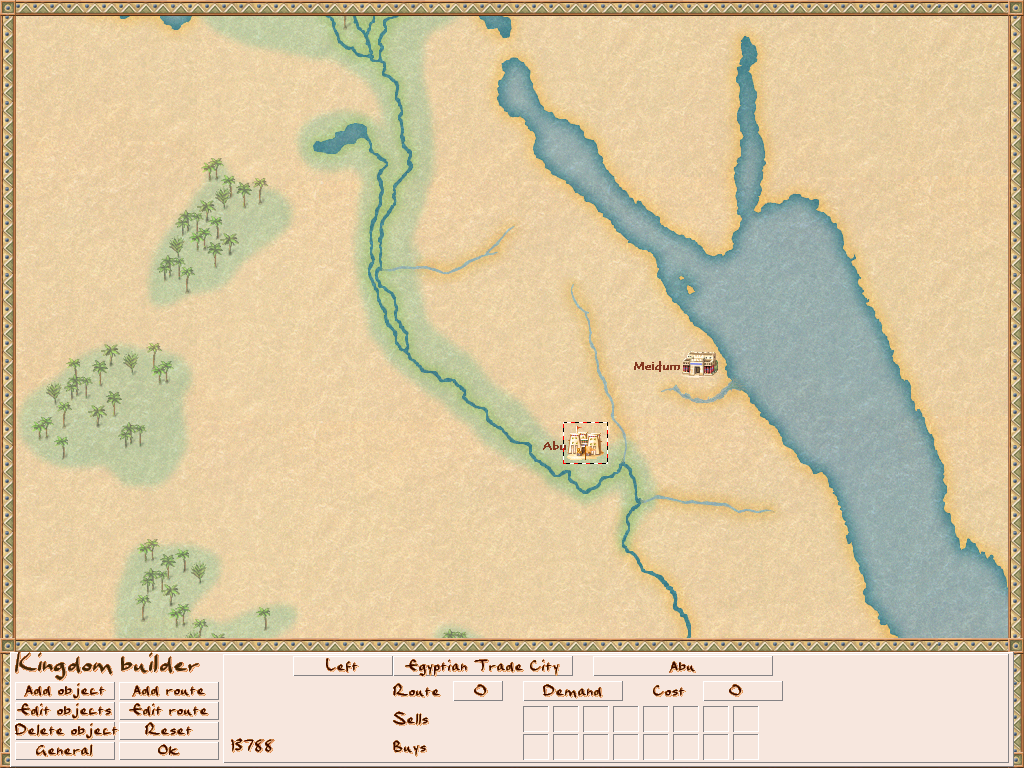
Now click again on Add Object and place a new city next to your city. If you want, rename the new city.
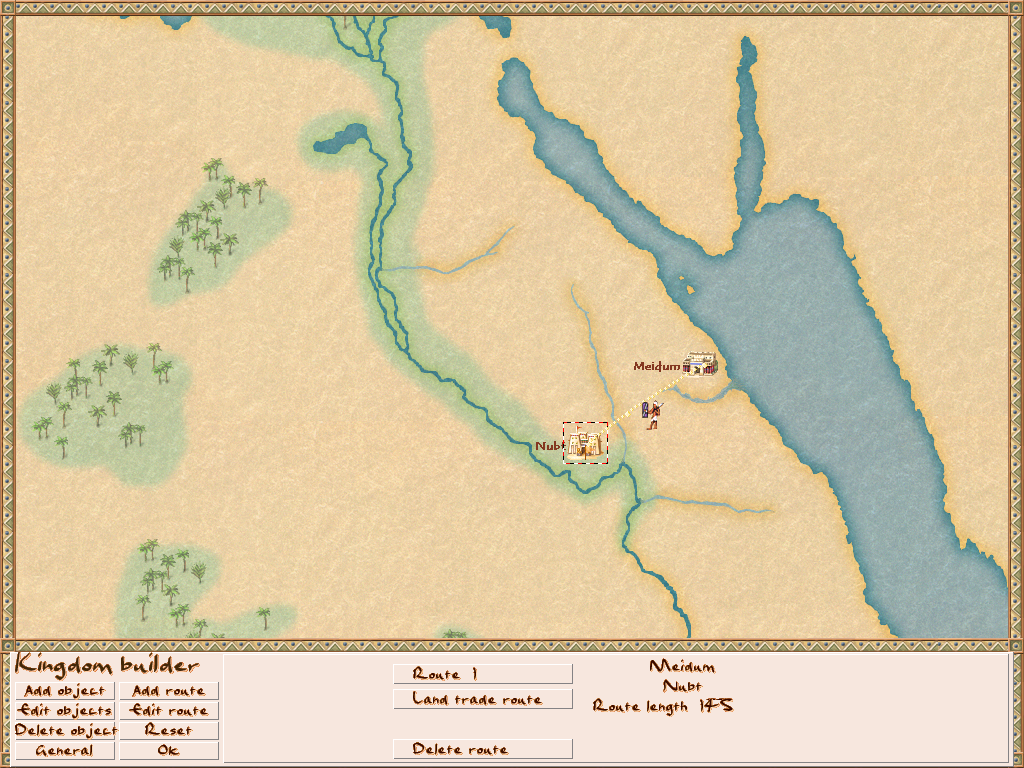
Now it is time for a trade route. Select Add Route and left-click on the new city.
Now plan your trade route with a left click and for the final click on your city do a right click. Your route is finished.
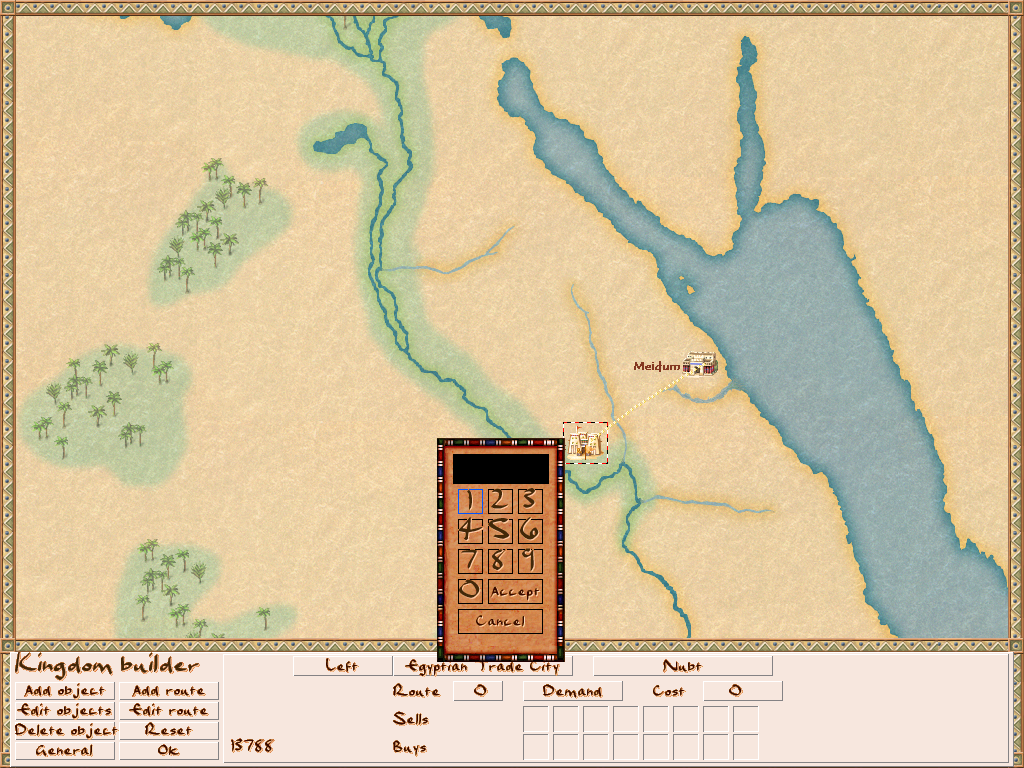
Now go back to Edit Object and click again on the new city you created. We still need to select the number of the trade route it uses. In this case, we placed trade route 1.
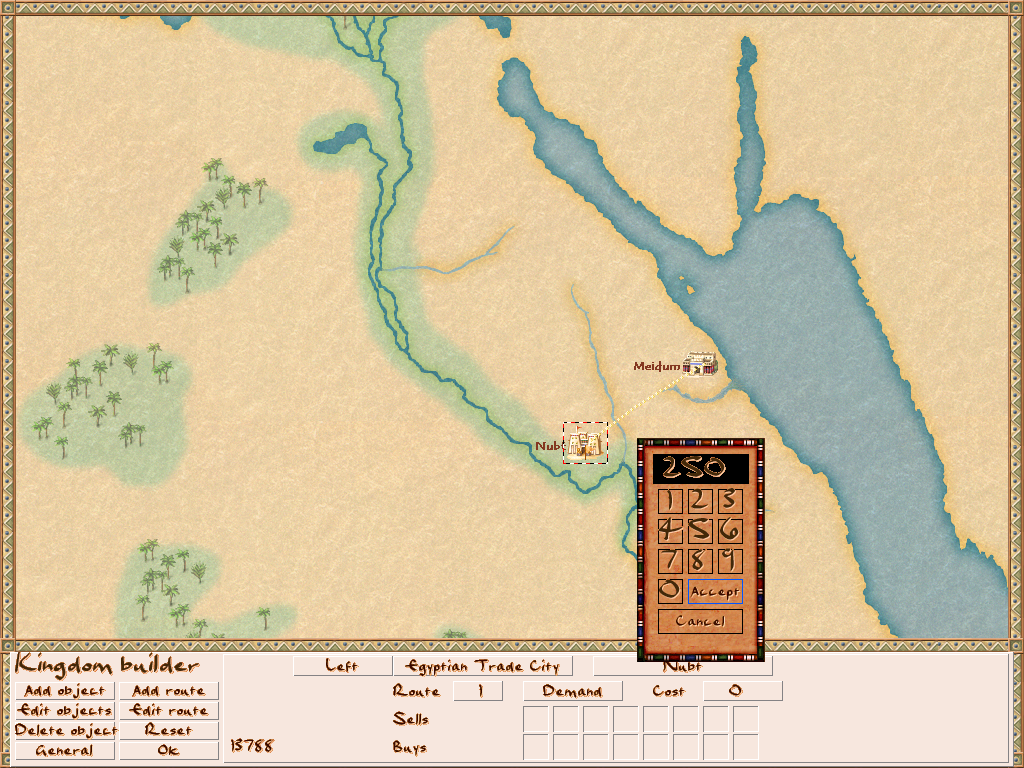
Select a price for opening the trade route.
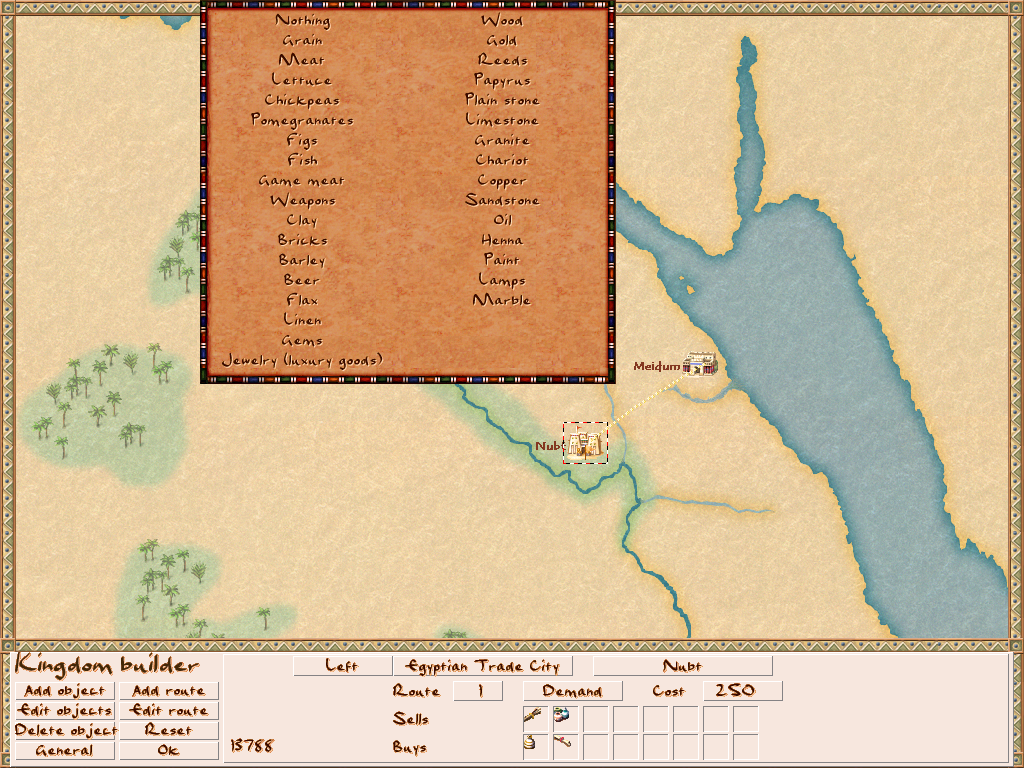
Now it is time to select some trade goods which the city will sell and buy.
For now, put anything in it except food.
We will talk about food-related items later in the guide.
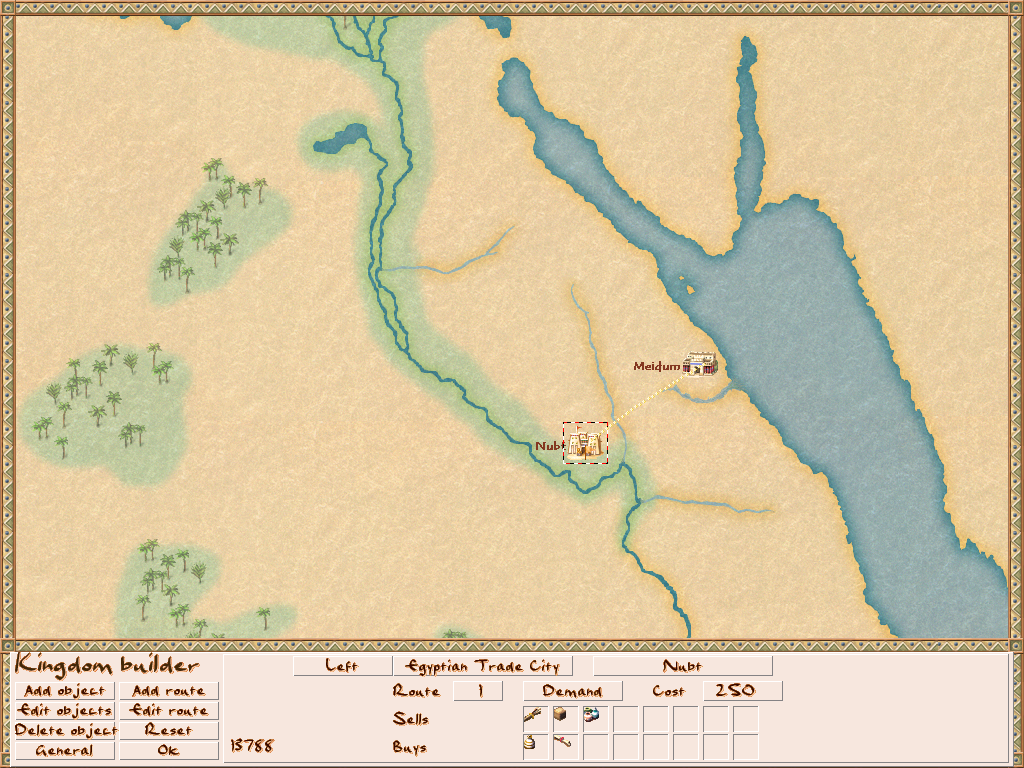
We now have our first trade route. Besides land trade routes, there are also sea/river trade routes that will send ships that will require docks to trade.
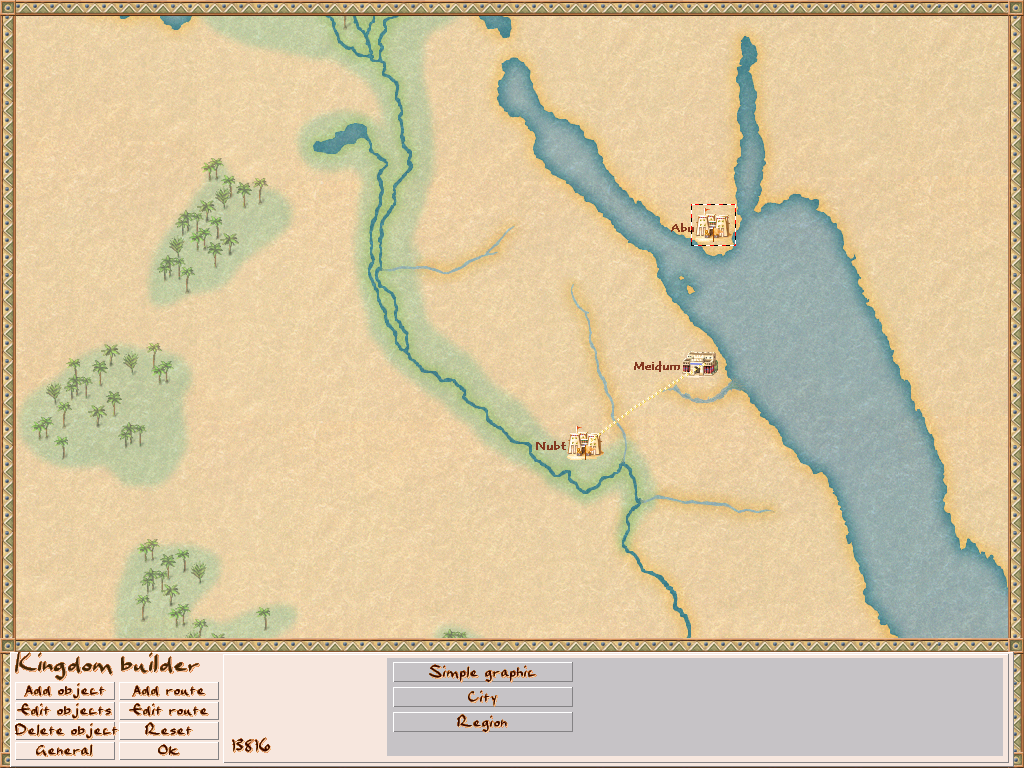
Now let us add another city that will use a sea trade route.
Select Add Object again and place it across the sea.
Set it up as you wish.
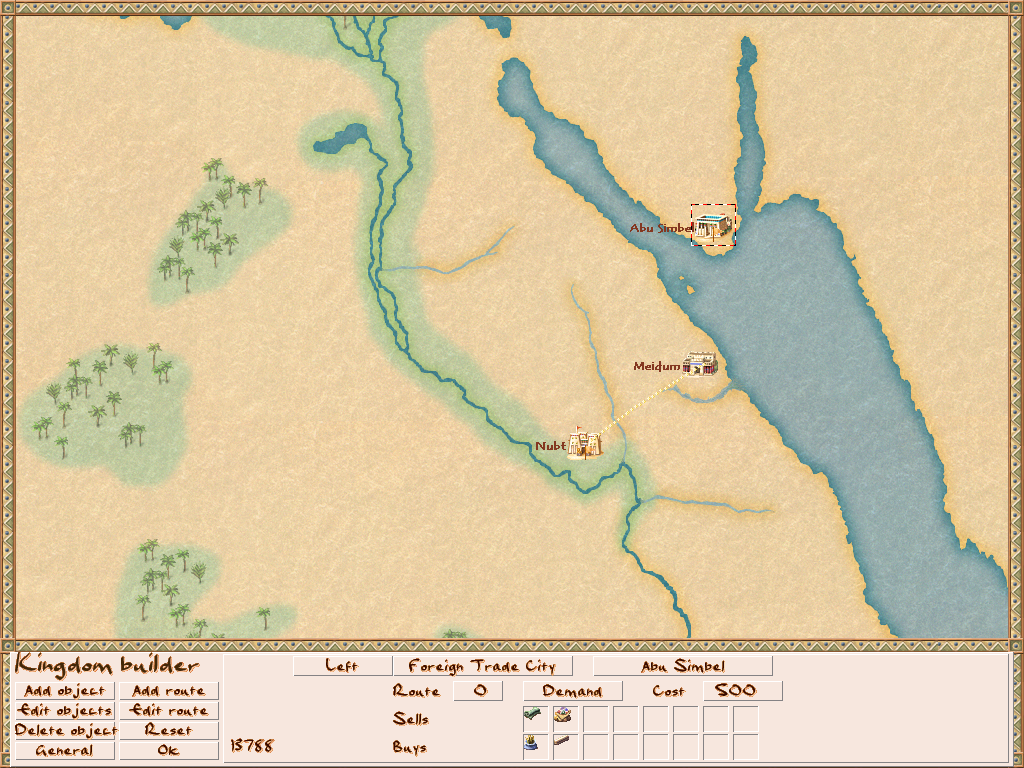
For my new city, I selected a Foreign Trade City which is simply a nonegyptian city that is able to trade with the player. I also added a price for opening the trade route. I also added some trade items. Again, for now, do not select food.
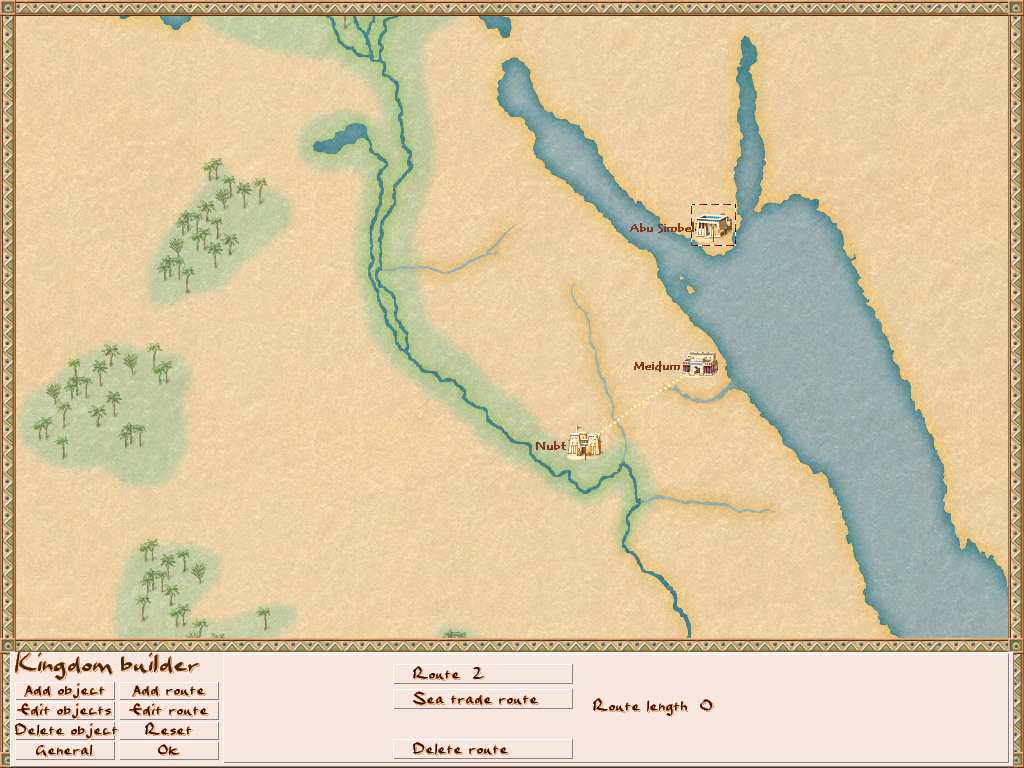
Now let us place our sea trade route. Click again on Add Route.
This time click on the Land Trade Route button. It should flip to a Sea Trade Route. If not try to left and right-click a few times as it can get stuck sometimes.
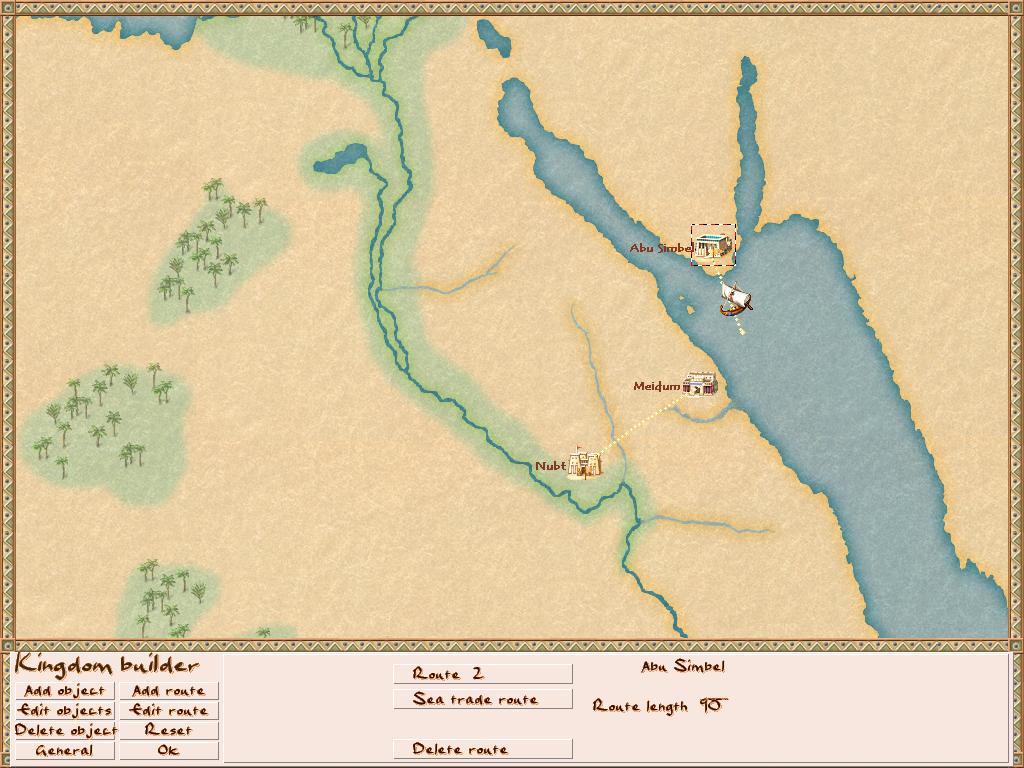
Again left click to create the nodes of your route. And for the final node on your city, right-click.
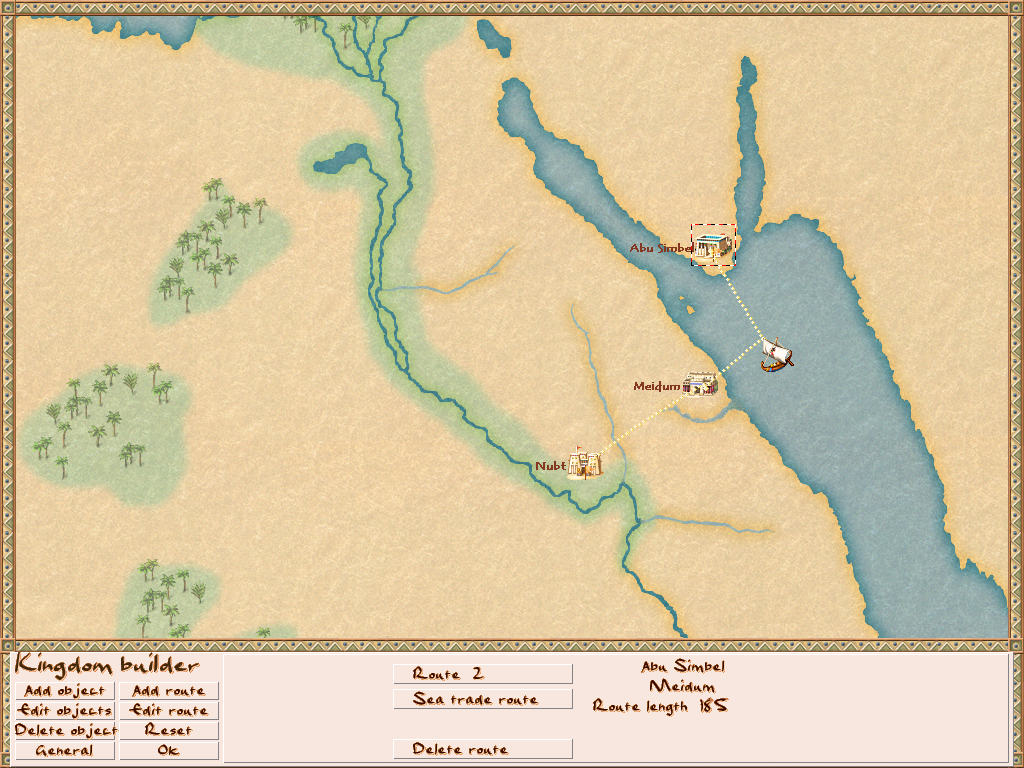
Now your sea route is done. Time to give it to the new city.
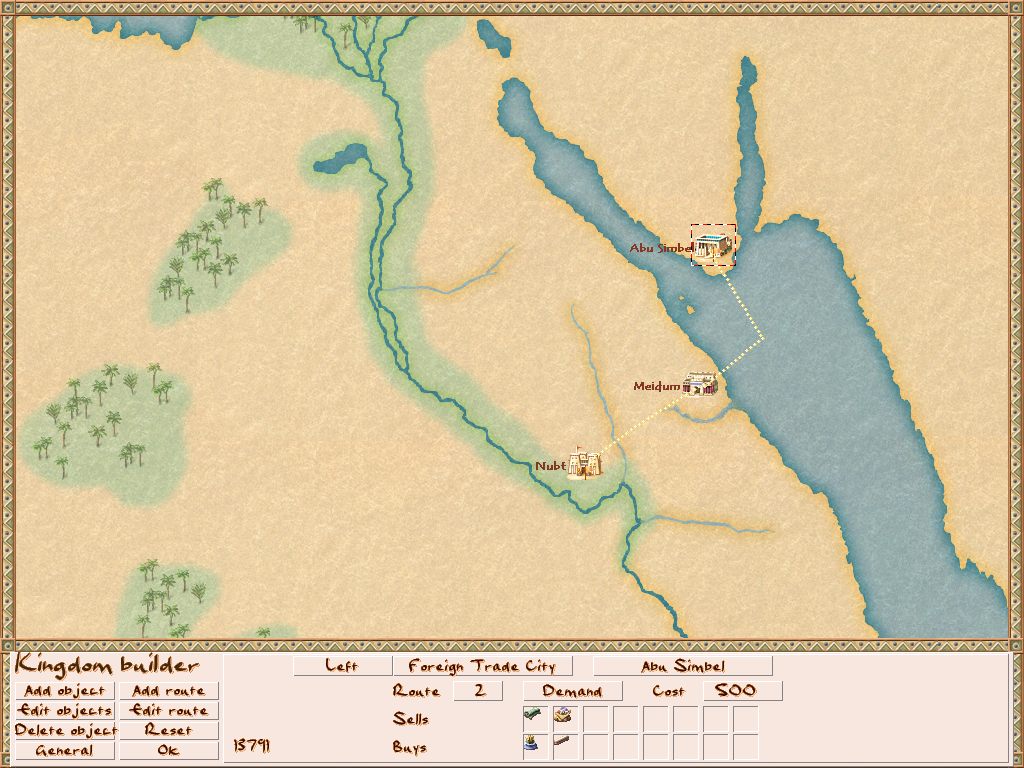
Go to Edit Object again and click on the new trading city. As we just did Route 2 we will assign Route 2 to the city.
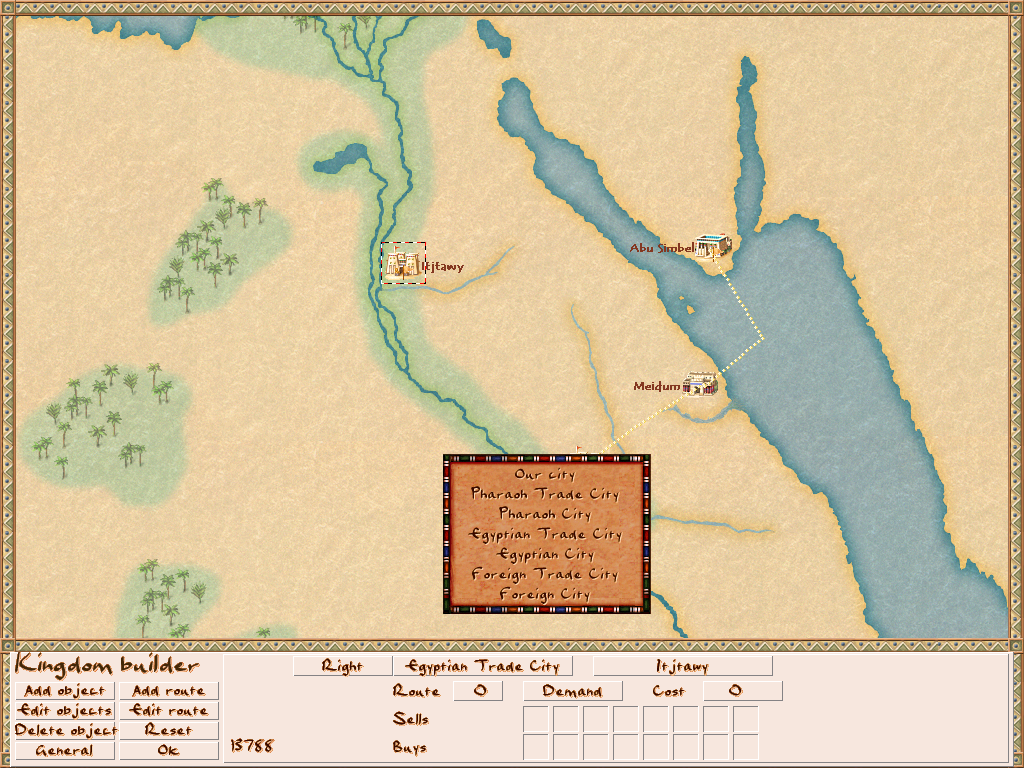
Now that we placed 2 cities with different trade routes there is one thing left to do.
Place another new city on your map. As the type select Pharao City.
If you put your rank to Pharao earlier in the Options then your city will automatically be the Pharao City.
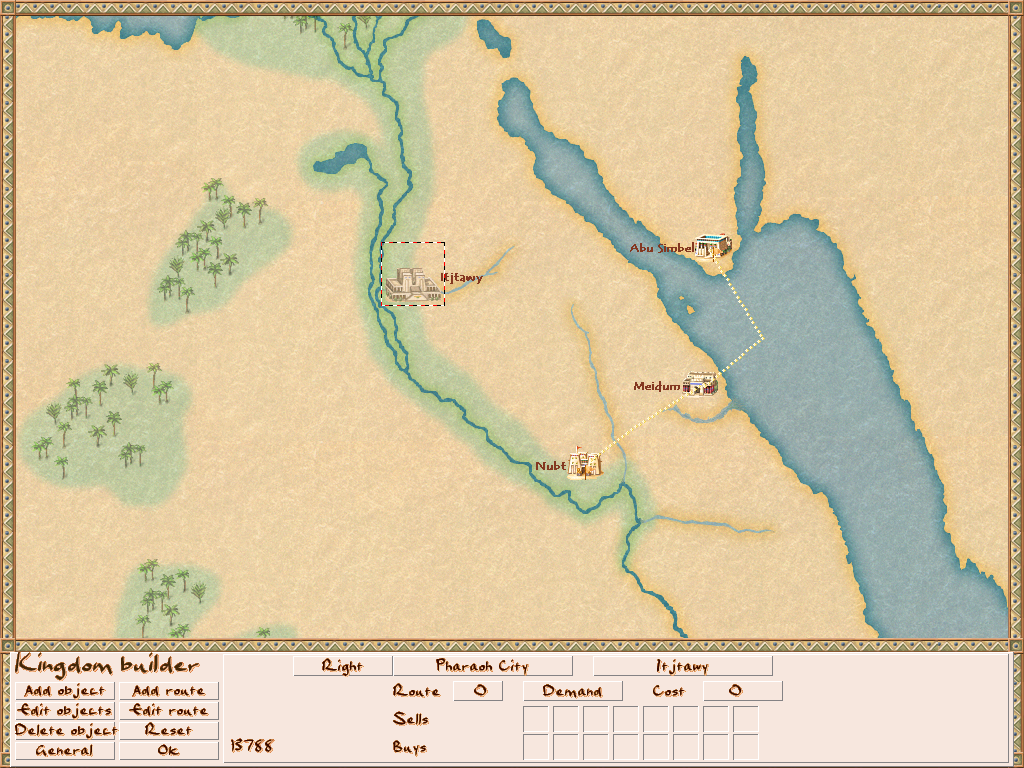
You can also change the city to a Pharao Trading City and set it up just the way you did with the other cities. But I put mine down as a simple nontrading Pharao City.
Now your Kingdom is complete for now. You can place all the cities but as for trading cities, there are only 19 trade routes available.
Choosing Food Types in the Kingdom
Now let us take a look at the food types of your Kingdom.
In Pharao, your Kingdom can have 4 different food types.
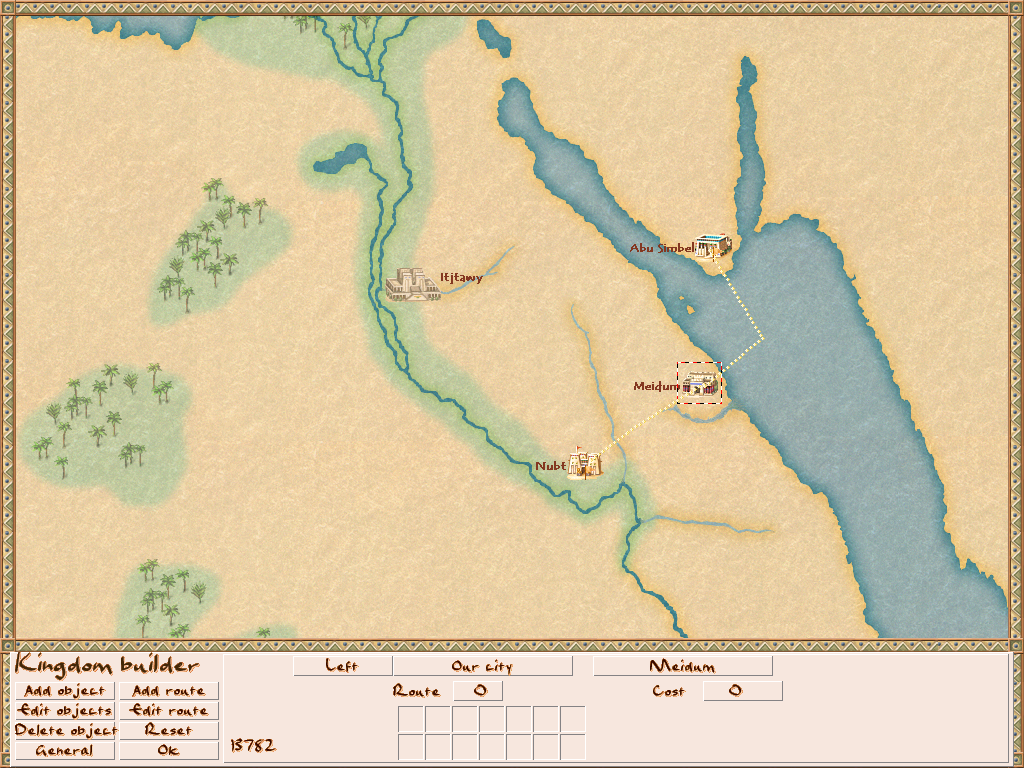
Now go back to your city on the Kingdom map and use Edit Object and click on it. You will see that different than other trade cities your city does not have sell and buy boxes of trading goods but simply boxes of goods.
These are the goods your city produces. For now, we will add 4 food types here.
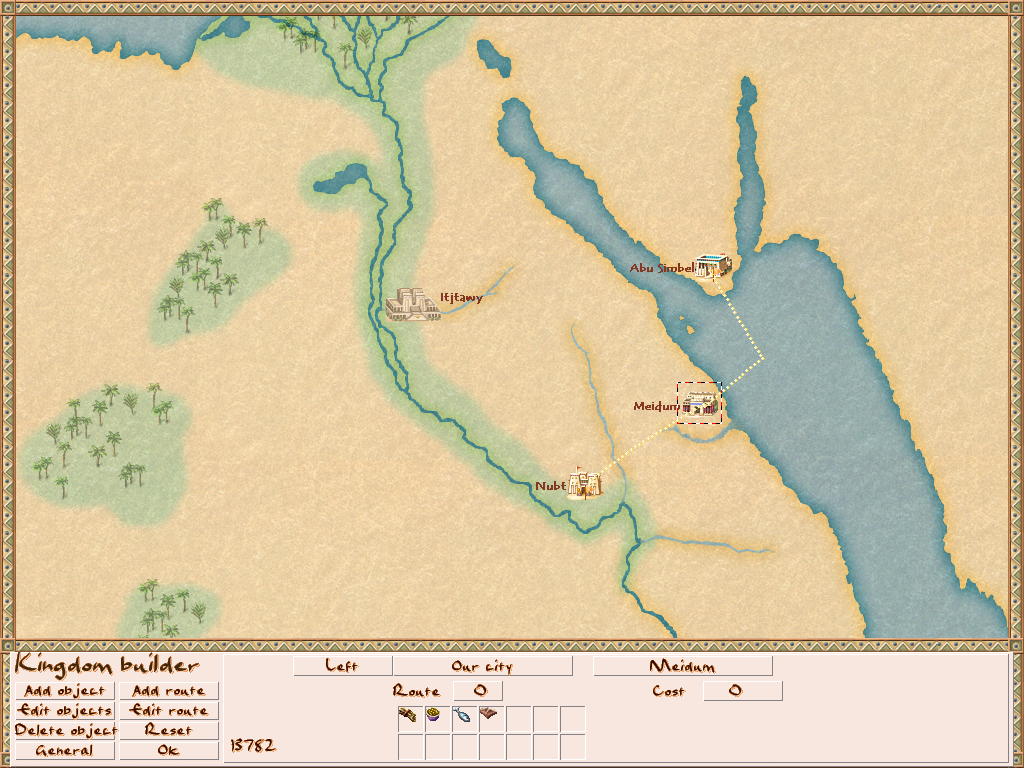
I added Wheat, Chickpeas, Fish, and Game Meat as my 4 food types. Only use these 4 food types in your kingdom from now on. And if you want to change a food type, you have to change it in ALL cities selling or buying it as well.
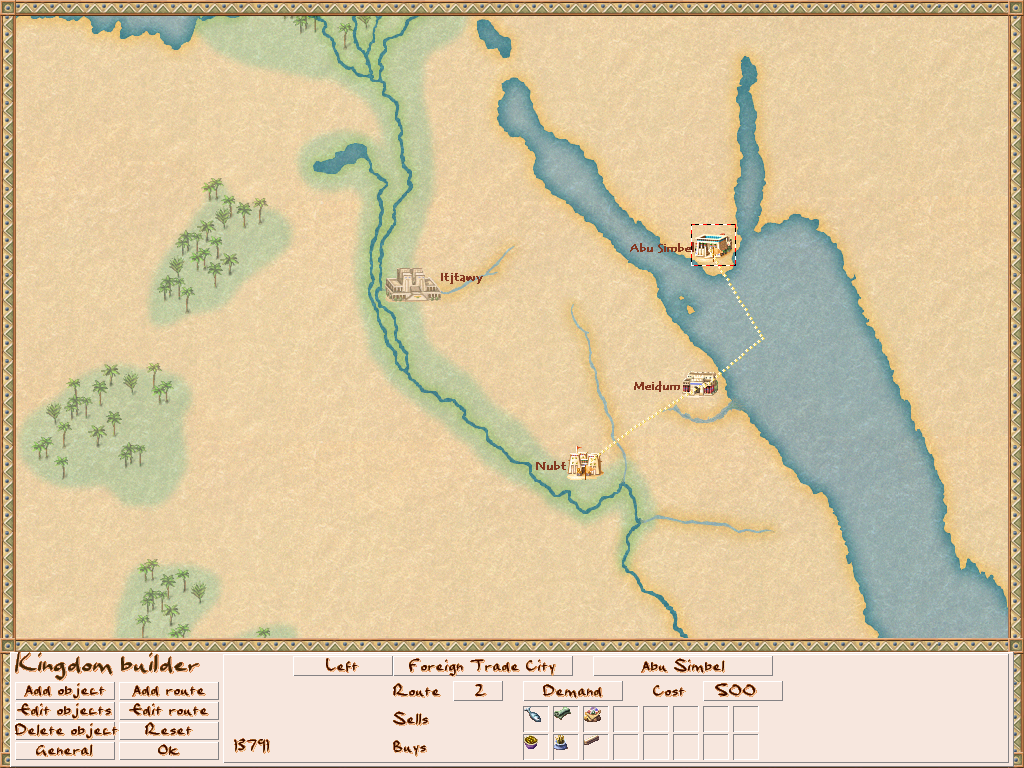
Now you can set your food types for other cities as sold or bought goods.
Choosing game Meat, Stone and Copper Production within the City
Now that we set up the food types we can also set up good types for your city.
First of all, what buildings can be built in your city is decided by the Allowed Buildings list in the Options Screen that we talked about earlier. Yet there are some additional buildings like hunting lodges or copper mines which are solely unlocked by the products you select your city should produce. If ever any building you want is missing in-game and it is not in the Allowed Buildings list simply go back to your city on the Kingdom Map and add the resource desired.
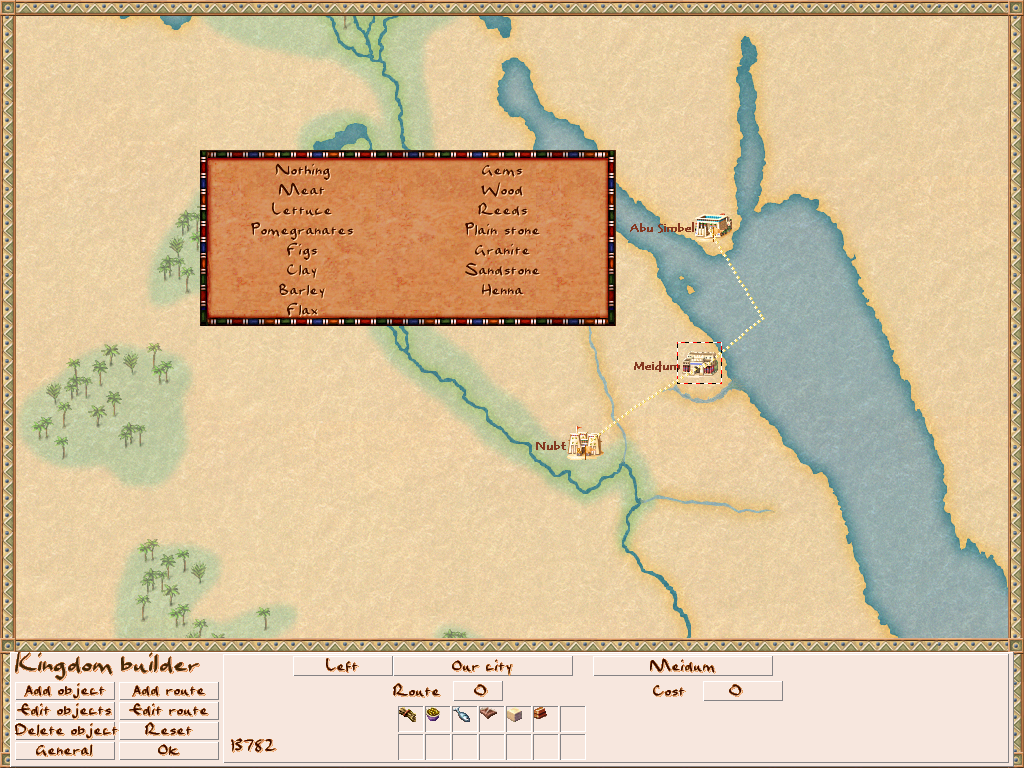
So let us take a look at the produced goods again. Simply click an empty box and add goods you wish to be able to produce.
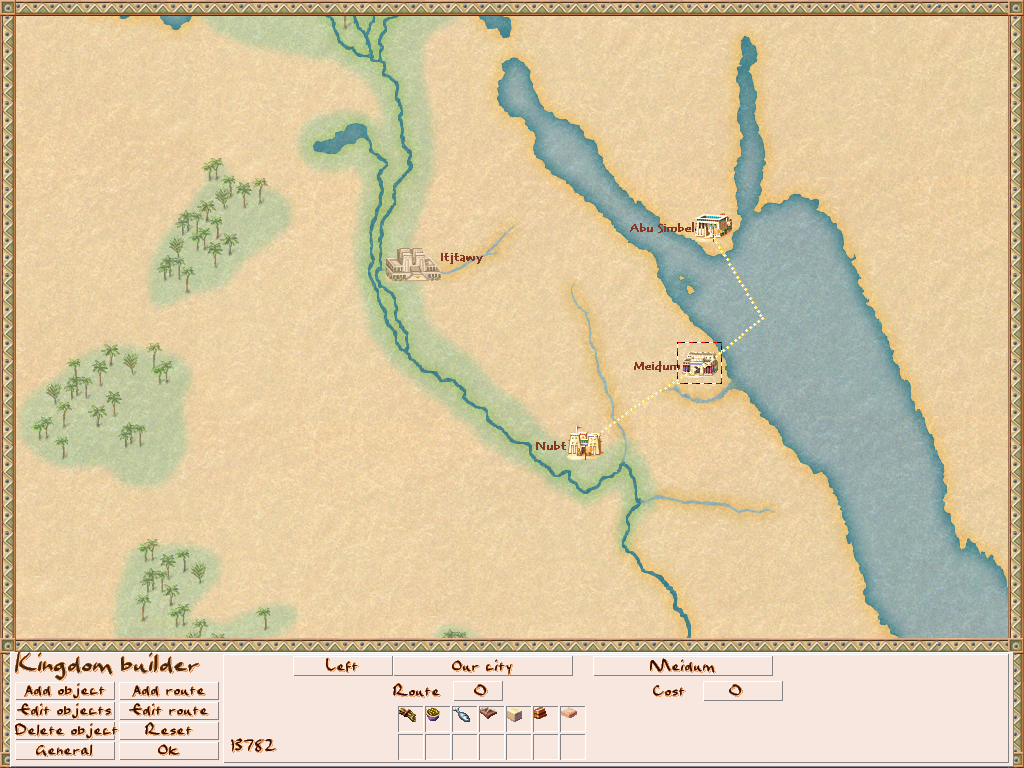
For now go there and add copper, limestone, and sandstone as goods produced in our city.
Go back and save your city.
Now you can go and start your game and see how it works ingame.
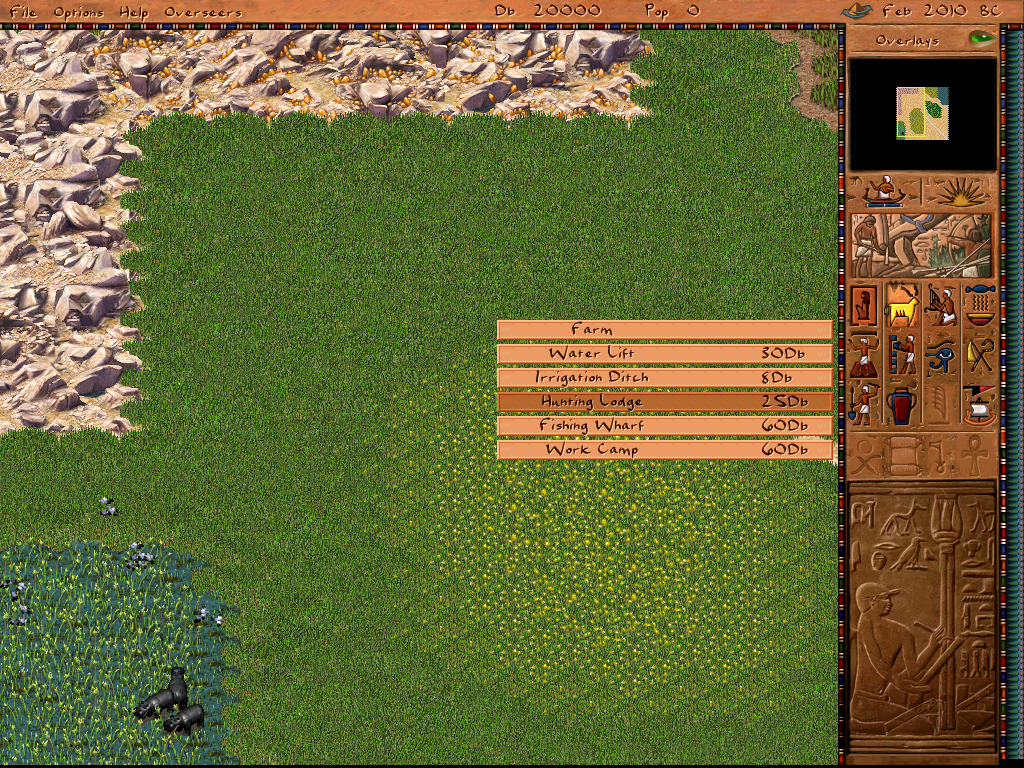
Remember the game meat we added in the food chapter?
We added game meat to the goods produced and as you can see here we can now build hunting lodges.
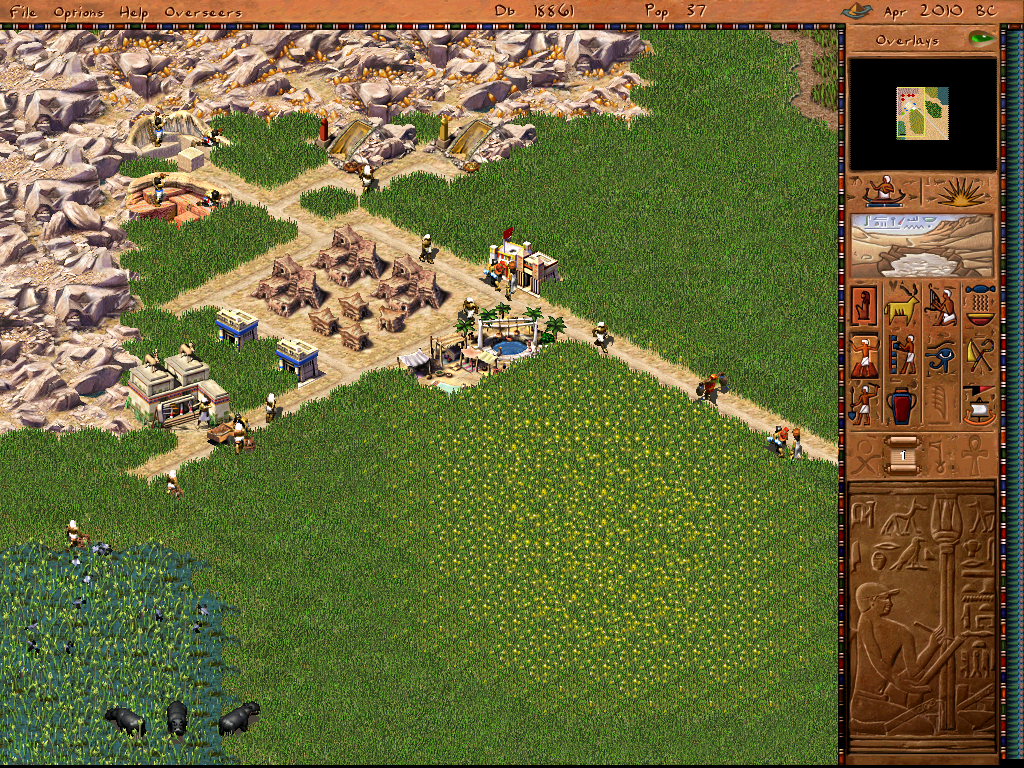
Also, we can build limestone and sandstone quarries, and of course also copper mines because we added these resources earlier.
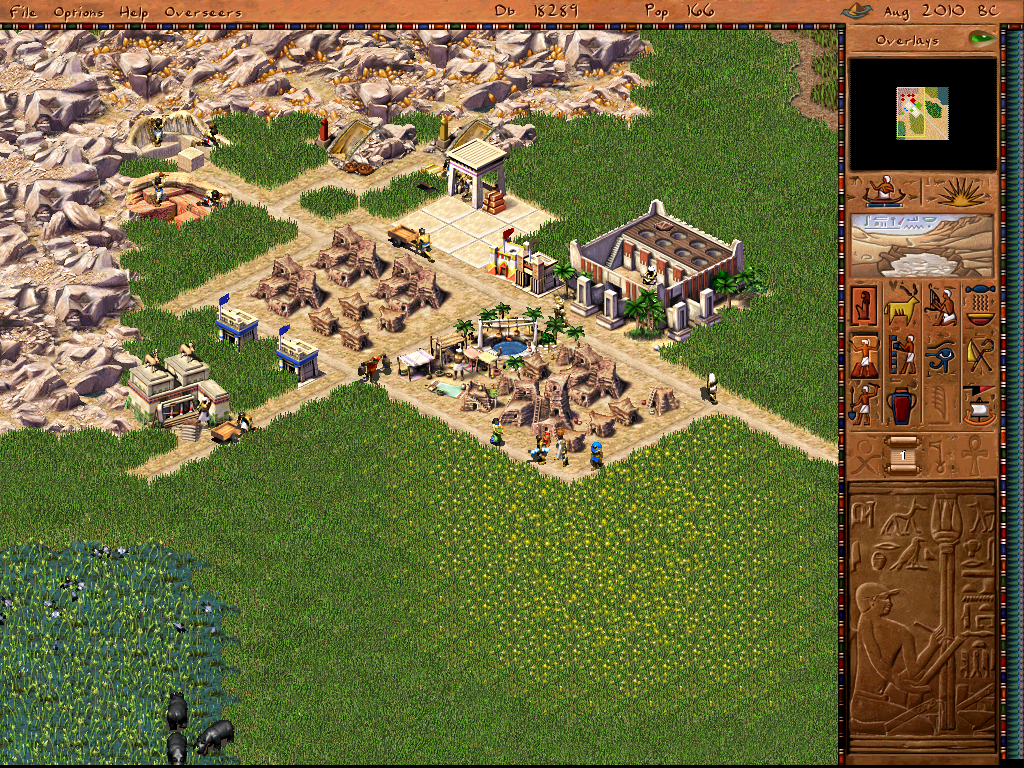
This is already all there is to food types and resource types in your city.
Events
Events are great to spice up your maps.
Being it Quests or enemy invasions everything can be set up using events.
Go back to the options screen.
Go to events.
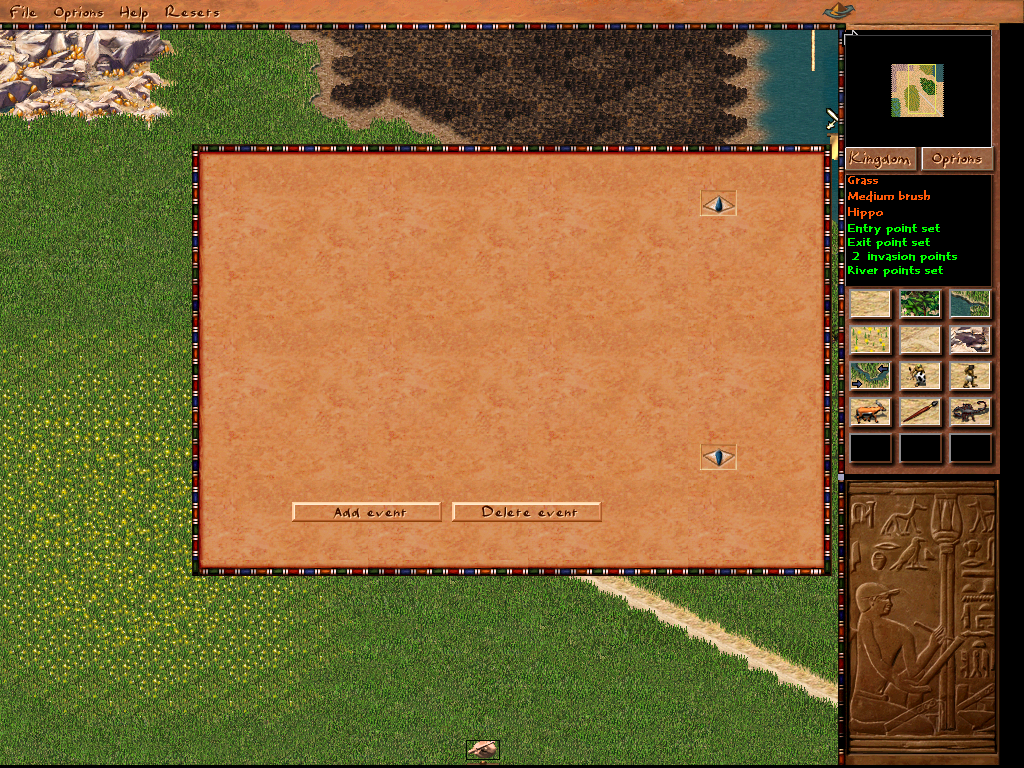
Delete any events that might be still there from the map you initially loaded.
Add a new event.
Click on your new request and let us look at it for a moment.
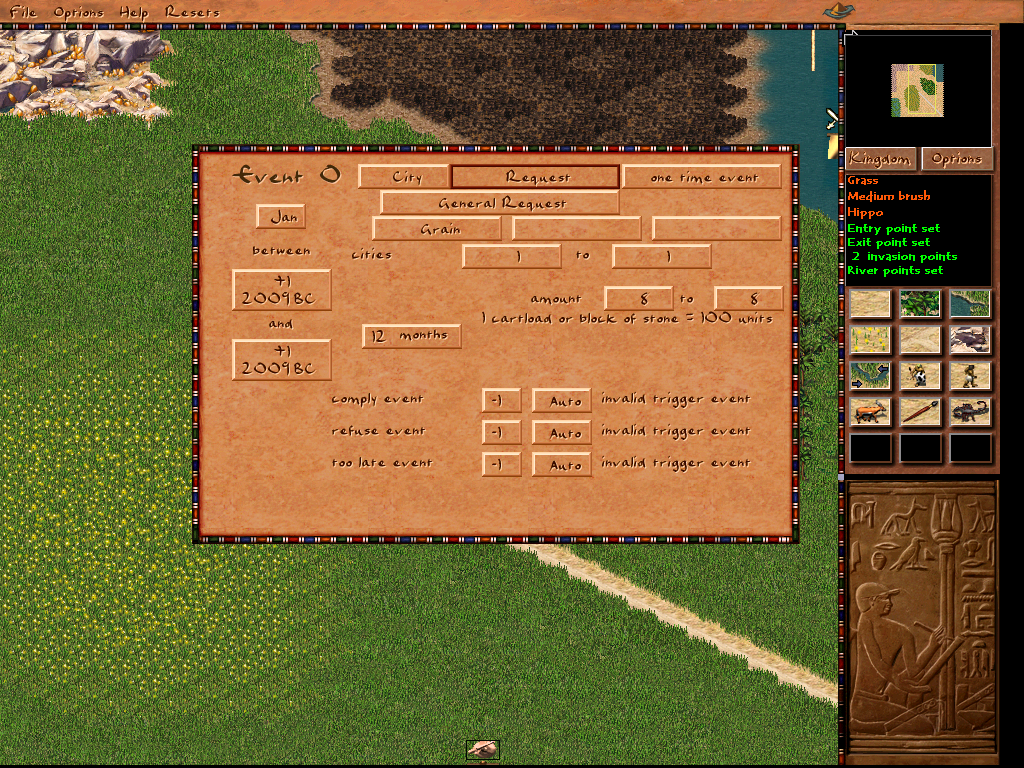
You can select the type of the event in the top middle. Change the request to a one-time message event.
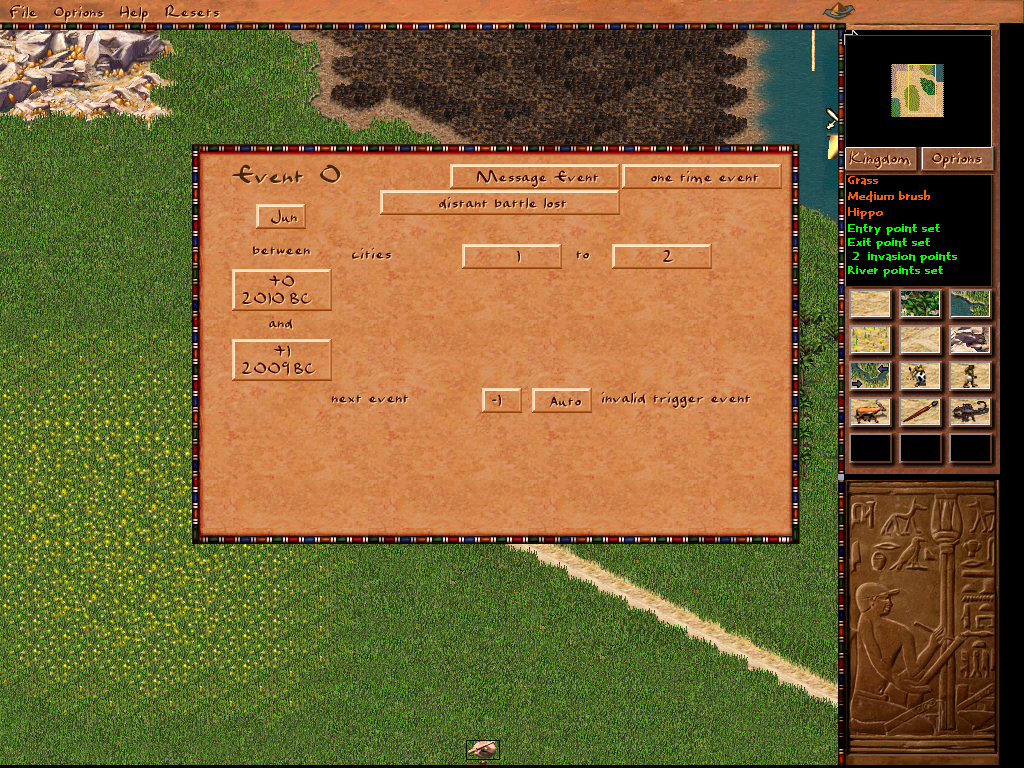
Now let us set up when the event will trigger.
To the left, you can see a Month selection on top and 2-year selections underneath. First, let us select June. Then fill in a 0 for the first year and a 1 for the second year field.
Also, set the message to a distant battle lost.
You can also adjust the range of cities that will be subject in the message.
We created our first event. It will be a simple message, saying that a distant battle was lost within the first year.
You can already start your map and see the message in June in the first year.
If you would have set the second year to +2 it could trigger in the first or the second year.
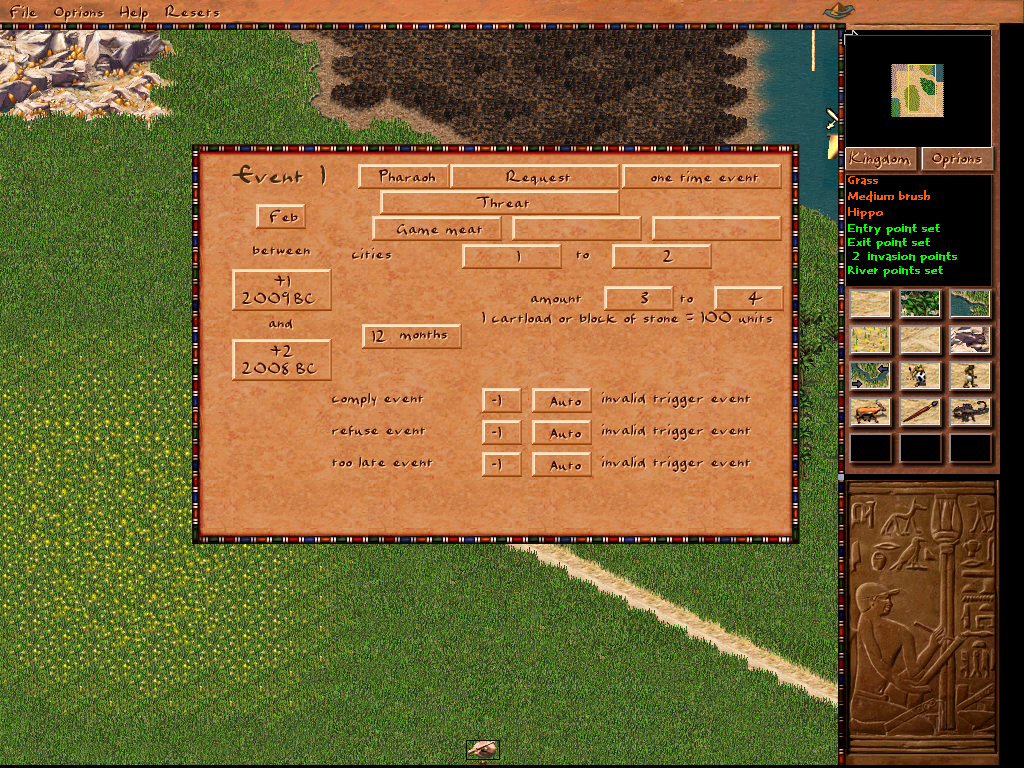
Set up the event as follows:
Choose a Request Event. Change the triggering entity from City to Pharao. Choose a one-time event as a type of triggering. Choose February as the month, and set the event up to happen between year 1 and 2. The duration of the request, so how much time the player has to fulfill the request I left at 12 months. The resource requested is Game Meat and the amount is between 300 and 400 units. Note that for example with weapons it would be 3 or 4 instead.
Ignore the invalid trigger events on the bottom, they are not important for now.
Now let us take a look at reoccurring events.
Our map so far is a bit boring. No events to change goods prices or trigger invasions so far.
Let us do an event for an invasion. But we will do it a bit more extensive to show you everything you need to know about events.
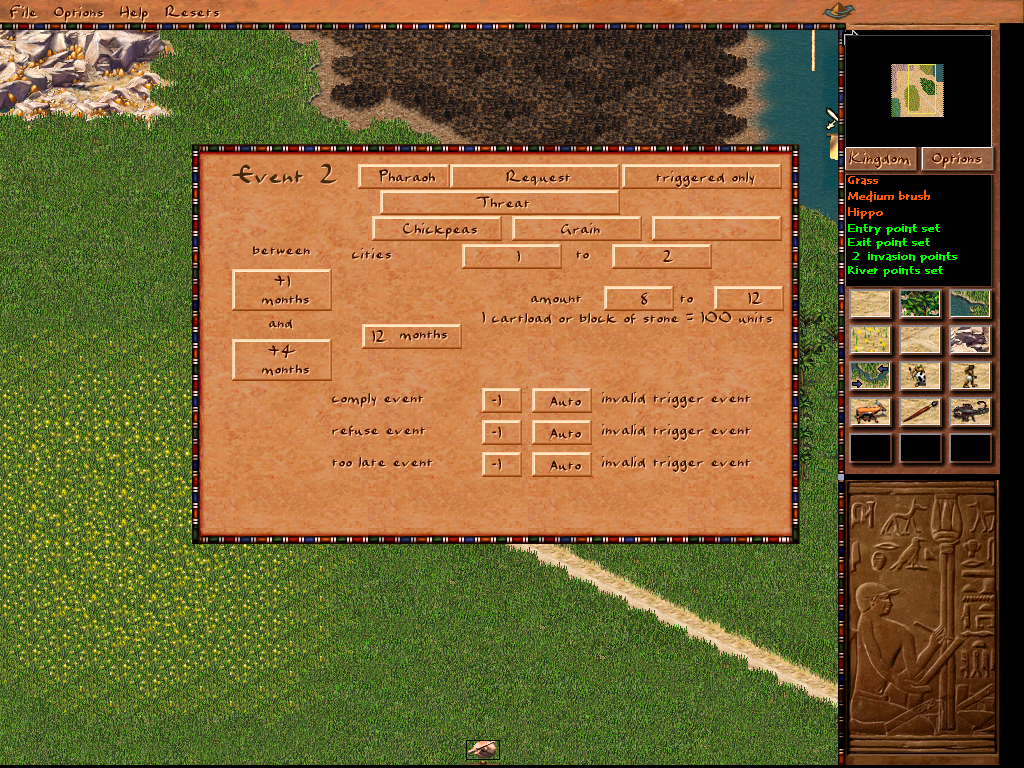
Let’s set up a new Request. We will do it similar to the game meat request. This time we add Wheat and chickpeas as goods though. It will be decided randomly which one it will be each time.
It will be between 800 and 1200 units.
This time set the trigger option to triggered only.
Go back to the request we did earlier requesting the Game Meat.
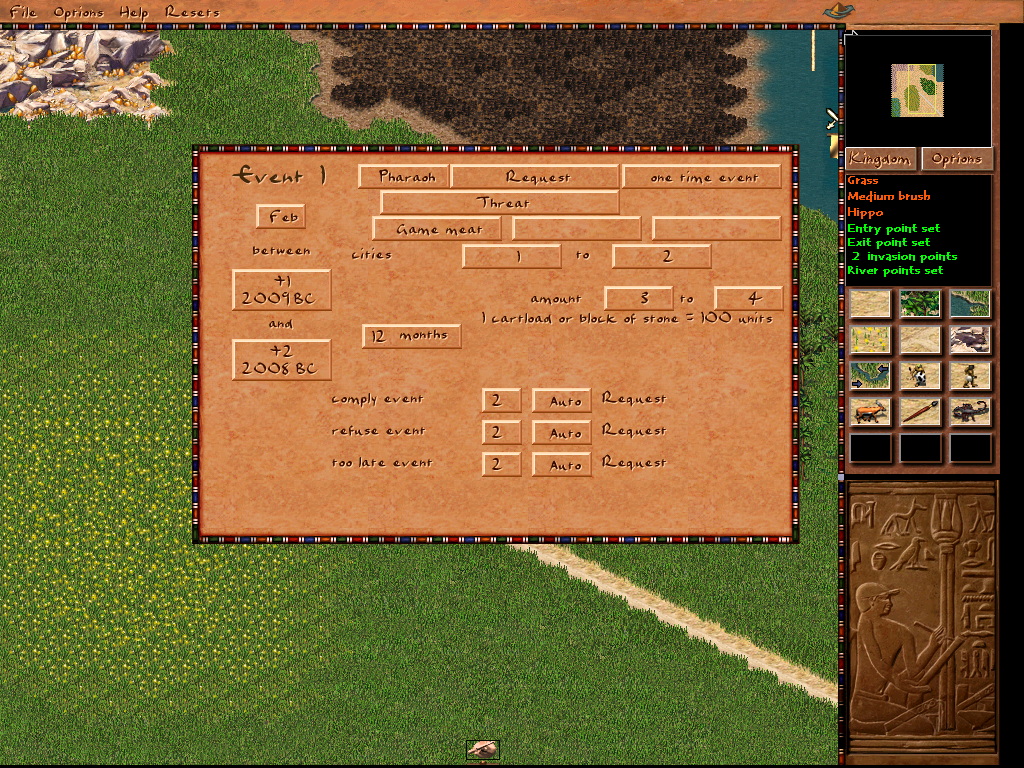
Here set all bottom triggers to 2 for Event 2. It is the one requesting Wheat or Chickpeas.
See how the invalid event changes to Request, referencing the Event that will trigger after the respective outcome of this event.
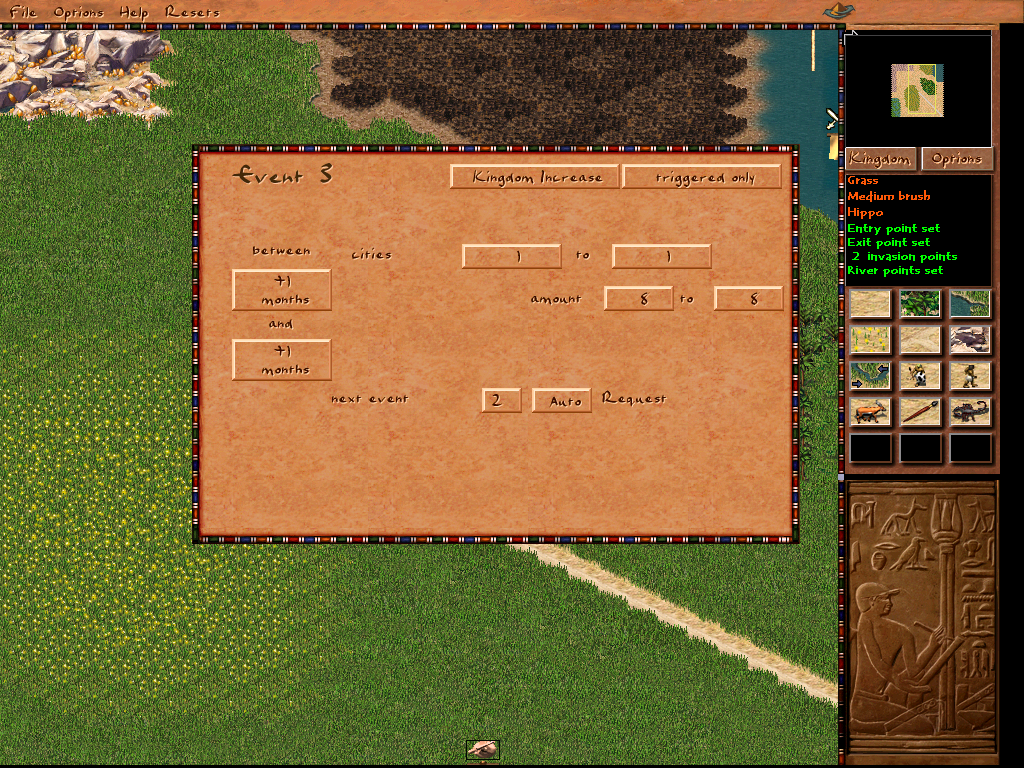
Create a Kingdome Increase event and set it up as triggered only.
Set Event 2 as being triggered after the event.
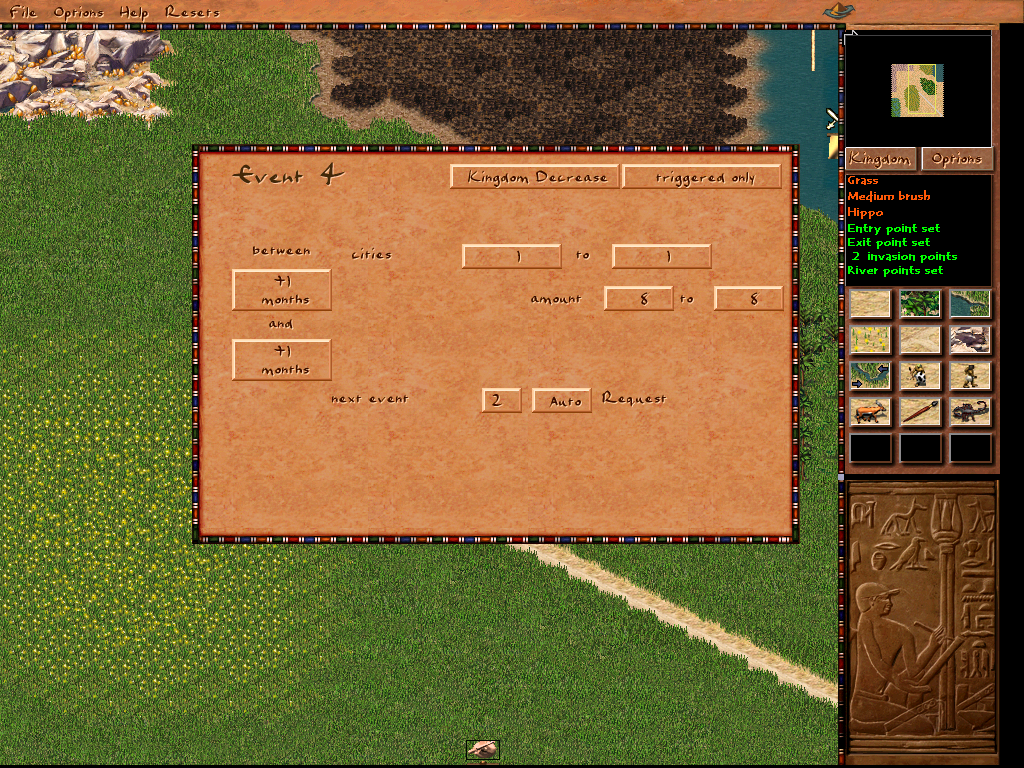
Doe the same with a new Kingdom Decrease event.
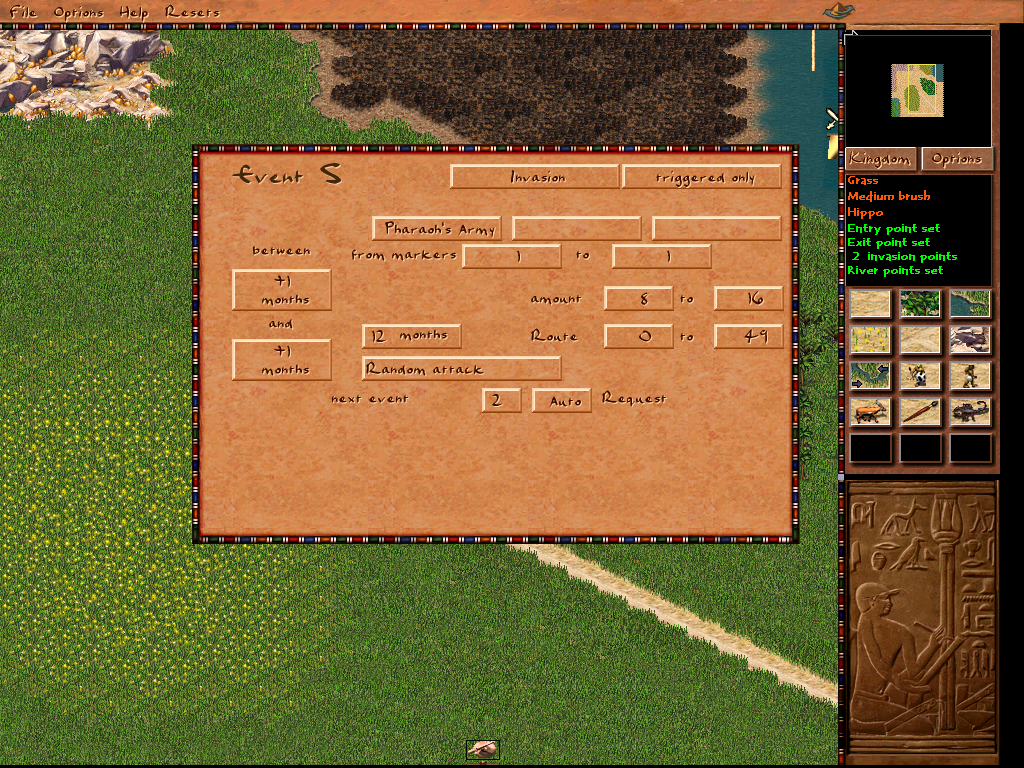
Let us do an invasion event. Set it to triggered only. Set the army type to Pharaos army.
The markers they can appear at are simply from Marker 1 to 1 because we only placed land invasion point 1 on our map. We could also use the sea invasion point as well but for now, we keep it simple. Set the attack type to a random attack, and again link Event 2 as being triggered afterward.
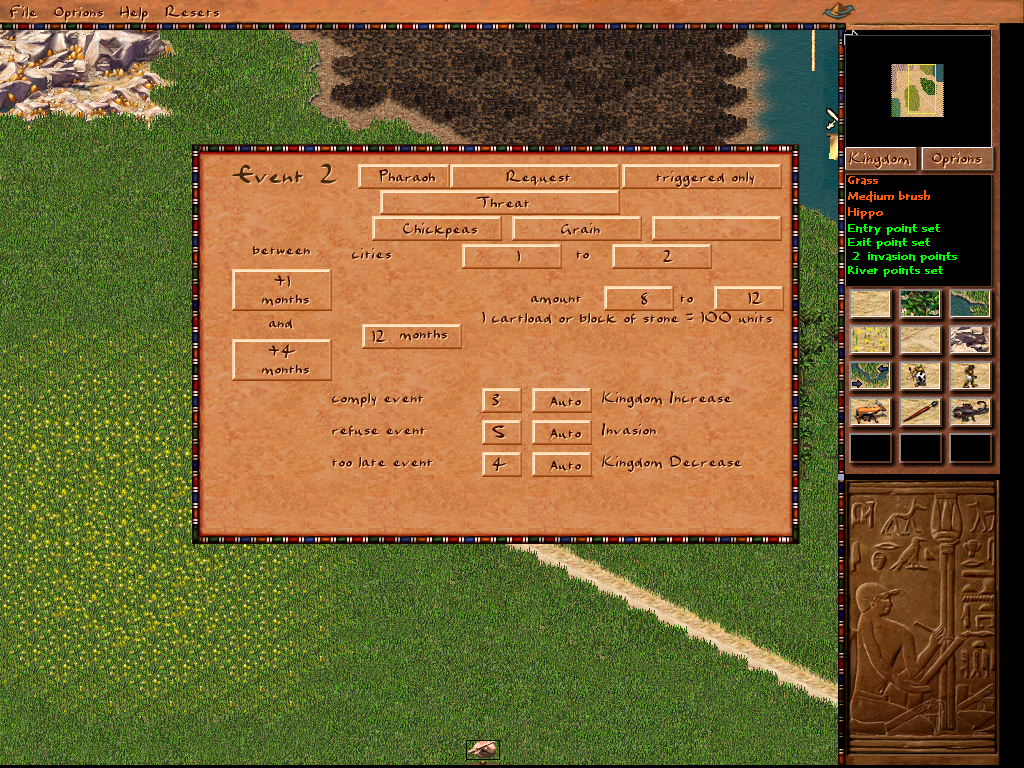
Now the final touch. Go back to Event 2 and select the following events.
Event 3 which is Kingdom Standing Increase in case the player fulfills the request
Event 5 which is the Invasion in case the player simply refuses the request
Event 4 which is Kingdom Standing Decrease in case the player fails the event
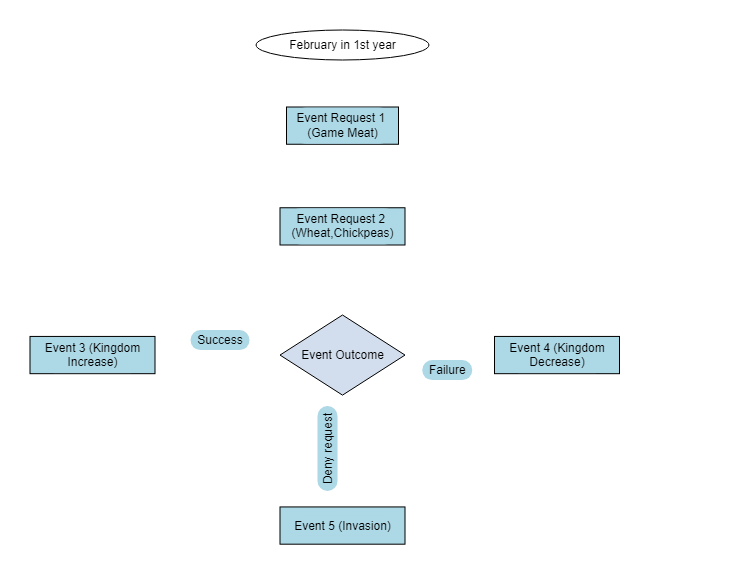
This is a graph of the Events we just set up. Event 2 will be called and trigger the other Events which in return will trigger Event 2 again. This will continue forever.
This is all for now. I will improve and update the guide. And give more Event examples. Please leave suggestions and reviews in the comments! Thanks!
Happy map-making!