Skybox Creating
How to Create a Skybox?
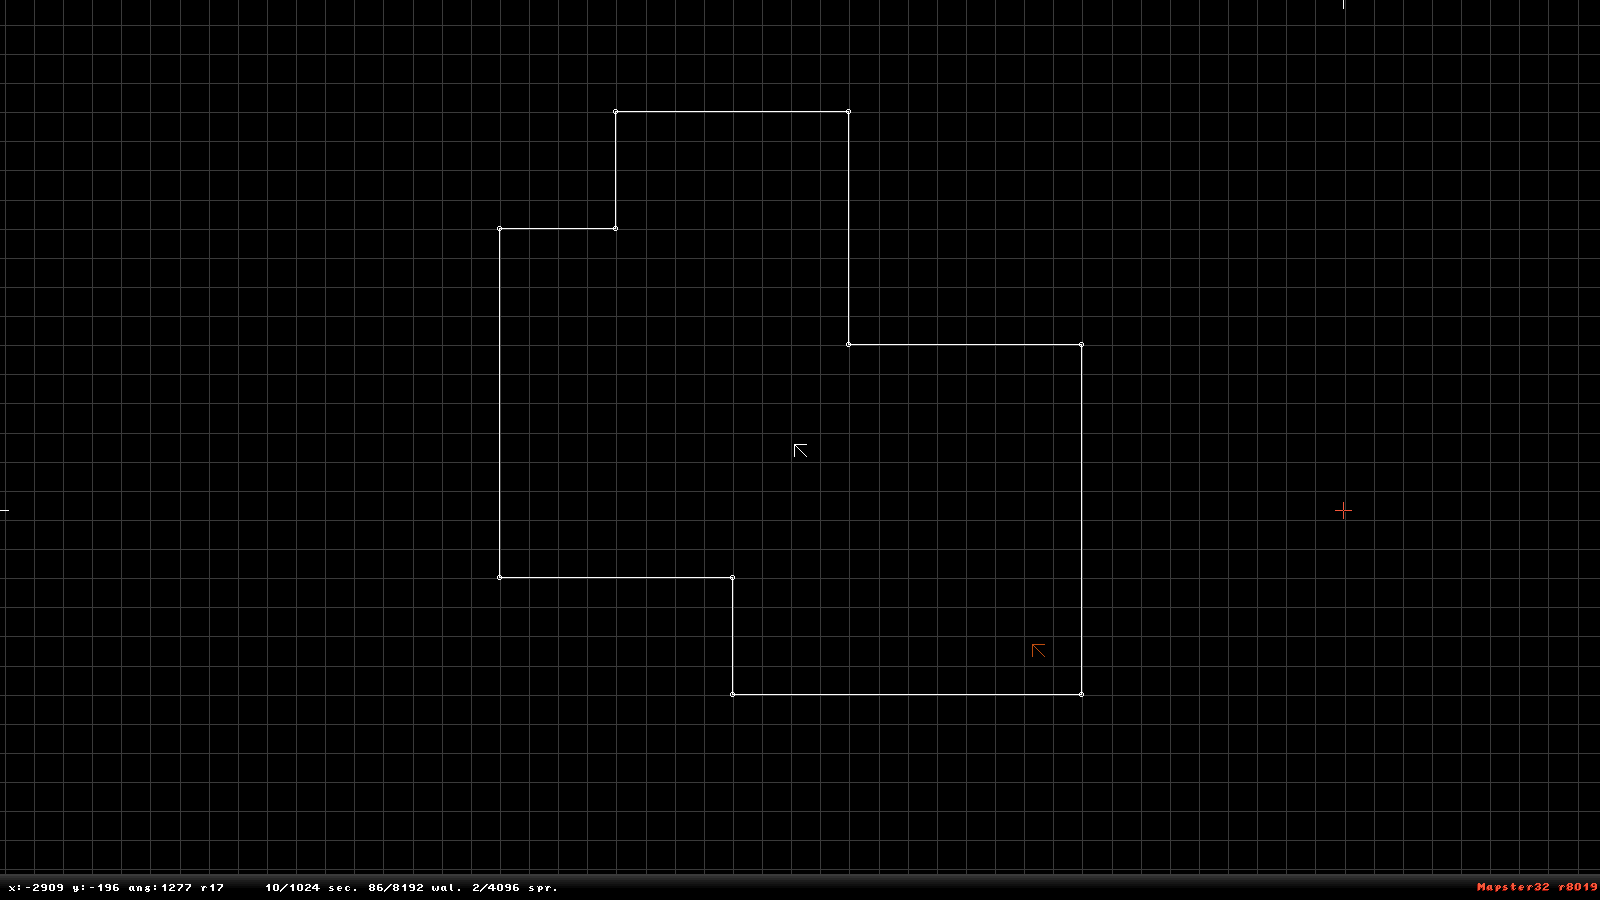
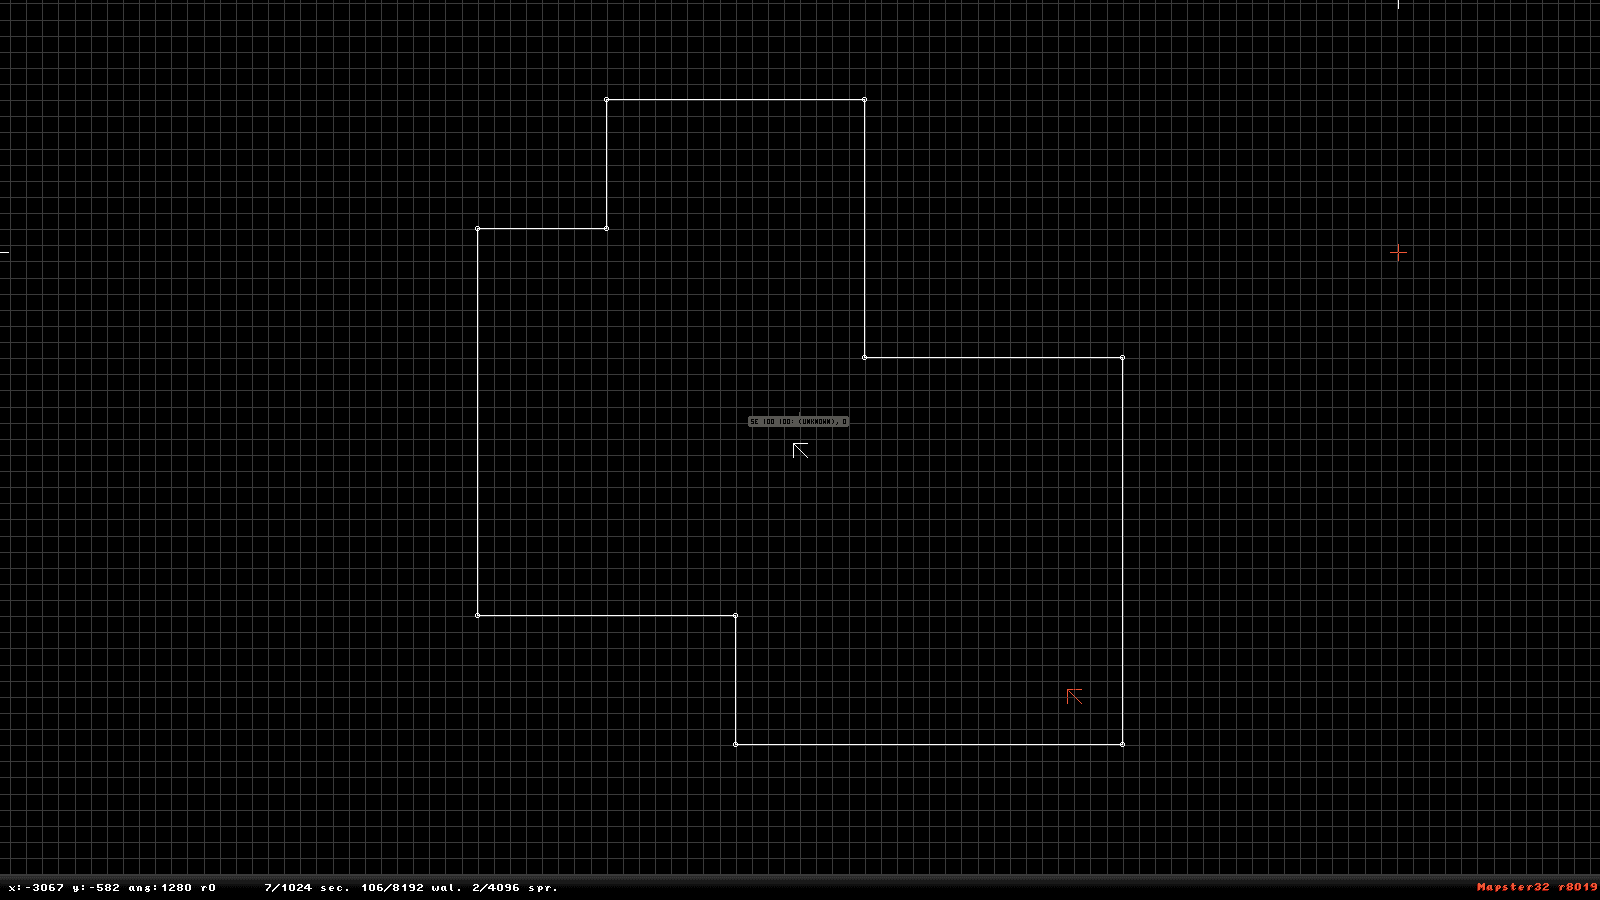
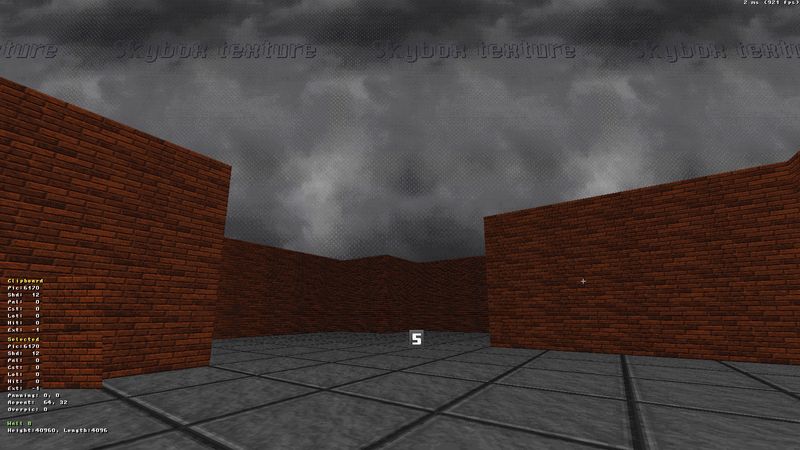
First create the playing area (basically your level). This area/sector can be any shape or size.
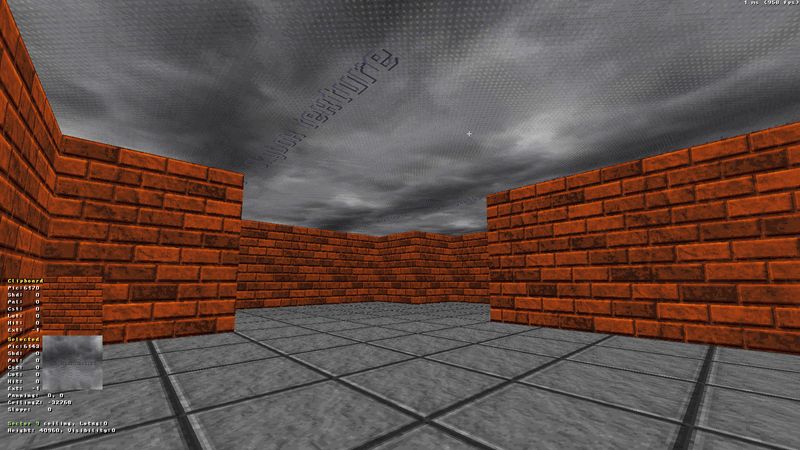
Then increase the height of the ceiling and texture all the walls and the floor. After that you need to give the ceiling a specific texture (Tile: 6143 T_SKYPORTAL). This texture will act as the texture that will be replaced by the skybox later on.
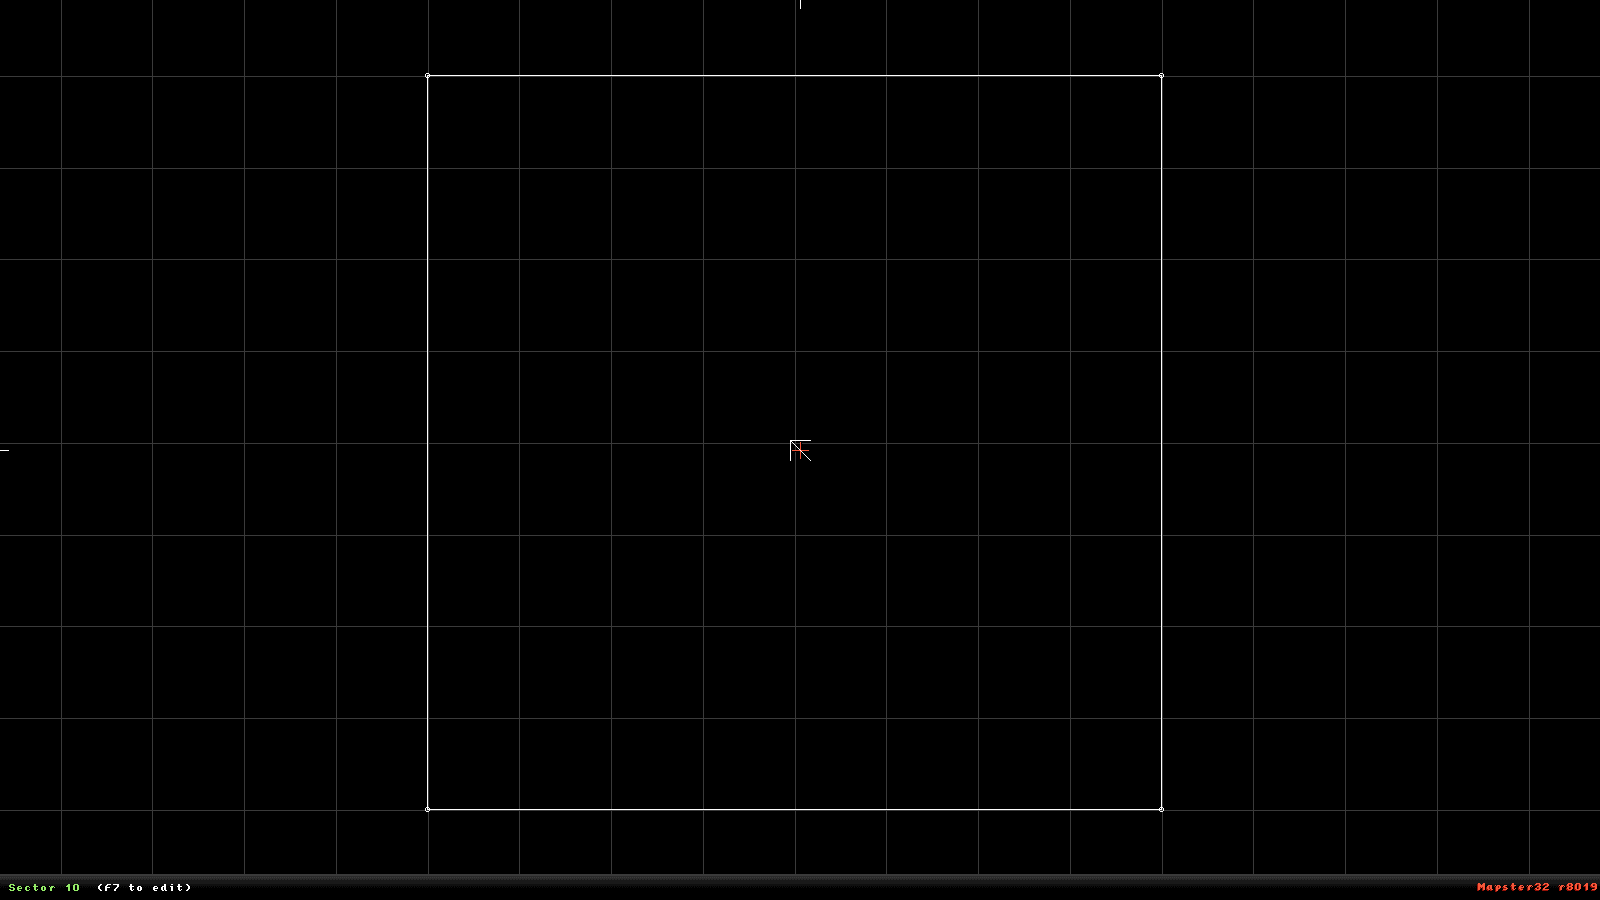
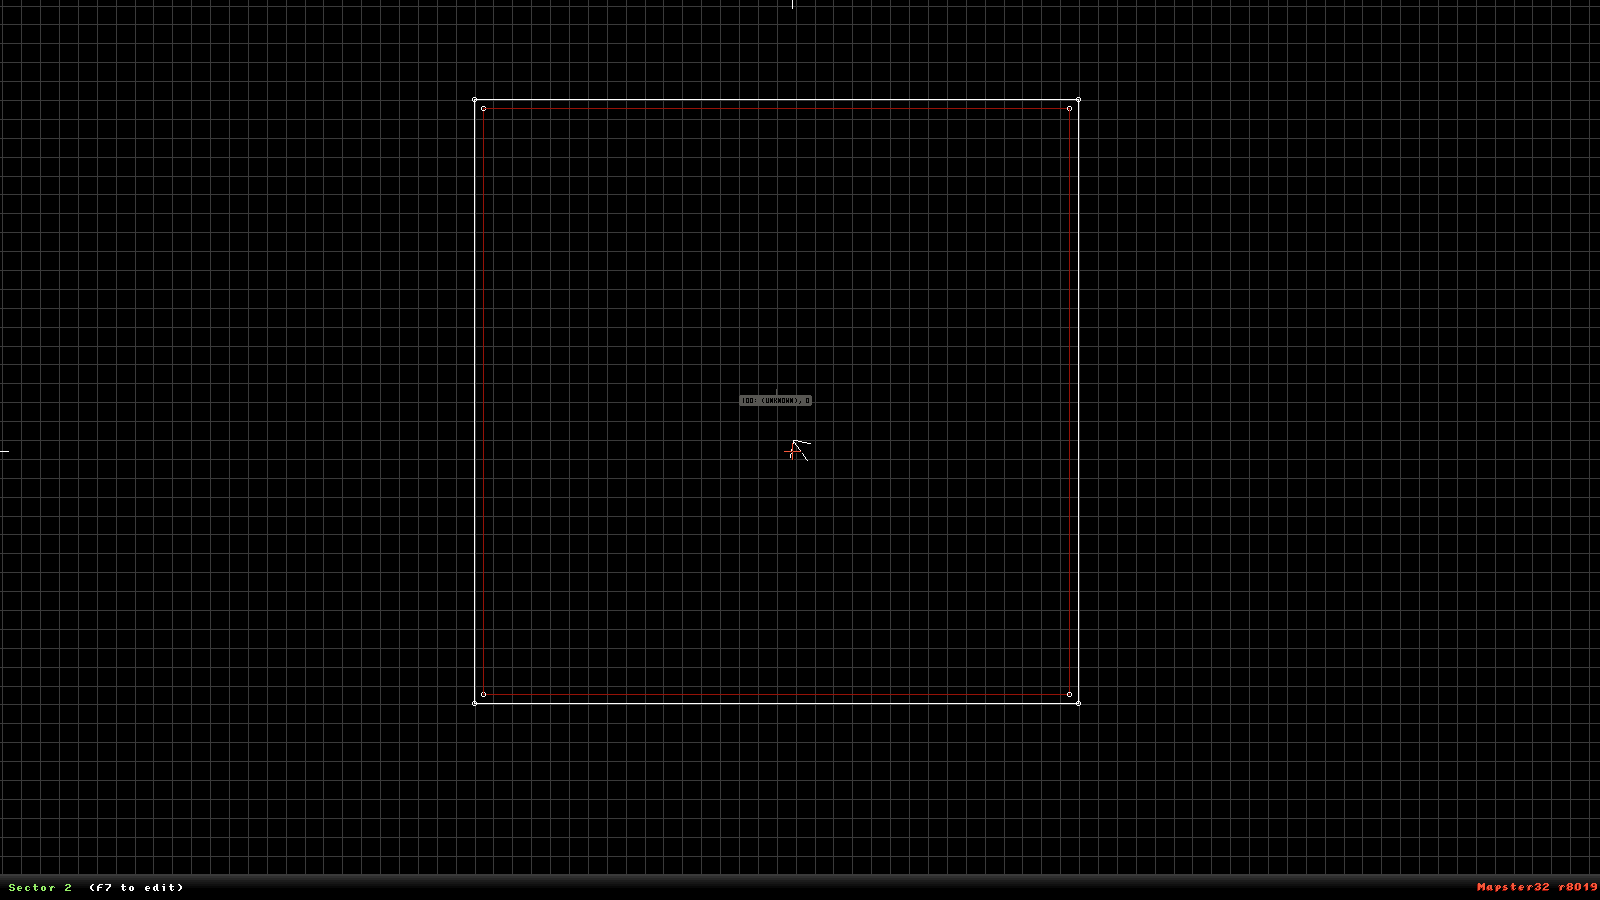
After you’ve done this, you have to create the skybox area. This area/sector can also be any shape or size.
Do keep in mind that you don’t make it too big, because the area will be enlarged automatically to a scale to 1:8 ( 1 pixel play area = 8 pixels skybox sector).
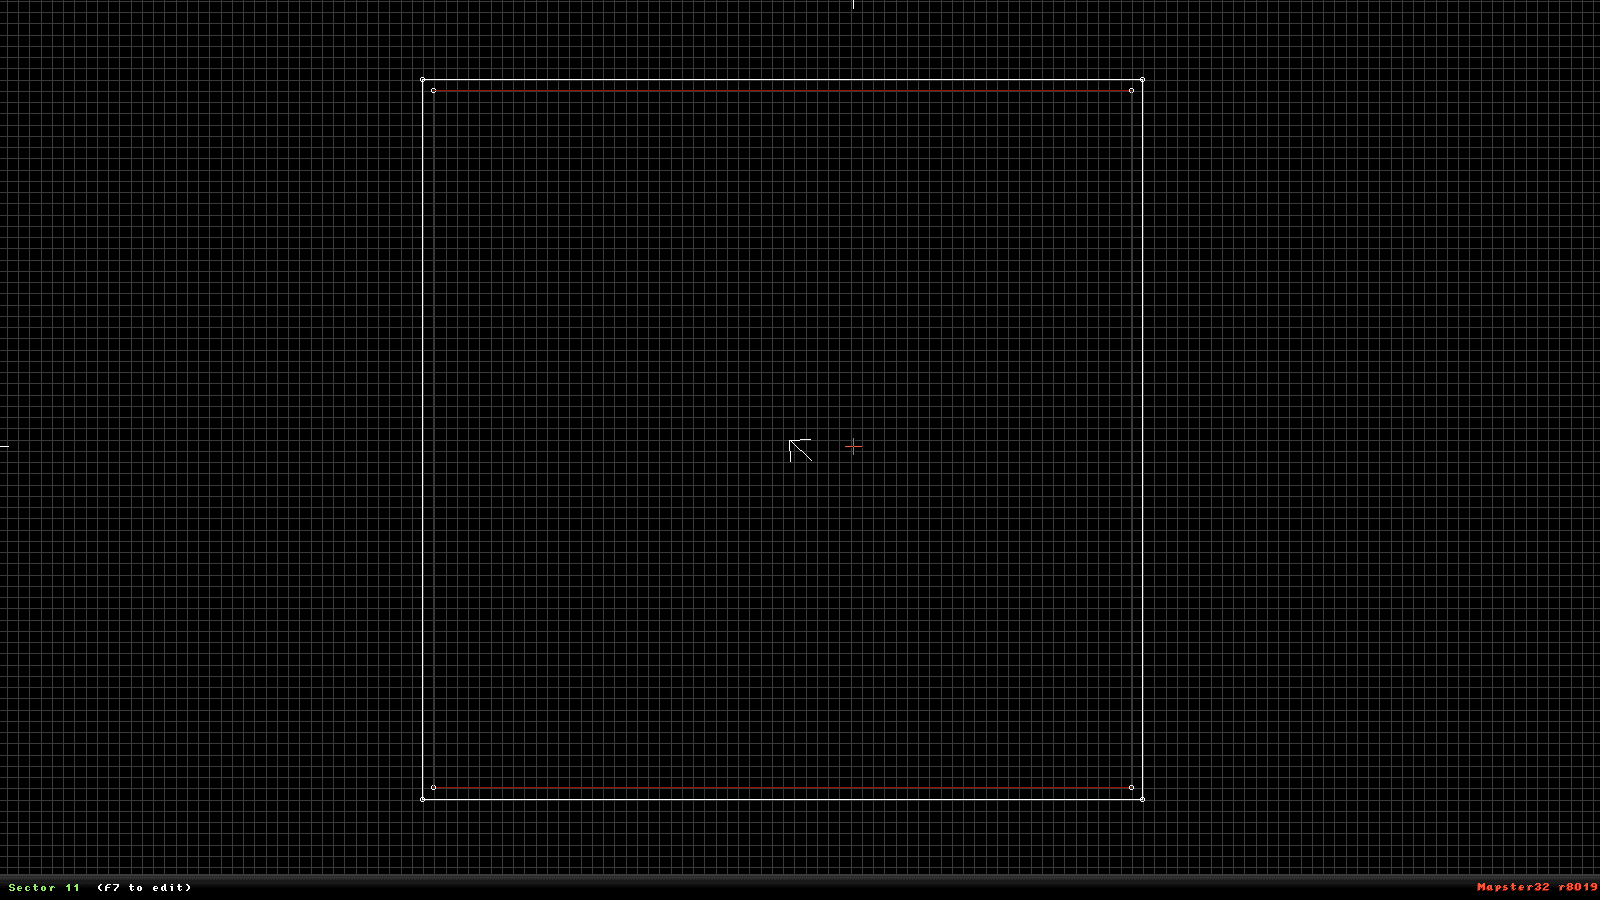
Now make a slightly smaller shape around the edges of the skybox sector (on the inside of this sector). I’ll make clear why in a minute.
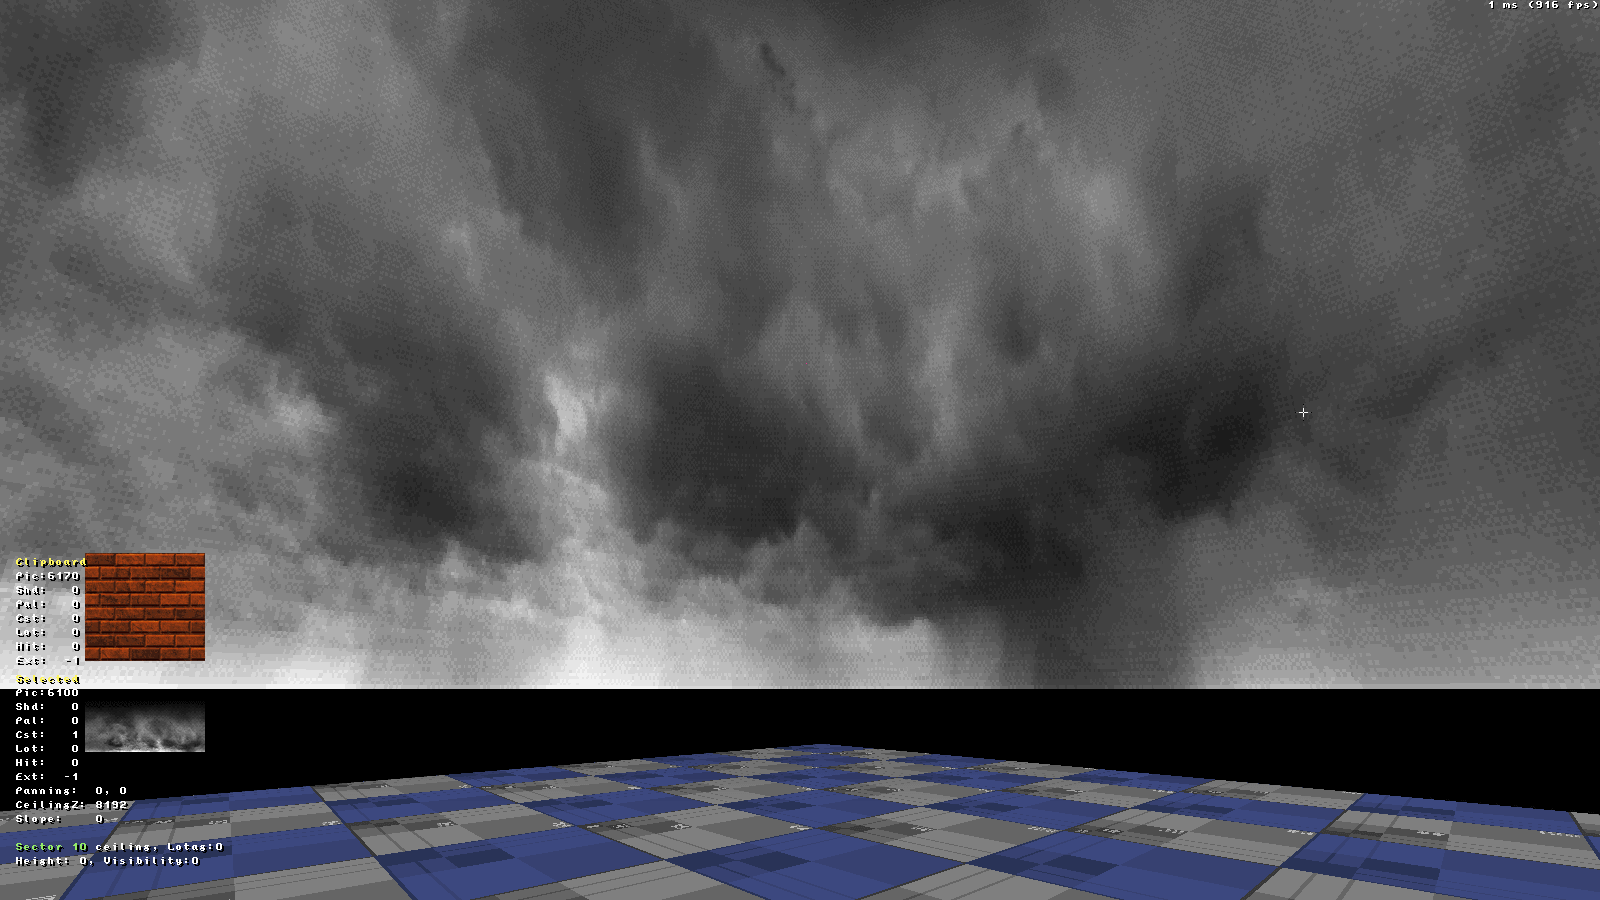
Now go into 3D mode and change the height of the ceiling and change it’s texture to Tile: 6100. Make the ceiling parallax by pressing P.
Now lower the sector’s ceiling around the edges of the skybox sector (don’t forget to parallax that ceiling too) until you hit the floor. The walls are now gone and the sky now looks more realistic already.
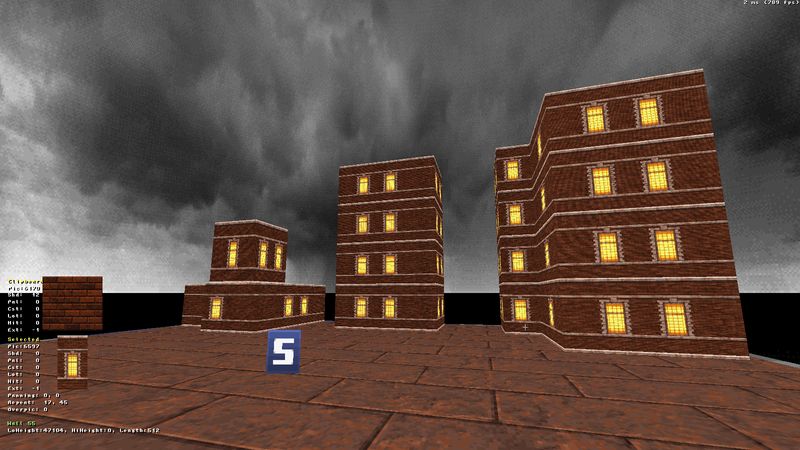
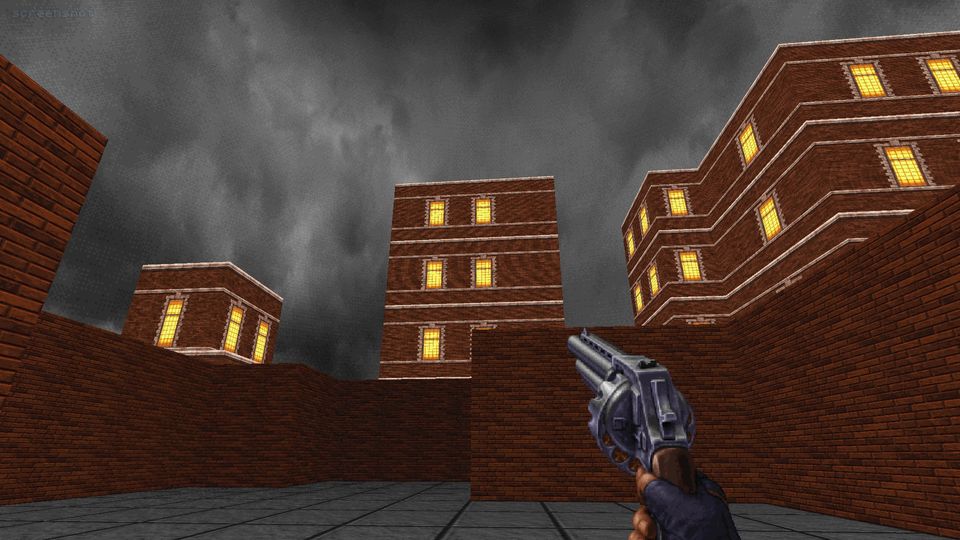
Now add some buildings around the sector (not in the Middle!) You can decide it’s size yourself since it’s your skybox. You can also edit them later so don’t worry. Keep in mind to scale the textures correctly, otherwise you’ll see some buildings with really windows. This is something I didn’t do properly in the screenshot. Ignore the S like sprite in the screenshot, it will be explained in the next step.
Now add an sectoreffector to the middel of the room. This is a sprite with the sectoreffector texture (this can be found right at the top of the texture list). Now go into 2D mode and give the sprite a lowtag of 100 (press alt + t while hovering your mouse over said sprite). This will set it to skybox “mode”.
Now also give it a pallet value of 0. It’s 0 as standard, but if you want to make sure press alt + p while hovering your mouse over said sprite and the pallet value can only be altered in 3D mode). Now the sectoreffector acts as a 360 camera.
Now do the same in the play area. Find the most center part of your map and place a sectoreffector there. Give it a lowtag of 100 and a pallet value of 1 (it should have turned grey). Now the sectoreffector acts as the anchor-point for the camera.
Now go into 3D and make your play area look nice and make the ceiling parallax.
Now test your map and it should have worked. If it didn’t, read the guide again closely or ask questions in the comments.
Quick tip: If you give both sky textures a pallet value of 7, they become dark blue. This makes it look more like nighttime.
Great tutorial, just needed this one so i can make my maps look much larger.
thanks,
Leon aka SPYmaps.