Welcome to our Dwarf Fortress Guide & Walkthrough. A plain-speak guide for folks starting a new Dwarf Fortress. We know that there are people who have a hard time finishing the Dwarf Fortress game. If you are one of those who find it difficult to finish the game, let’s take you to our Dwarf Fortress guide.
Dwarf Fortress Guide & Walkthrough
A plain-speak guide for folks starting a new Dwarf Fortress.
World Generation
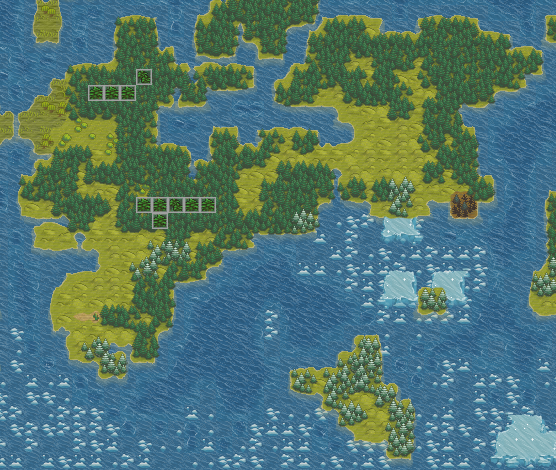
Step one will be to create a world. The menu is all very straightforward here.
I find the following settings are usually exciting & not too slow to make:
Medium World
100 years
Medium civs
High & of sites
Beasts & Savagery should be to your taste, I like both Very High.
Mineral Occurence: Frequent is pretty good.
This will generate around 60,000-100,000 individual alive (The survivors of 100 years of terrible history) NPCs with entire lifespans, goals, victories and defeats, struggles and memories which shape their personality and their social interactions. This has a gameplay effect on the simulation of their mood as well. All that should generate in about a minute.
Now, when your world is generated you can preview it and choose to save it.
Once the world is saved, you’re also able to view it in Legends mode from the main menu. This allows you to read the histories of the realm. I love the new Legends viewer!
Embark
This section is about choosing an Embark site and provisions.
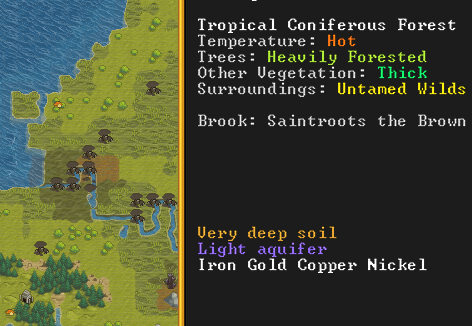
When you enter the embark screen you’ll be offered a Tutorial. I haven’t played it yet, this is about choosing a site. Right away, you can click “Find Embark Location” to search for somewhere with “NO” aquifers of any kind. Anything else is to your taste or can be left alone to quickly take a look.
The search will sluggishly (progress shown) return green-colored areas of success.
TIP:
From this point, you can [Right Click] to quickly close any windows or views.
Recommend:
* Rivers are great for water and fish.
* You can settle between two biomes or more, for more ores below!
* 4×4 area recommended for performance
* Choose your Starting Civilization, it will show you where they are too.
When you place your embark rectangle, next you’ll be offered to Quick Start or prep carefully. Both are fine.
Preparing Carefully
In this mode you can Name your fort and group, create a symbol, and skill your 7 starter dwarves.
Assigning skillpoints:
- Professions can be intermingled with some caveats.
- Need: a Woodcutter, a Miner (Keep them separate for AI Logic reasons)
- Need: a Cook, a Brewer, a Butcher
- Need: an Herbalist, a Planter (they can also get the array of livestock skills here)
- Need: a Carpenter, a Mason – one of whom should also have Mechanic
- Optional: A Hunter or Fisher (Never assign both to one for AI Logic reasons)
- Optional to support fisher: Fish Cleaner+Dissector
- Optional to support hunter: Butcher/Tanner/Leatherworker
- Optional: a leader with the organization skills (can be learned natually) of “Appraiser, Organizer, Book-keeper”
- Optional: a fighter with the skills Dodging, Fighting, Armor Usage, Blocking
Trading Items – This can save 100-200+ in points!
* Immediately look for cheap spider silk or other material alternatives to your bags, ropes, cloth.
* Add a bit of raw wood and raw stone for initial workshops, it’s very cheap
* You can also pick animals in Prepare Carefully mode (you also get 2 yak/random wagon animals)
(Deadly Pro-tip: If you don’t craft what you downgrade here, it can be lethal!)
* Downgrade wheelbarrow (cost 50) for logs (cost 3!) and craft them on-site instead.
* Same for buckets, but this is very dangerous
Do you feel prepared?
Basic Gameplay Guide for Dwarf Fortress
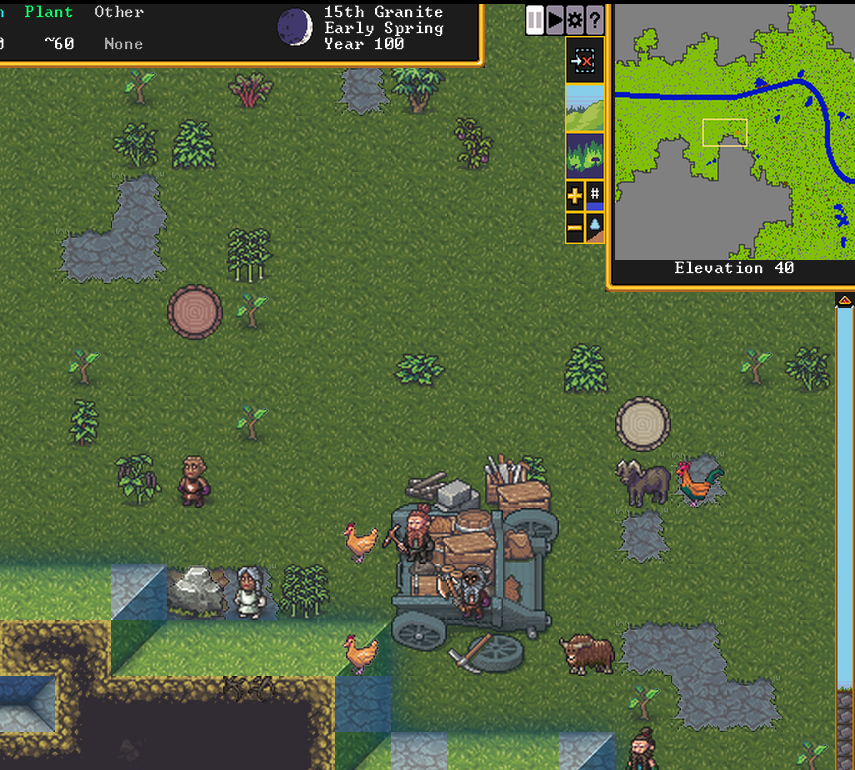
You will now receive an Embark message telling you about your mission to survive and the local animal predators. Heed it well and hit ok.
Now make sure it’s PAUSED (top right by map shows II or >)
[Spacebar] will pause and unpause.
Our first goals by Winter will be to have working Defenses, Kitchens, Beds, and a Trade Depot. But how do we make this happen?
In Dwarf Fortress, you do not directly control the dwarves. Instead, you create tasks. Then Dwarves will perform jobs which fit their “Labor.” For example, when a stockpile is created, a Job is created for any dwarf of the appropriate Hauling Labor to take a specific item there. That job is completed and deleted when done.
In this release they’ve made it a lot easier to get started, too – Dwarves are Generalized until you say otherwise (You should be able to start with a few specialists)
To get things done:
- + Create Zones, where work happens automatically if resources and workers with the correct labors enabled are available (buckets, step-ladders, fisherdwarves, animals & animal-handlers)
- + Create Designations, for Mining or Tree Cutting for example, or for item Dumping.
- + Create Orders at any level (Workshop level for specific or one-time orders, Manager level for repeating tasks)
- + Create Stockpiles where goods are moved by an assortment of Hailing labors.
- + Place buildings – Beds, Tables, Chairs and a Well are important first items. Also how Traps are placed.
- + Assign Nobles, who are required for some functions and make your life bettworse
- + Assign Militia Commander in nobles, who allows for Squads creation.
So now, take a look at your UI . This series of windows and their many tabs within are your keys to the kingdom. At this point, the UI is laid out so that “If you click every tab and window here before un-pausing, you’ll be in a good spot”

So before your very first unpause most of this can be done, except maybe you can wait for the first migrants before you have a free guy to assign Sherrif or something.
Seeds Stockpile
– It can be helpful that you have seeds ONLY allowed in stockpiles where ZERO barrels are allowed. This way barrels are used for drinks and planters are not hauling heavy barrels around.
Kitchen Setup
There’s a few important things to remember about the Kitchen menu.
– Seeds are sometimes only given when processed or Brewed. So, Forbid the cooking of anything which can be brewed!
– You can keep some fat/tallows forbidden to cook, to use for soap instead
– Don’t cook seeds
First Steps
As described above, you’ll want to make pretty much one of every zone available because they all have a function (dont worry about clay/sand though) then you can un-pause to get workshops built.
Now all those labors you learned about? They all have workshops. “Masons” and “Carpenter” workshops are most important to build first for blocks, doors, beds & barrels. “Crafter workshops” are also versatile and important for buckets. Mechanic shops can build mechanisms for drawbridges which can be a vital first line of defense.
Most importantly of workshops, create a “Kitchen” and a “Still” ASAP. This is how you get food n drink.
Each of these workshops can either produce things once as a Task, or it can be automated to a dizzying level of detail as a Work Order. For example to always have food, make a Work Order at a Kitchen workshop for Easy Meal, you can say this should only be done when ingredients are available. The bottom of the work order screen will have suggested parameters.
Example of making bolts:

Squad Creation
First you need the Militia Commander Noble assigned.
You will probably start with a militia commander squad with one poor sod as your first Squad.
Labor X Military Caveats
Maybe this is fixed, but if not it must be known. You should never assign a Squad to a Dwarf who has the following labors for AI Logic Reasons:
- Fishing
- Hunting
- Wood Cutting
- Mining
- Hammerer (Loyalty Cascade warning)
Squad Schedules
Any month, any amount of Squads can be assigned multiple orders.
For example “2 dwarves of Squad A train and 2 Dwarves of Squad A will patrol and 4 of them will guard a certain spot in X month”
Tip: Rotate your Squads! Dwarves should ideally get 2-3 months off, every 2-3 months of duty.
Tip: You can have 2-3 schedules so that different months, any squad is always on duty.
Squad Training
Training requires a “Barracks” zone or room which is assigned to the squad, and also contains either a cabinet or Archery Targets (Advise a full set of 10 Archery Targets for archer rooms)
(Archery Target facing direction must be set after placement)
Squad Uniforms
- Each body part on a dwarf has layers. So you can cover each part in a soft and hard layer.
- You can also specify that the hard pieces be made of metal.
- Until you have a full set of armor for everyone, I recommend that “Uniforms are worn OVER clothing” in the early game.
Armor Set for Militia example
- Hood with metal Helm
- Cloak with metal chain shirt and metal breastplate (or cloak and leather chest armor)
- Trousers with Greaves
- I am not sure if the tip “You need to add both twice for both feet/gloves protection” applies still but:
- Glove(s) with metal Gauntlet(s)
- Sock(s) with High Boot(s)
- A shield
- A weapon of their choice
- –
Defenses
Refer to the build menu for available Traps, or the wiki’s articles for the myriad of creative examples again but I’ll say that the standard Year 1 defense can be a smooth wall + drawbridge.
In conclusion, Brew everything at a Still right away, get plantin’ & build that Trade Depot before Autumn.
Dwarf Fortress – Industry & Workshop Guides
Workshop Examples
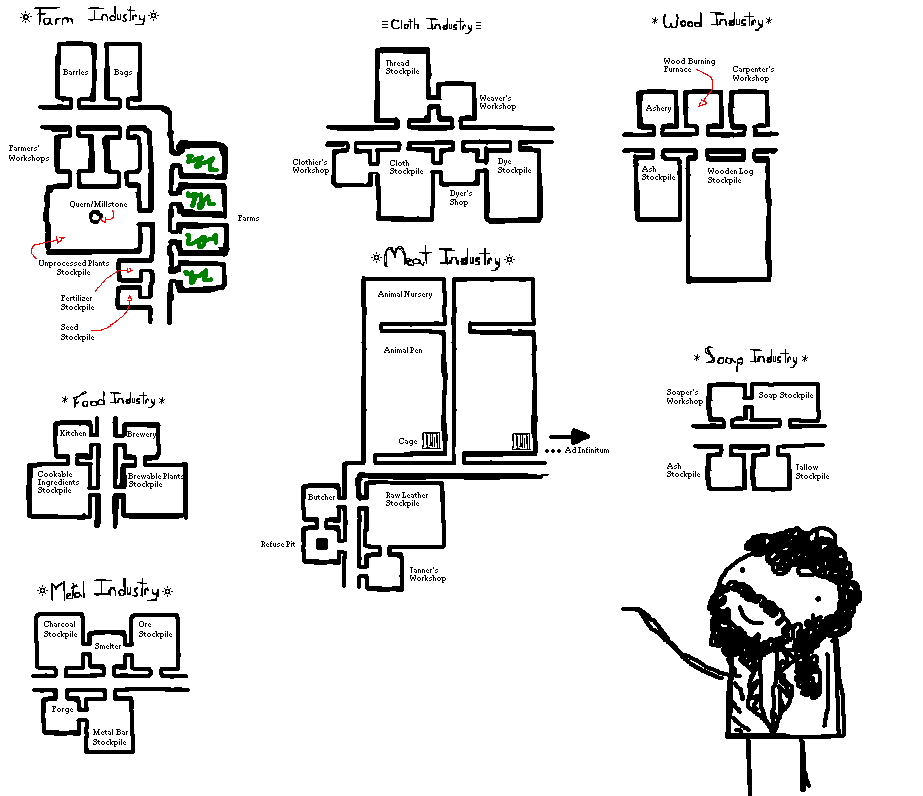
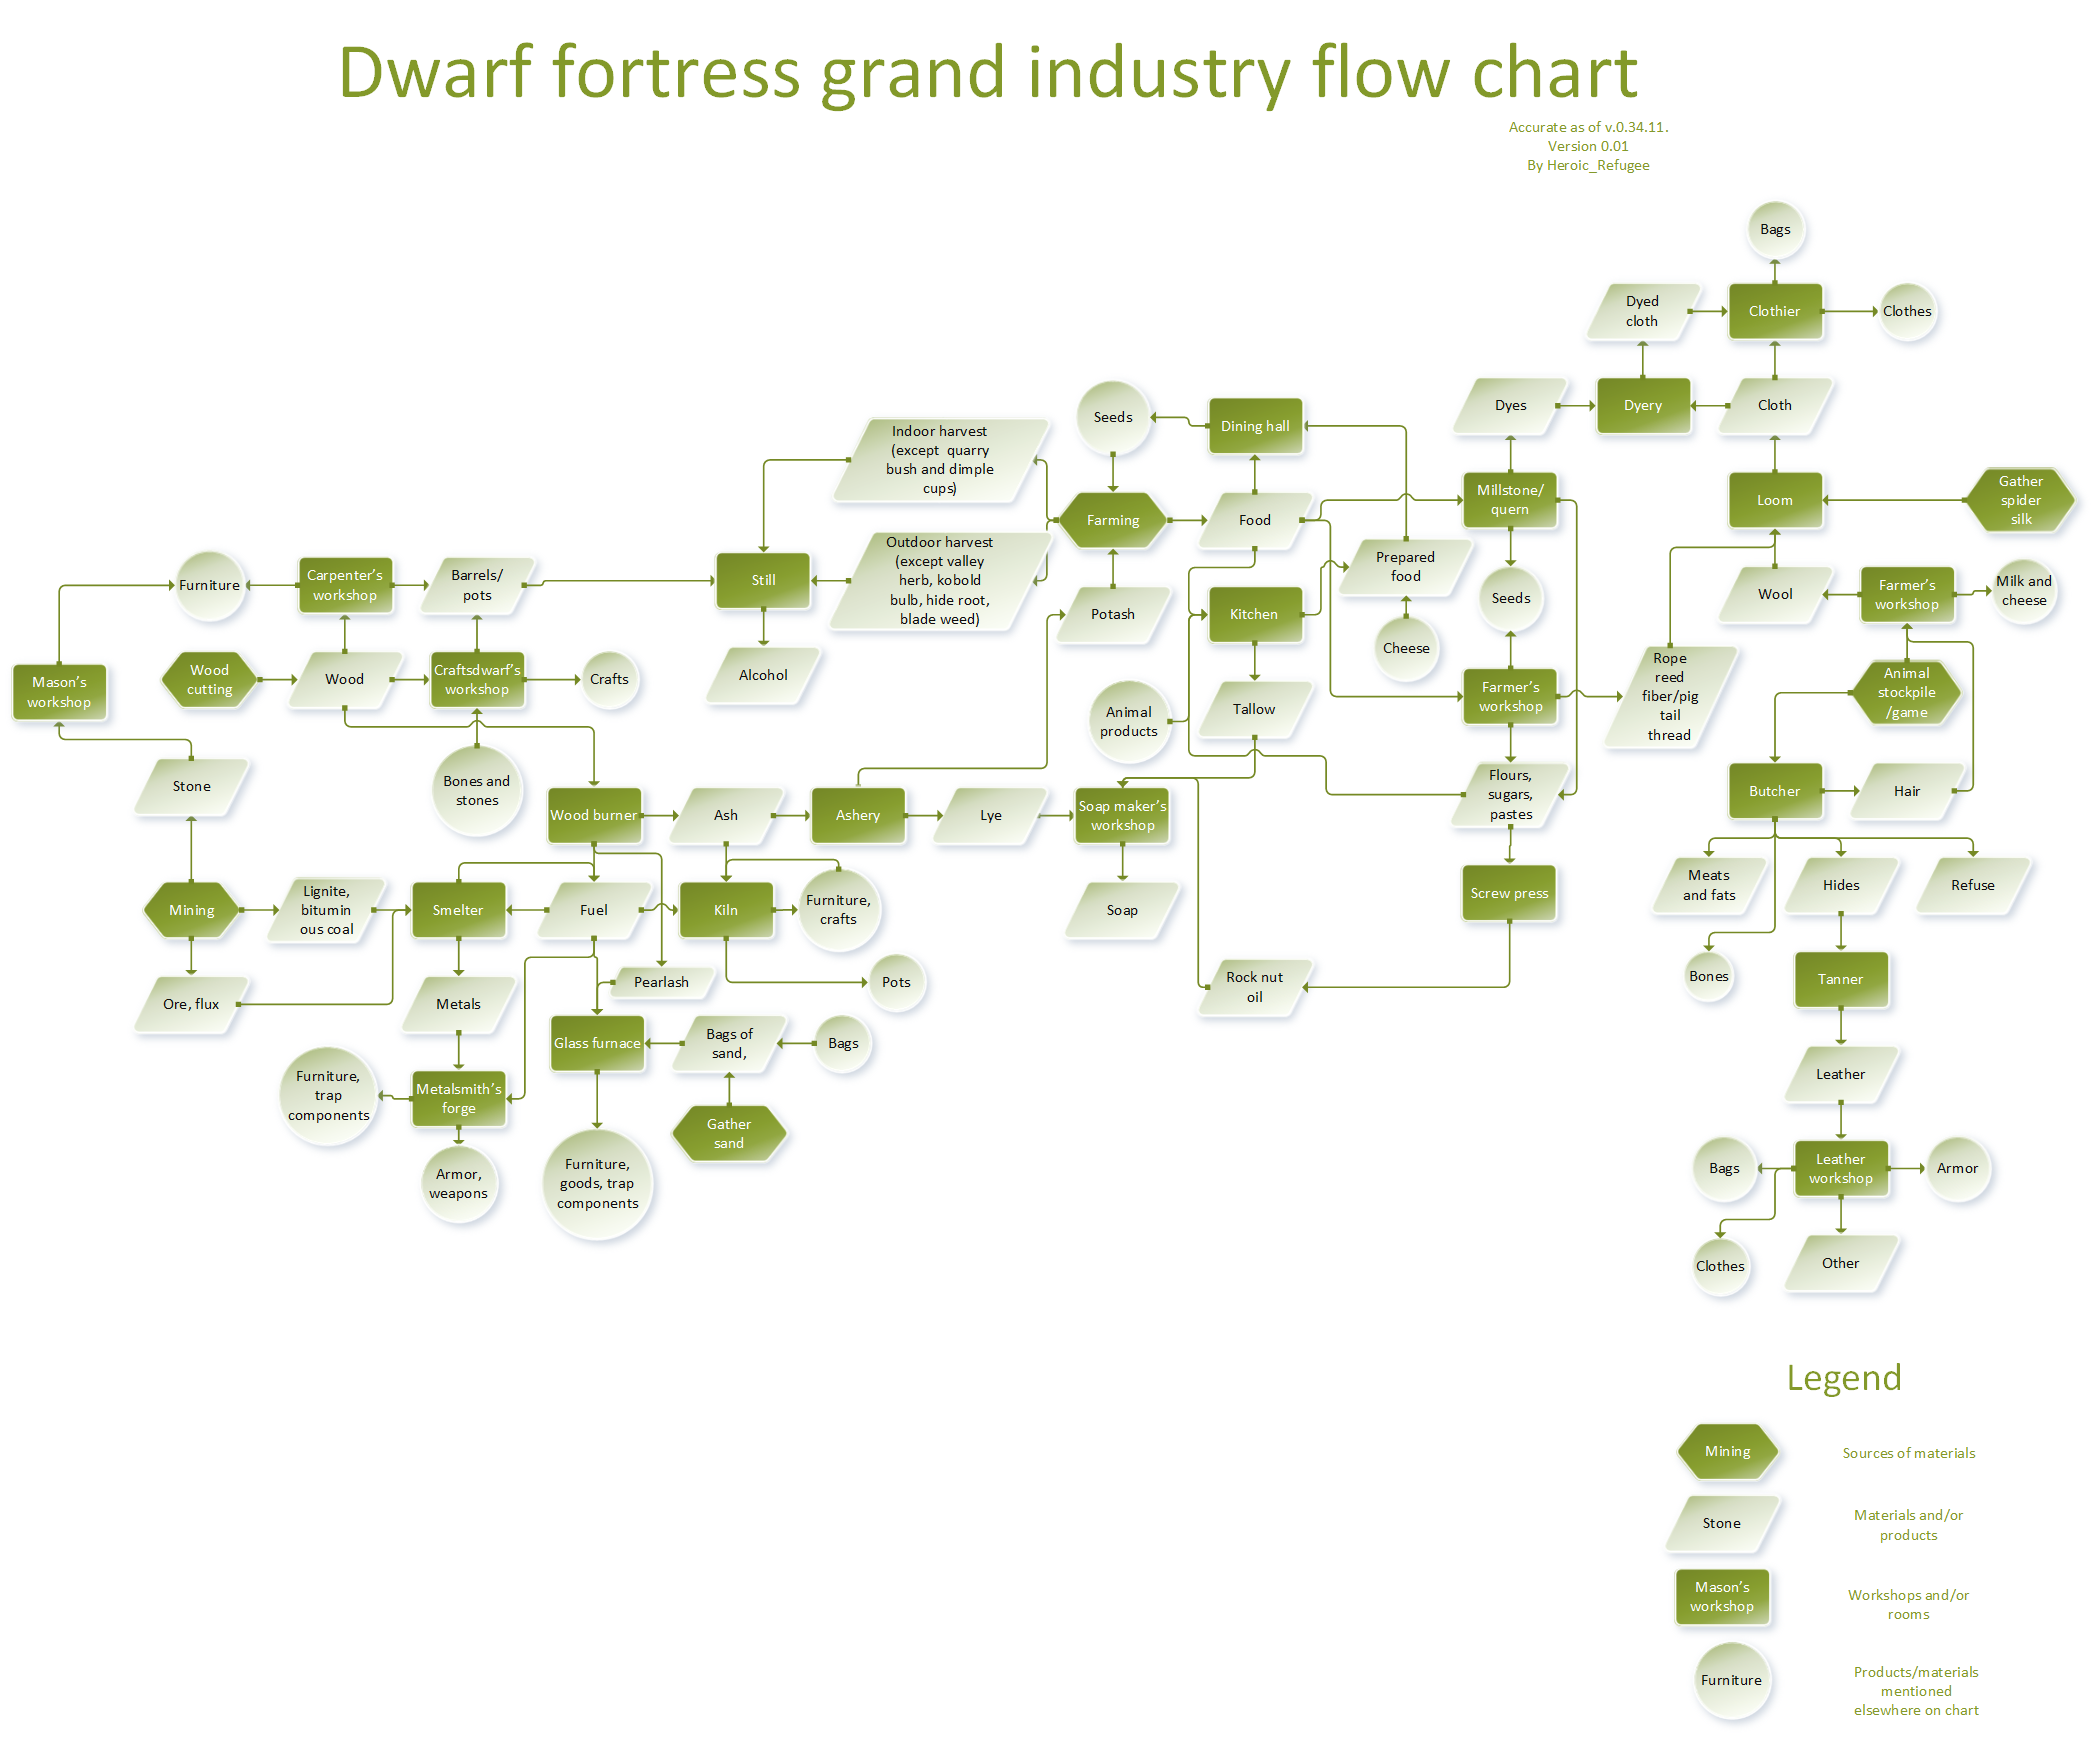
Industry Flow Chart
