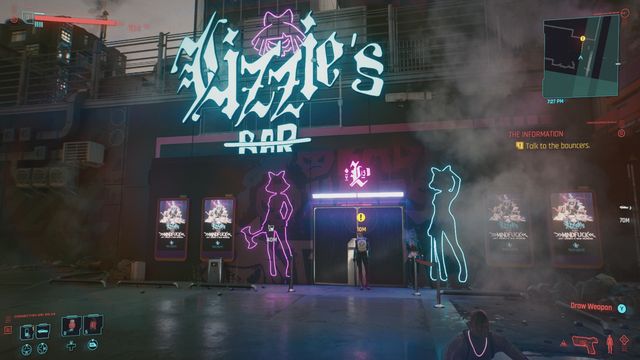
Cyberpunk 2077 Braindance Walkthrough. Visit Lizzie’s Bar between 6PM and 6AM to get this started. If you’re waiting for that time, you can Skip time in the pause menu. Approach the bouncers and they’ll try to sell you on a Braindance. Accept to get into the bar.
Pass through the lobby and head to the bar to meet Evelyn. Sit down at the lone open seat and chat with the bartender. Regardless of how you approach him, Evelyn will make an appearance. She’s been waiting for V. Chat with Evelyn (and choose to drink if you’d like) then follow her to the VIP room. It’s time to get down to business.

Evelyn Parker starts by questioning your skill and relationship with Dex. The conversation options here can vary based on your Ability skills, but one way or another, Evelyn will give you the rundown of her mission for you: steal a chip from Yorinobu Arasaka. The biochip in question is the much-talked about Relic. Apparently Yorinobu took the chip from his own family’s company and has a deal with NetWatchers. Something’s up, but all that’s important to you is that there is less security than ever around the chip.
Get as much extra information from Evelyn as you want then stand and follow her into the depths of Lizzie’s bar. Past the changing room and down a flight of stairs, you find out Evelyn knows Yorinobu rather intimately and got Braindance footage of the Arasaka heir’s suite in Konpeki Plaza. Continue to follow Evelyn down the stairs and into the basement. Pass the server room and meet her Mox pal, Judy. Evelyn calls her the best Braindance editor she knows. V is asked to behave.
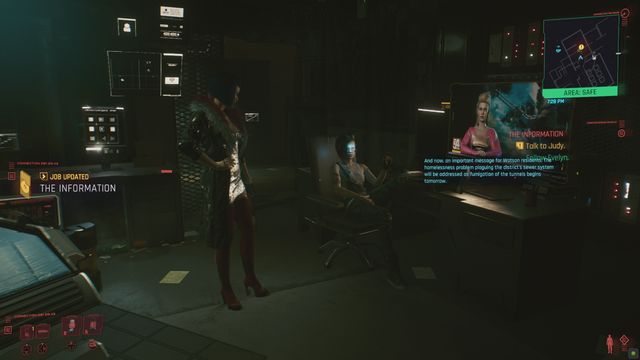
Talk to Judy and listen to the conversation until she prompts V to sit down. Judy will talk to V a bit more before launching V into a calibration test Braindance.
This serves as a tutorial to show you the full functionality of the Braindance Editor. Watch the scene between the two thugs until V wakes in a cry of pain. Judy is there, watching. Now that V’s profile is tuned, Judy is ready to let you take a stab at editing in the Analysis mode.
Follow Judy’s directions to progress:
- Move around
- Rewind to the beginning
- Fast forward.
- Reset the recording
- Play the recording until you spot the gun (00:22)
- Scan and inspect the gun (just hover over it! You’re already in a scanner)
- Switch to the audio layer.
- Scan the audio source and listen
- Switch to the visual layer
- Fast forward to where the customer is hit.
- Scan and inspect the hurt woman
- Fast forward to where the robber is shot (00:51)
- Rewind until the CCTV screen appears (00:48) and scan the TV
Once you’re done following her directions, you can play around in the Braindance Editor or exit by using the prompt on the screen.

V wants a break once they exit the Braindance, but Evelyn insists there is no time. V wants T-Bug on the call at least and Judy isn’t thrilled. Judy budges at Evelyn’s reassurance.
With T-Bug on the call, you’re ready to go into the Braindance you came for. Here are your tasks:
- Examine the braindance in Analysis Mode to find the Relic
- Scan the Apartment’s security systems (optional)
- Watch the whole recording from Evelyn’s point of view (optional)
And here’s how you can accomplish all of them:
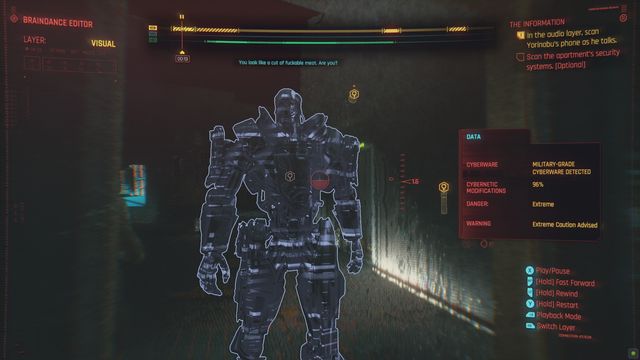
A Smasher leaves as Evelyn enters. Remember, you’re not timed in this, so you can watch the whole thing. T-Bug will prompt you to do actions at certain points, though, like listening in to the conversation Yorinobu is having on the phone. Doing so will stop you from getting the optional objective of watching the whole recording from Evelyn’s point of view, though. If you already switched layers and want to try completing the optional objective, though, you can reload your last autosave! We’ll sneak in on these conversions later.
Now that you’ve watched, let’s go back to the beginning and scan all the security systems. You only need to scan one of each thing, but we’ll show you where all the devices are just in case. Restart the Braindance and go immediately into the Visual editor. Once the door opens you can scan Smasher, an alarm, and a motion sensor camera. T-Bug will tell you about them as you do. This happens at timecode 00:13.
Continue to 00:16 and you’ll see another Alarm System to scan on Evelyn’s right, on the wall opposite of the screen and things you should have just scanned.
Then, when Evelyn approaches the screen in the middle, you can scan an additional motion sensor camera.

At 02:09 look to the ceiling. There’s an automated turret. T-Bug isn’t excited about it. You can scan an additional motion sensor camera near it as well. With this scanned, your objective to scan the security system is done.

Now you can roll back the recording to listen in on the conversation. Switch to the Audio Layer and scan the phone at 00:32. Listen to Yorinobu talk about his frustration with his father and the other man.

The conversation did reveal that you need to scan Yorunobu’s datapad for information on storing the relic. You’ll find that in the visual layer along with a gun you can scan at 02:44.

Finding the Cold Storage in the Braindance
Now, switch to the thermal layer. In this mode you’re looking for blue smokey areas that denote cold areas. You’re better off restarting the Braindance if you’re at the end. Now, go to 00:47. There are two things to scan here, but the one you’re looking for is the hidden safe on the right.
Once you’ve scanned it you can exit the Braindance.
T-Bug signs off and Judy gives you the portable BD device, but she’s still not thrilled about being involved. You can thank Judy after you’re done, but she doesn’t have much to say to you. Talk to Evelyn. She leads you out of the room, giving you the opportunity to ask her a little more about the job. When you’re ready to move on select the top option. “So, what now?”
Evelyn offers you the job. To just you, and cut out Dex. You can choose to:
- Think about the offer
- Keep Dex in the deal
Here’s what happens if you choose to “think about the offer:”
- The outcome is the same regardless of the option you pick.
And here’s what happens if you choose to Keep Dex in the deal:
- She says fifty percent. And you get a second chance to say yes… But, the outcome is the same for either option you pick.
Evelyn will send you off regardless of what you picked. Leave the workshop and Dex will give you a call. He’s already talked to T-Bug and says your next step is to figure out what’s up with that bot.