Footsteps of Giants Mission
Go to the Vault
With Typhon’s help, follow him to the location of the Kekrotafeyo Vault Key.
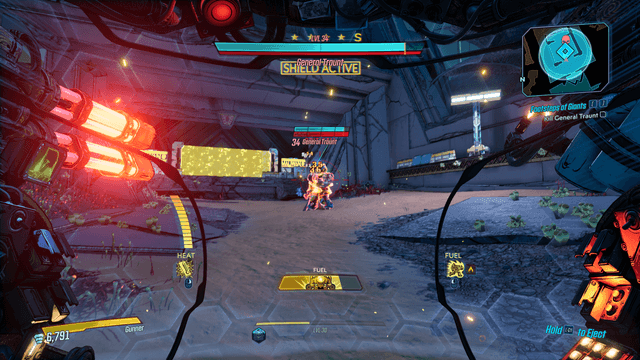
Clear the Maliwan Camp
As you make your way to the Vault Key, you’ll encounter a Maliwan camp. Defeat all the enemies in the camp before moving on.
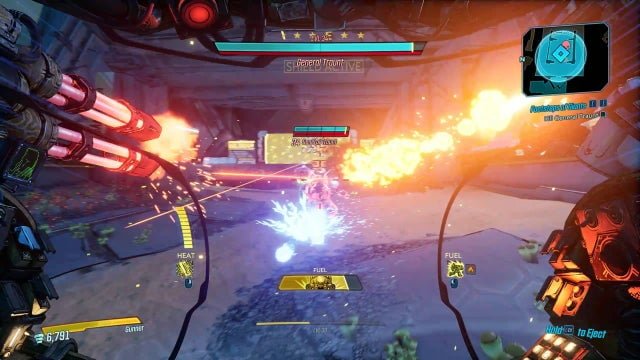
Defeat the Elite Mechs
Once the first wave of Maliwan forces have been defeated, General Traunt will send two Elite Mechs for you to take out.
Find the Elevated Position
With the camp now secure, climb on top of the building in the middle of the area to find the elevated position.
Destroy the Generator
Use the high advantage that the building provides to shoot the generator that is located on the other side of the force field.
Head through the newly unblocked gate and cross the bridge. As you begin crossing the bridge, General Traunt will have the bridge destroyed.
Take the Alternate Route
Now that the bridge is destroyed, you’ll need to follow the alternate route that is marked on your mini map. Remember, you’ll need to take out any enemies you encounter along the way.
As you get to the large staircase, do note that jumping down the hole will cause the boss fight to begin.
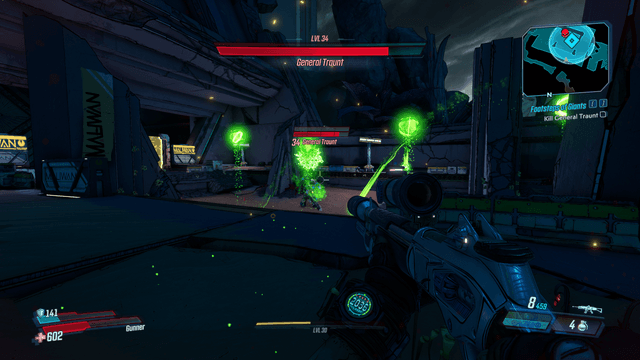
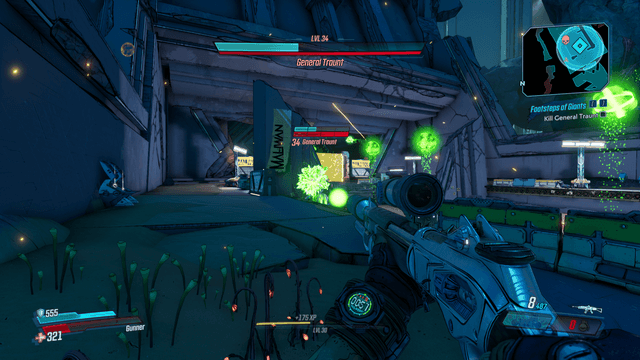
Kill General Traunt
Similar to Captain Traunt in many ways, General Traunt is quite an easy boss to defeat. Featuring a total of two health bars – one shield and one health – General Traunt has three different attack styles.
While any weapon will do the trick, selecting something shock based would be the most ideal choice to break down his shield.
Firstly, you will find that General Taunt has the ability to throw both acid and shock orbs, which can deal quite a bit of damage should you get hit. Fortunately, these are easily dodged by either running or jumping to the side – these can leave a short lasting effect on the ground, so be wary of where you step.
General Taunt’s second attack comes in the form of a simple laser beam, this particular attack is rather fast and a little hard to miss. Don’t be too worried though, as the attack deals little damage.
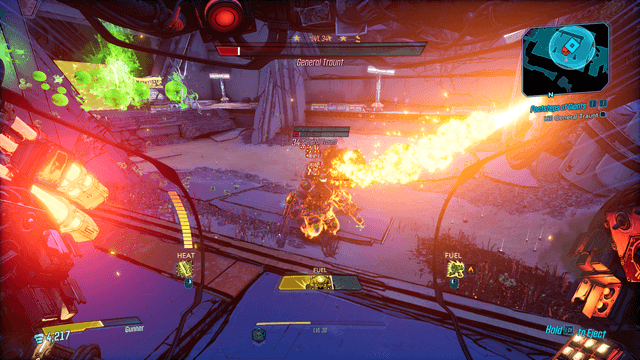
The third and final attack is where he throws large orbs up into the air. These orbs will stay in the air for several before they break away and spread across the map. These will leave gunk on the ground, so be warned about the additional damage that you could potential take on should you get to close.
As mentioned in the tips above, running and gunning around the edge of the area is the best method for defeating this boss, however, please feel free to use the safe spot should you need it.
Go to the Vault
Once you have defeated General Traunt, continue towards the Vault by heading into the Tazendeer Ruins.
Reach the Temple
Follow Typhon’s instructions and continue through the area until you reach the Erdian temple.
Clear the Maliwan Forces
As you near the temple grounds, take out the Maliwan forces that happen to be blocking the way.
Go to the Elevator
With all enemy forces taken out, head to the elevator.
Activate the Temple Energy
In order to get the elevator working again, you’ll need to find two Eridian Crystals.
Grab the Eridian Crystal
Take the Eridian Crystal from the marked area on the map.
Place the Eridian Crystal
Place the Eridian Crystal on the statue indicated on the map.
Kill Lt. Preston
Lt. Preston – a heavy Maliwan soldier – will bust through a nearby door. Take Lt. Preston out to obtain the final crystal.
Pick up the Eridian Crystal
Pick up the Eridian Crystal from Lt. Preston’s body.
Place Eridian Crystal
Place the crystal into the final statue that is marked on your map.
Use the Keyboard & Use the Elevator
Make your way over to the nearby computer and use it to complete the puzzle. The computer will automatically rotate the statues into the correct positions.
Once you have solved the puzzle, use the elevator by interacting with central console.
Clear the Vault Room
Continue through the area, clearing out rooms of Maliwan soldiers and Vault Guardians as you make your way towards the Vault Room.
Activate the Eridian Teleporter
When the area is secure, help Typhon teleport into the area by activating the Eridian Teleporter.
Follow Typhon
Follow Typhon to the location of the final Vault Key.
Dig out the Vault Key and Take It
Once you have made it to the location of the final Vault Key, dig the key out of the grave. After failing to find the key in the grave, Typhon informs you that it is actually located in the headstone.
Take the key and make your way to the Vault console via the marker on your map.
Place the Vault Key
Place the final Vault Key into the console in the room.
Enter the Vault
Once the Vault is open, enter the area with Typhon.
Loot the Vault
Loot the Vault with Typhon.
Take the Eridian Fabricator
Take the Eridian Fabricator from Typhon – a weapon that allows you to shoot out 10 weapons for the cost of 10 Eridium.
The mission will end after taking the weapon from Typhon.