Complete guide to get all the puzzle pieces, achievements, items and map locations in BLADE CHIMERA!
BLADE CHIMERA Guide
Guide to obtaining everything in BLADE CHIMERA.
Regarding Jigsaw Pieces
I didn’t include a detailed guide for the Jigsaw Pieces because the game already indicates how many are missing in each area of the map! You just need to teleport to an area (they’re separated by colors) and check the upper-right corner of the screen:
If you’re missing any, dots representing the pieces will appear. I recommend checking the corners of rooms, under stairs and around elevators.
The final one is obtained by killing the last side-hustle mini boss, but you need to defeat the main story boss first in order for it to appear.
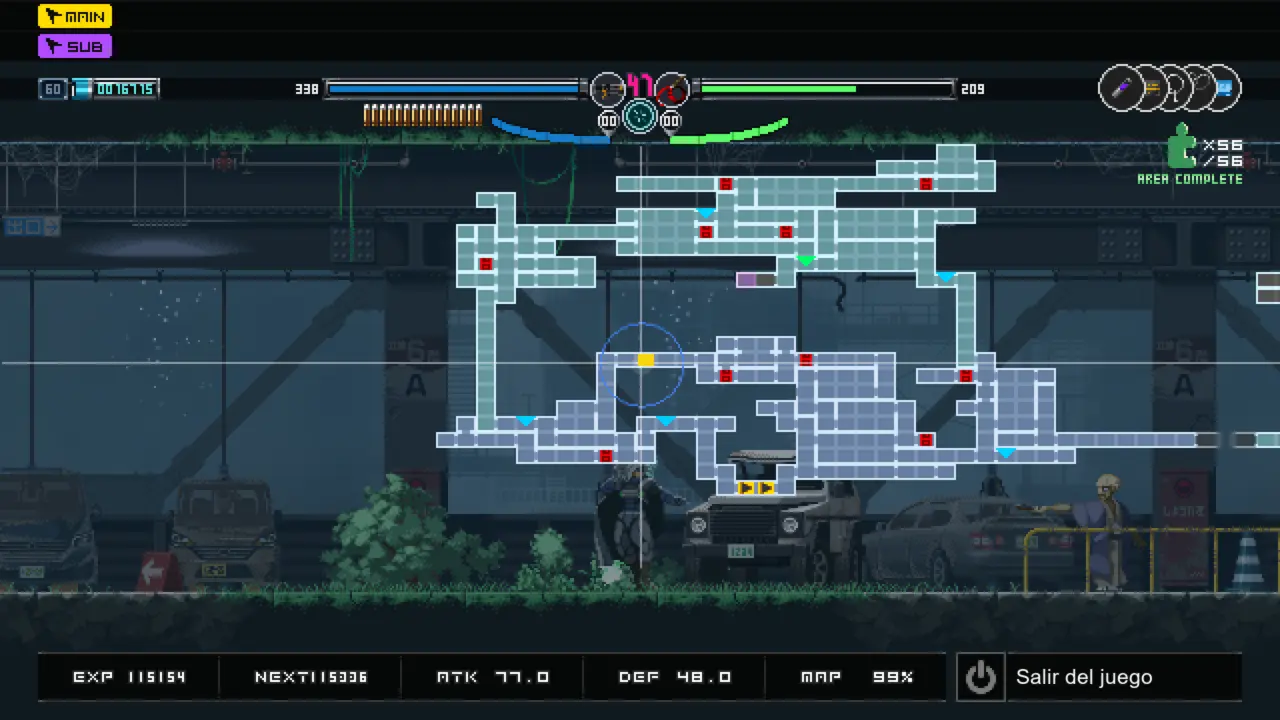
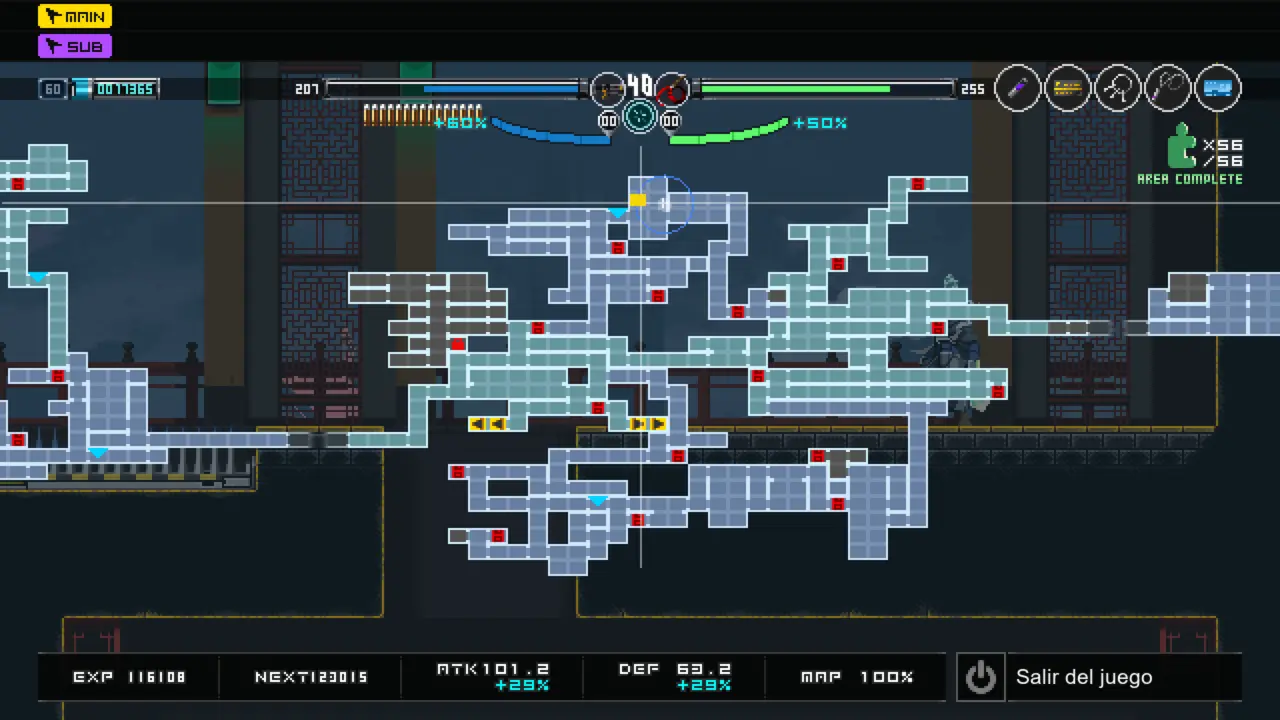
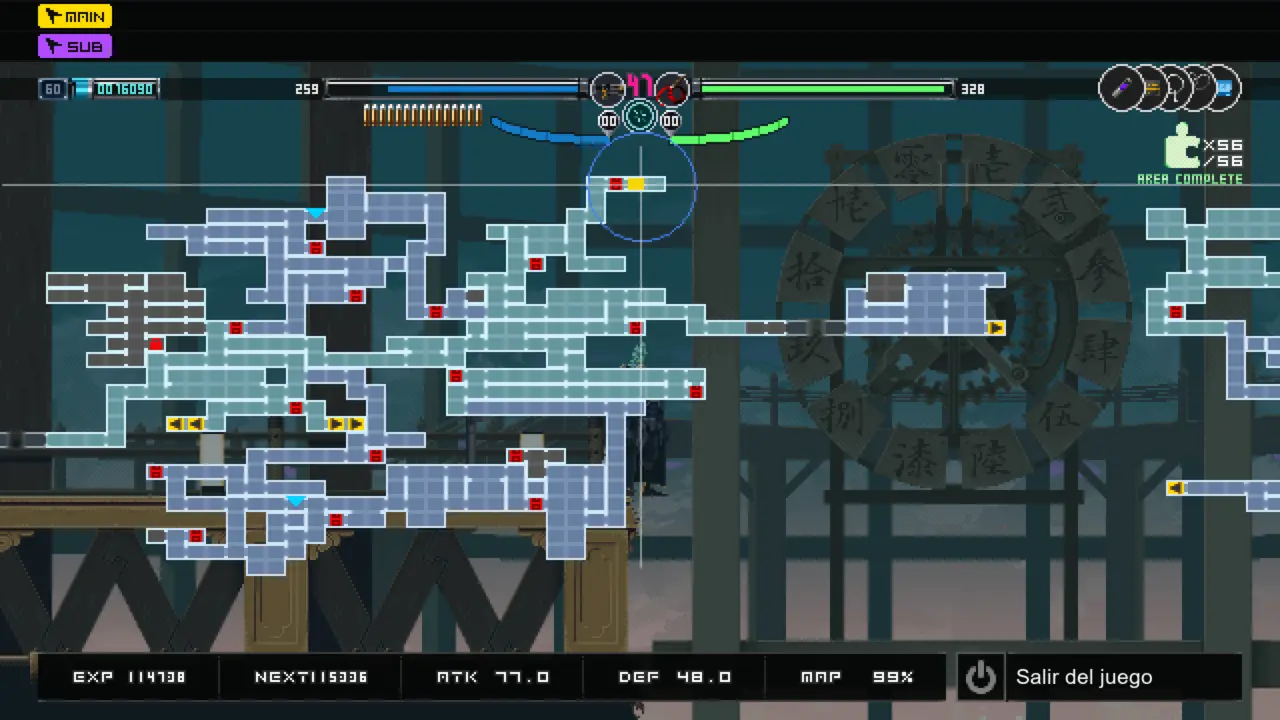
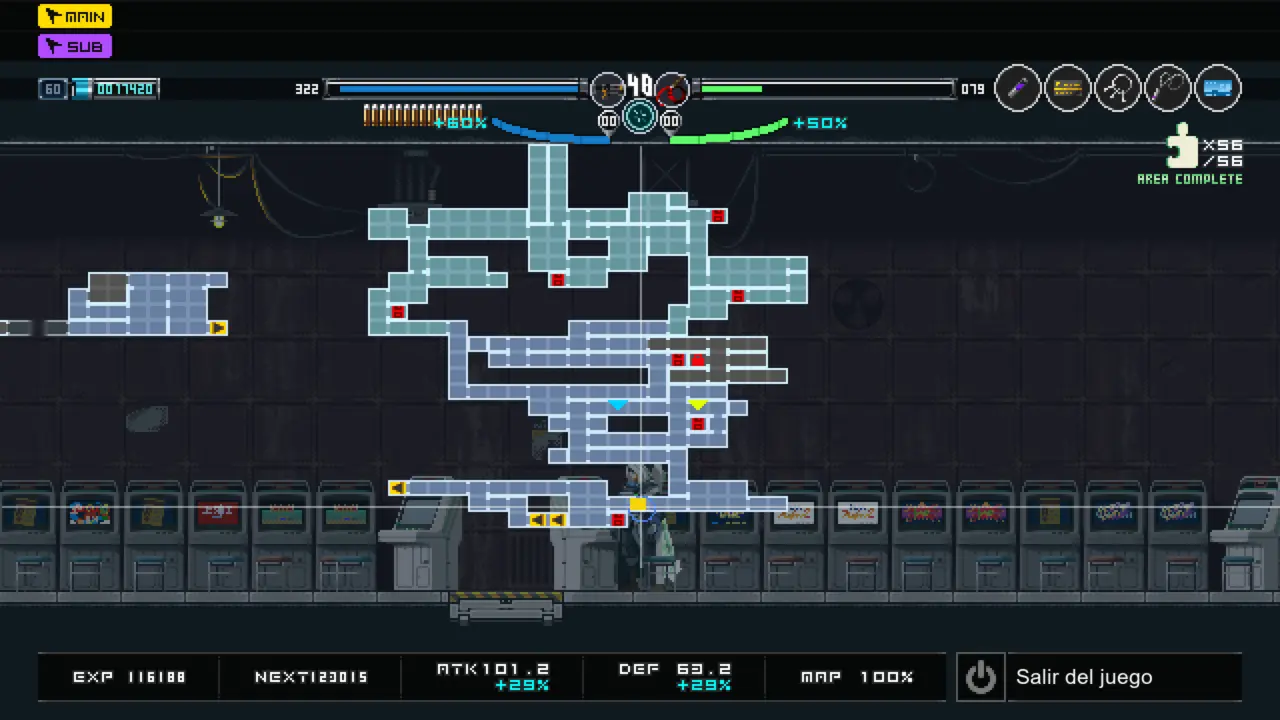
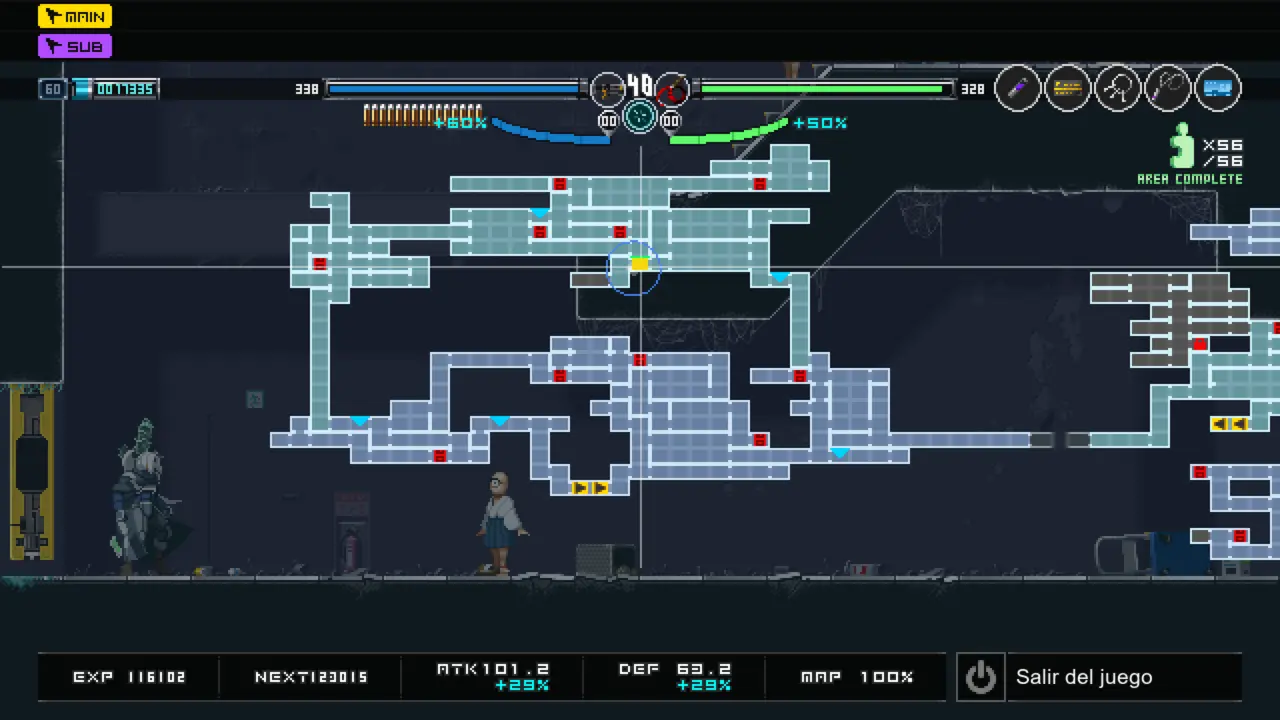
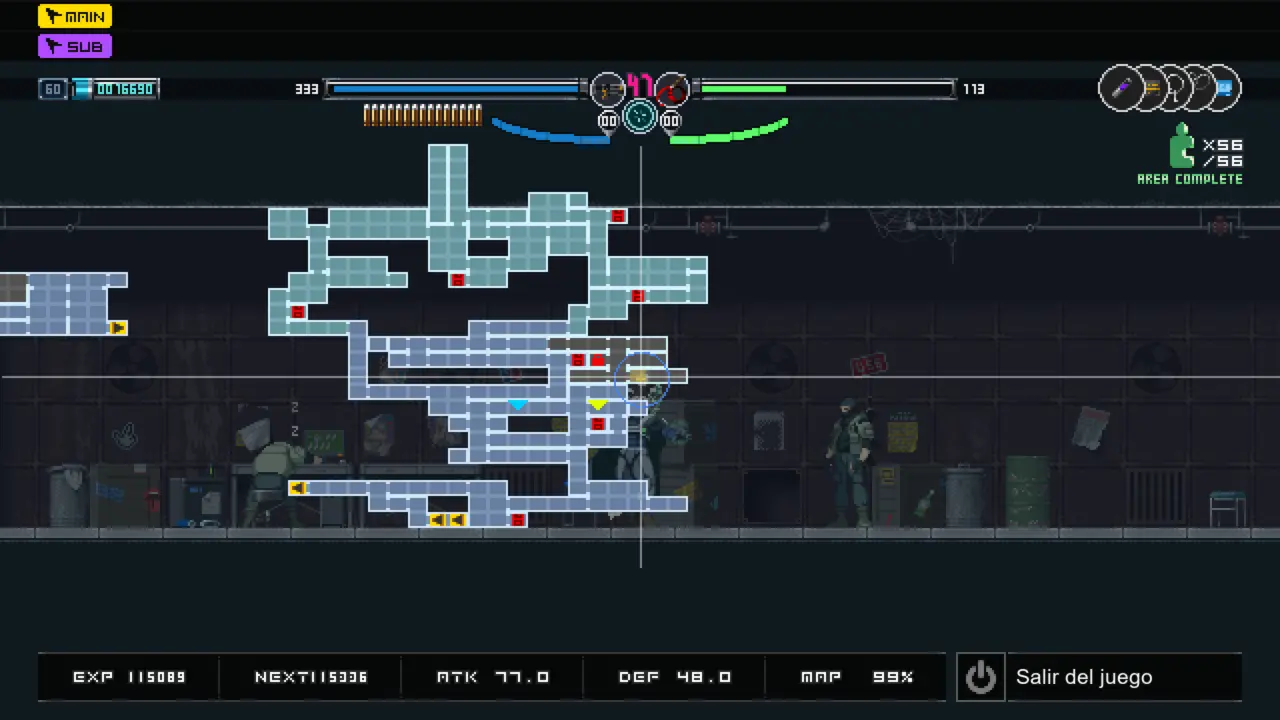
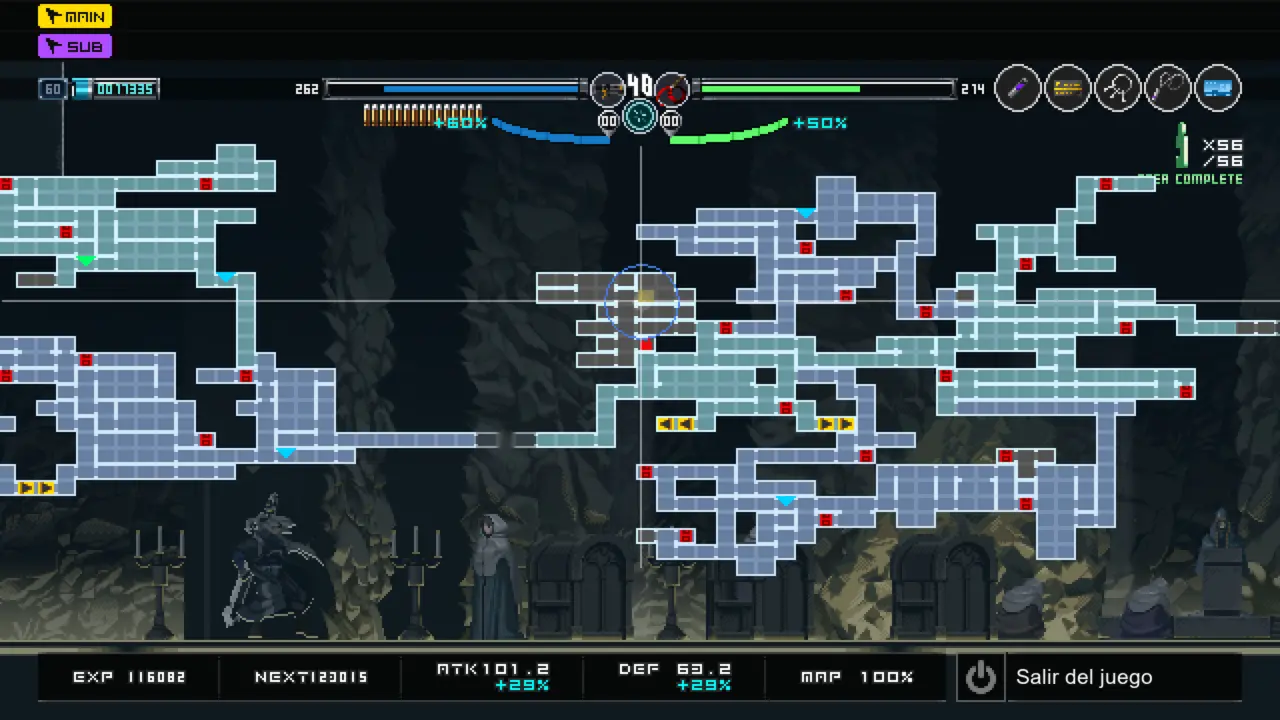
Complete Map

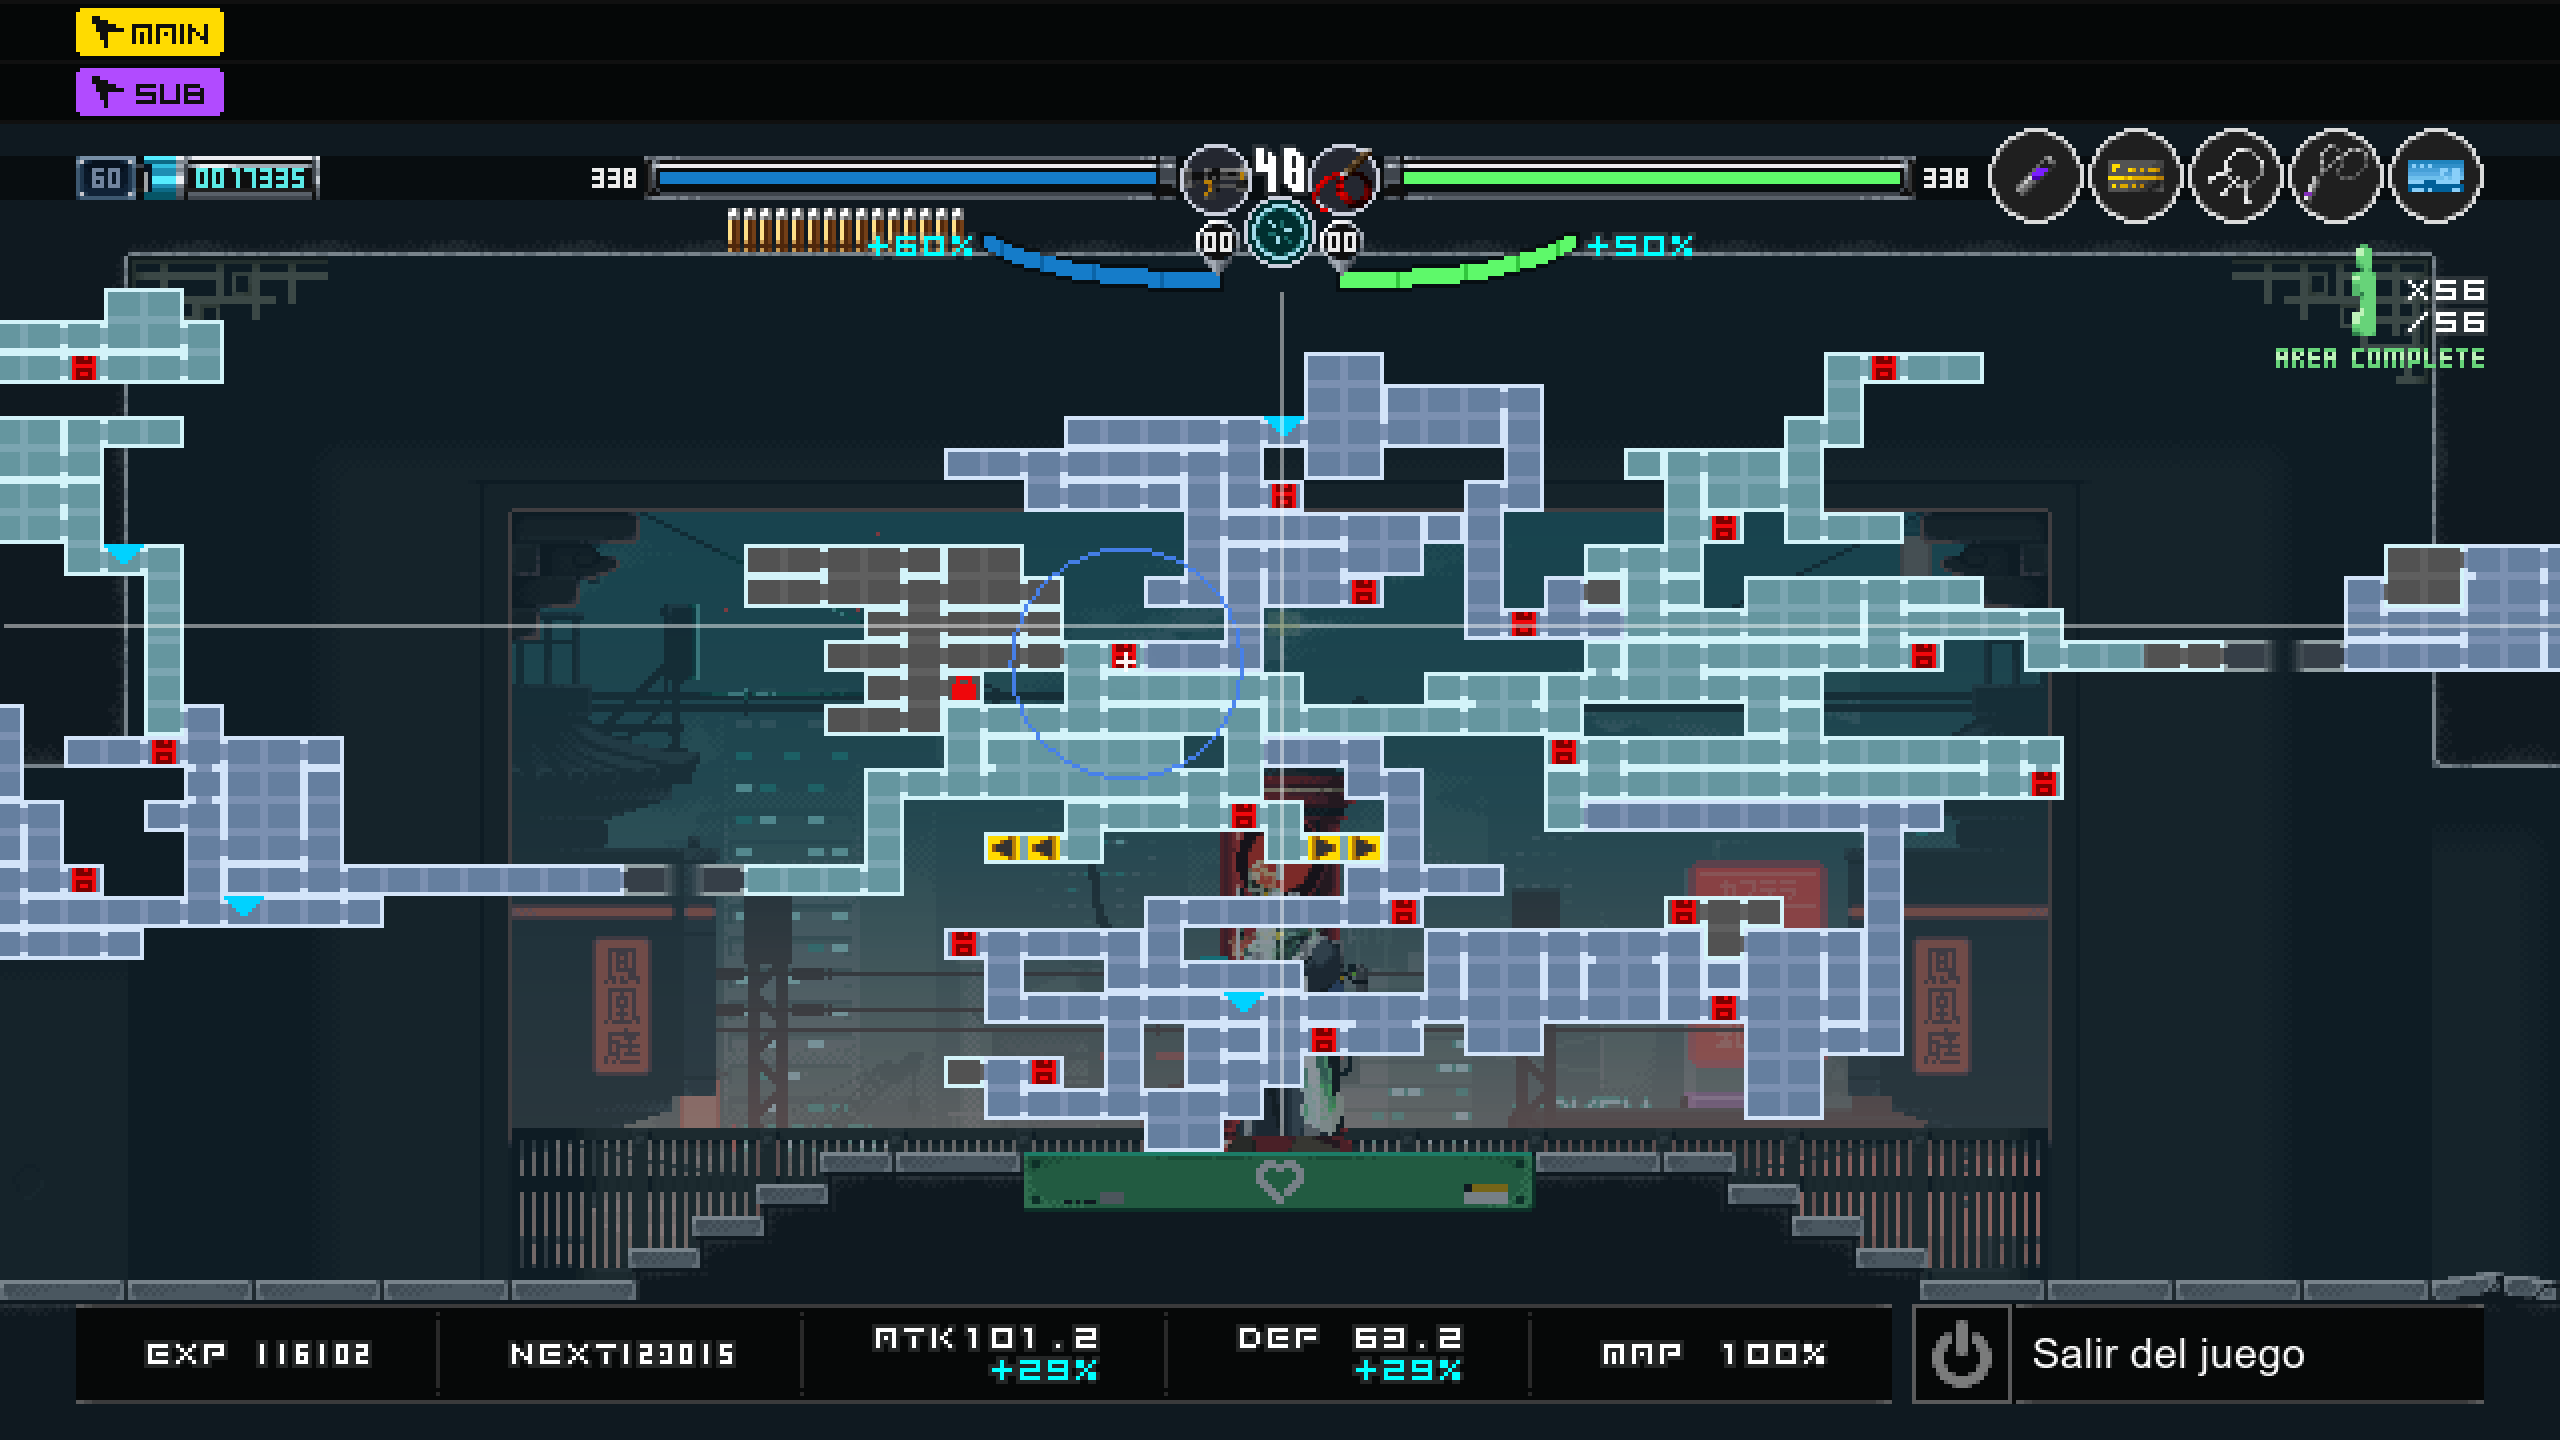
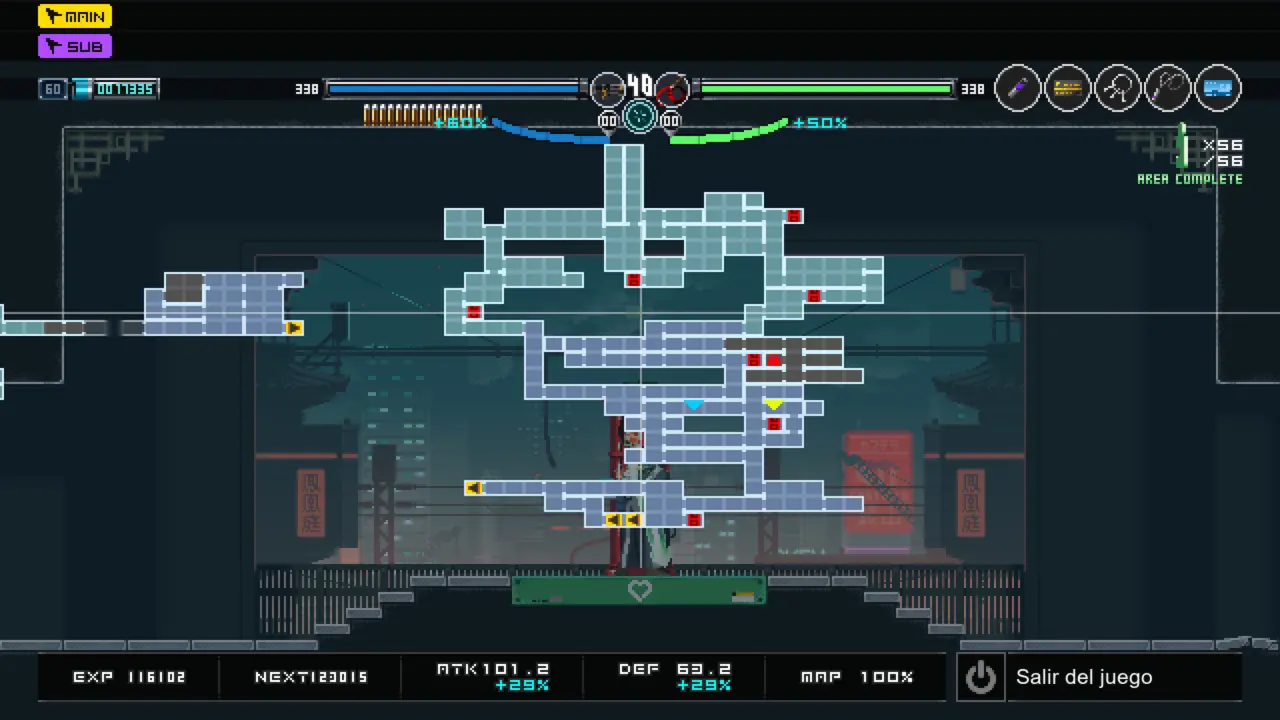
The yellow icon marks the location of the lever which activates the red and blue pillars
Achievements
Non-Missable
You cannot miss these ones as they are obtained through the story:
- 40 Years Later
Description: Start the game.
- The Holy Union
Description: Enter the Holy Union HQ.
- The Peacemakers

Description: Enter the Peacemakers HQ.
- Traversing the Infinite

Description: Goodbye… for now.
- Farewell, Friend
Description: Free your friend.
Missable
Achievements you can miss on a playthrough.
- Bonus Stage

- Explanation: Completely wreck the car from the dragon boss.
- Map Location:
- Side Hustle
Explanation: Complete a side mission. (Up on a save point)
Map Location:
- Sun-kissed

Explanation: Get Lumina to die on the UV rays.
Map Location:
- Zapped

Explanation: Shock yourself by shooting your gun in the water.
Map Location:
- Poked to Death
Explanation: Die by falling in spikes.
Map Location:
- Annual Pass

Explanation: Teleport multiple times to the Amusement Park (Ferris Wheel).
Map Location:
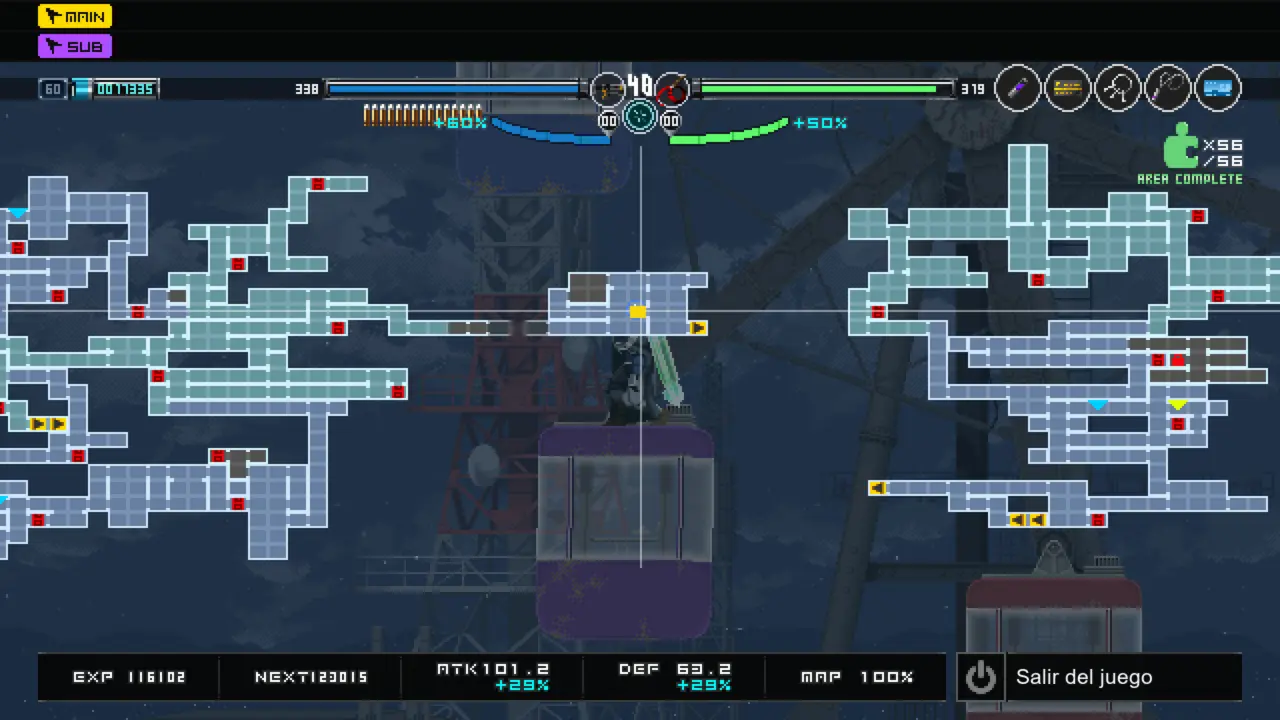
- Feeling Dizzy

Explanation: Make the ferris wheel spin (put yourself on top of one of the side carriages).
Map Location:

- Tarzan
Explanation: Chain multiple rope swings without falling.
Map Location:
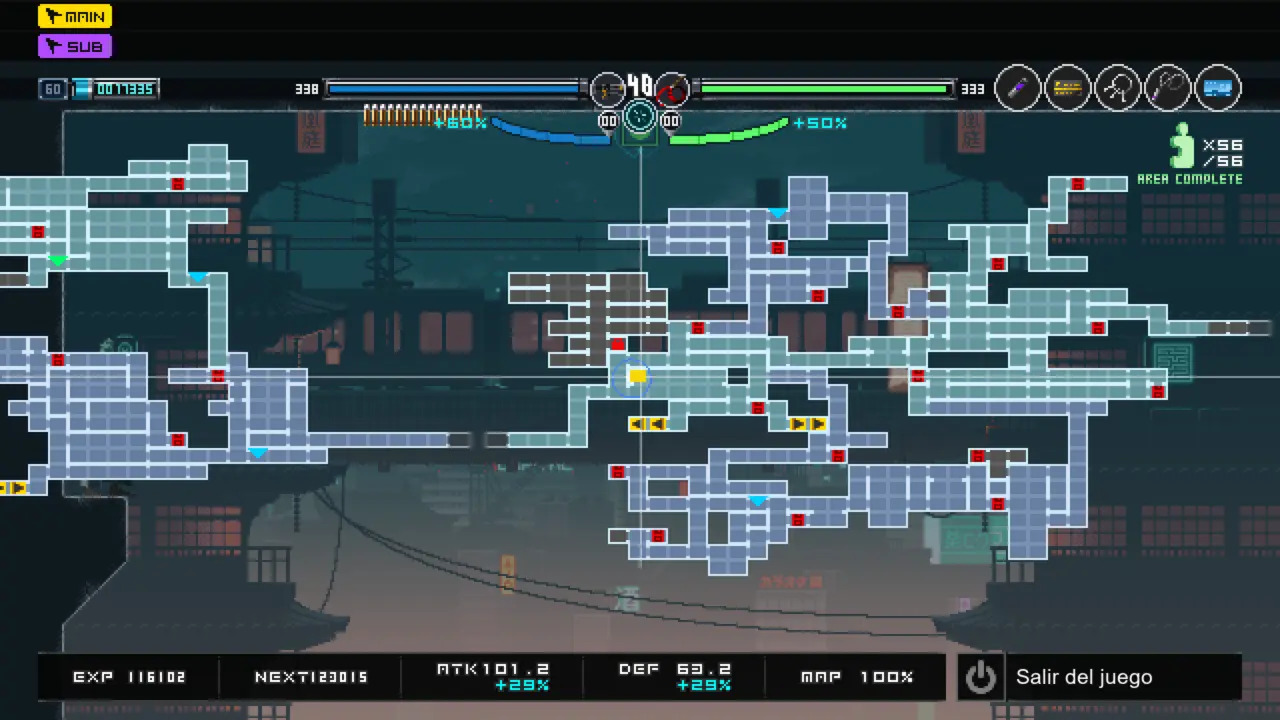
- Terracotta Connoisseur
Explanation: Turn to terracotta multiple times (projectiles from red spirit, for example).
Map Location:
- Rail Enthusiast
Explanation: Ride the train multiple times.
Map Location:
- A Furry Reunion
Explanation: Visit the dog in the Peacemakers HQ after they free you from prison.
Map Location:
- Practice Makes Perfect
Explanation: Shoot your gun on the shooting range at the Peacemakers HQ.
Map Location:
- Going, Going… Gone
Explanation: Get thrown really far by an enemy.
Map Location:
- Skydiving
Explanation: Fall a second time in the hole made by the bird boss.
Map Location:
- Shroom Slayer
Explanation: Break A LOT of budda shrooms (the ones that give you MP).
Map Location:
- Cutting it Close
Explanation: Get out of the water once you run out of air AND start losing HP.
Map Location:
- Germaphobe

Explanation: Disinfect yourself 2 times in a row at the Holy Union entrance.
Map Location:
- Pro Gamer
Explanation: Obtain a score of 10,000 on the arcade machine.
Map Location:
- Brain Freeze
Explanation: Eat several ice creams in a row (they can be obtained from vending machines before the final battle).
Map Location:
- A New Era

Explanation: Defeat the secret boss.
Map Location:
Bestiary
You will encounter most enemies during a normal playthrough. Here I will show you the locations of the ones that are the hardest to find.
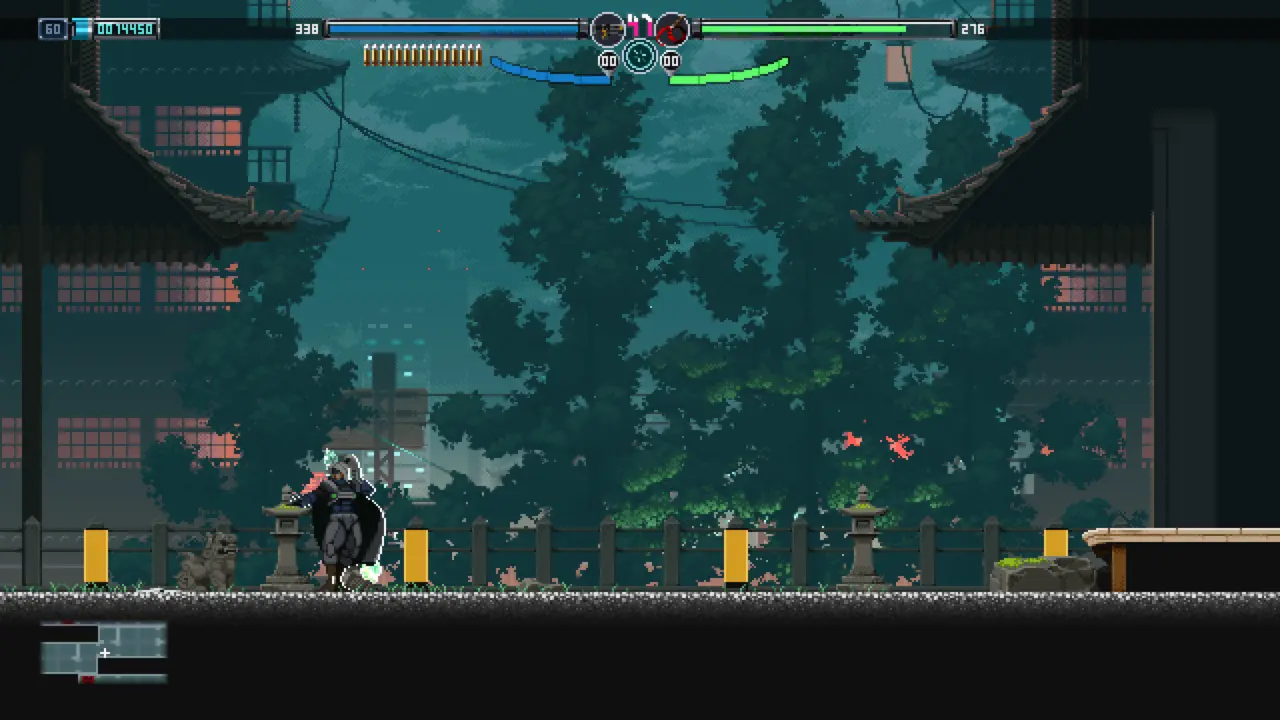
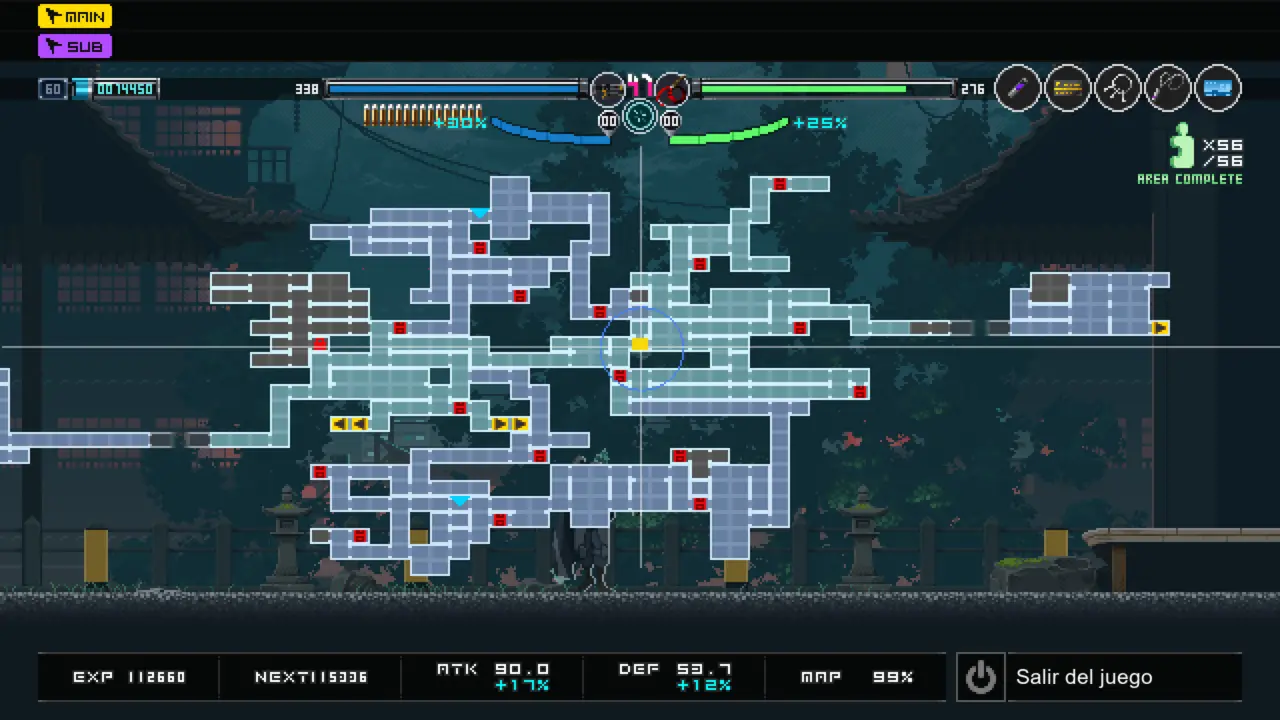
Dog statue
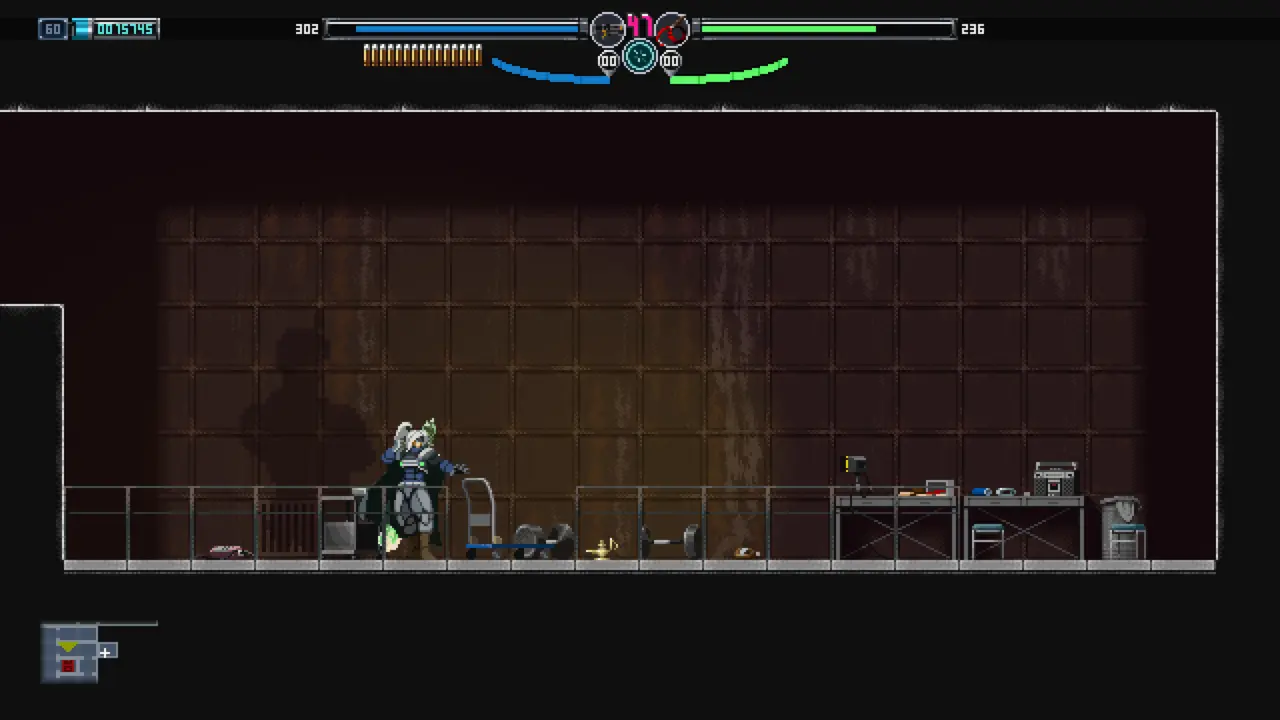
Genie
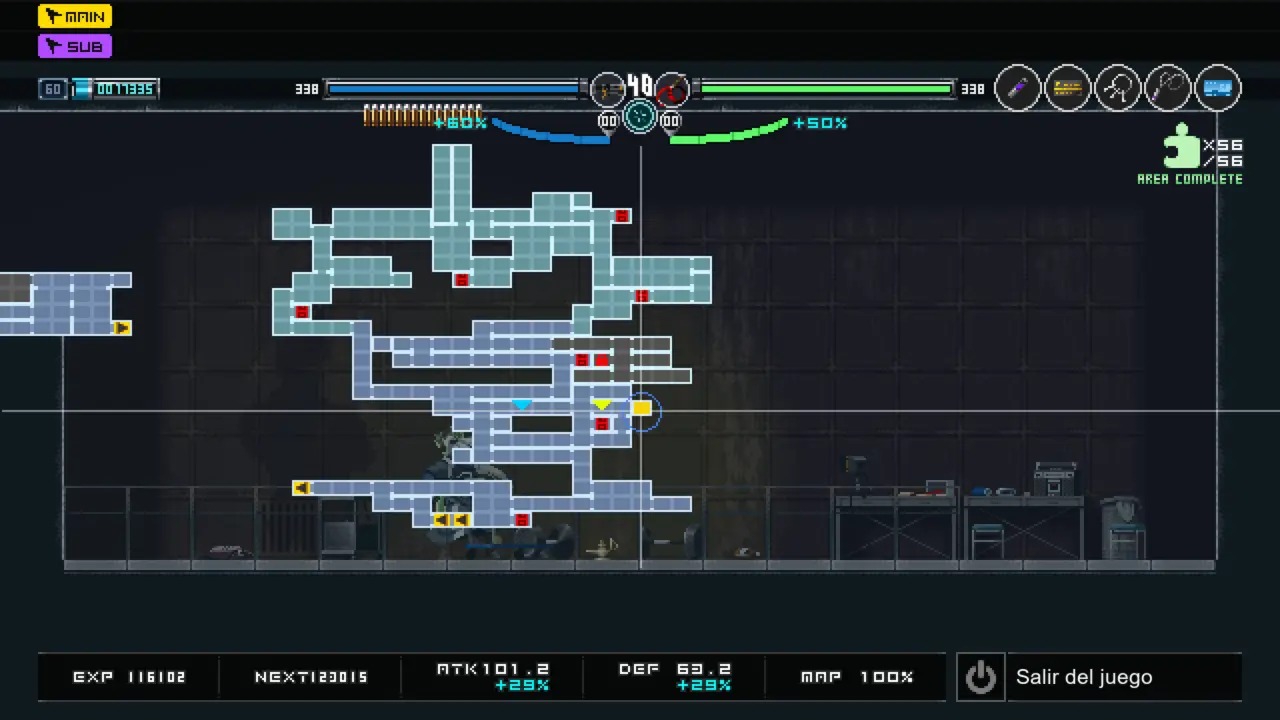
Will-o’-the-Wisp
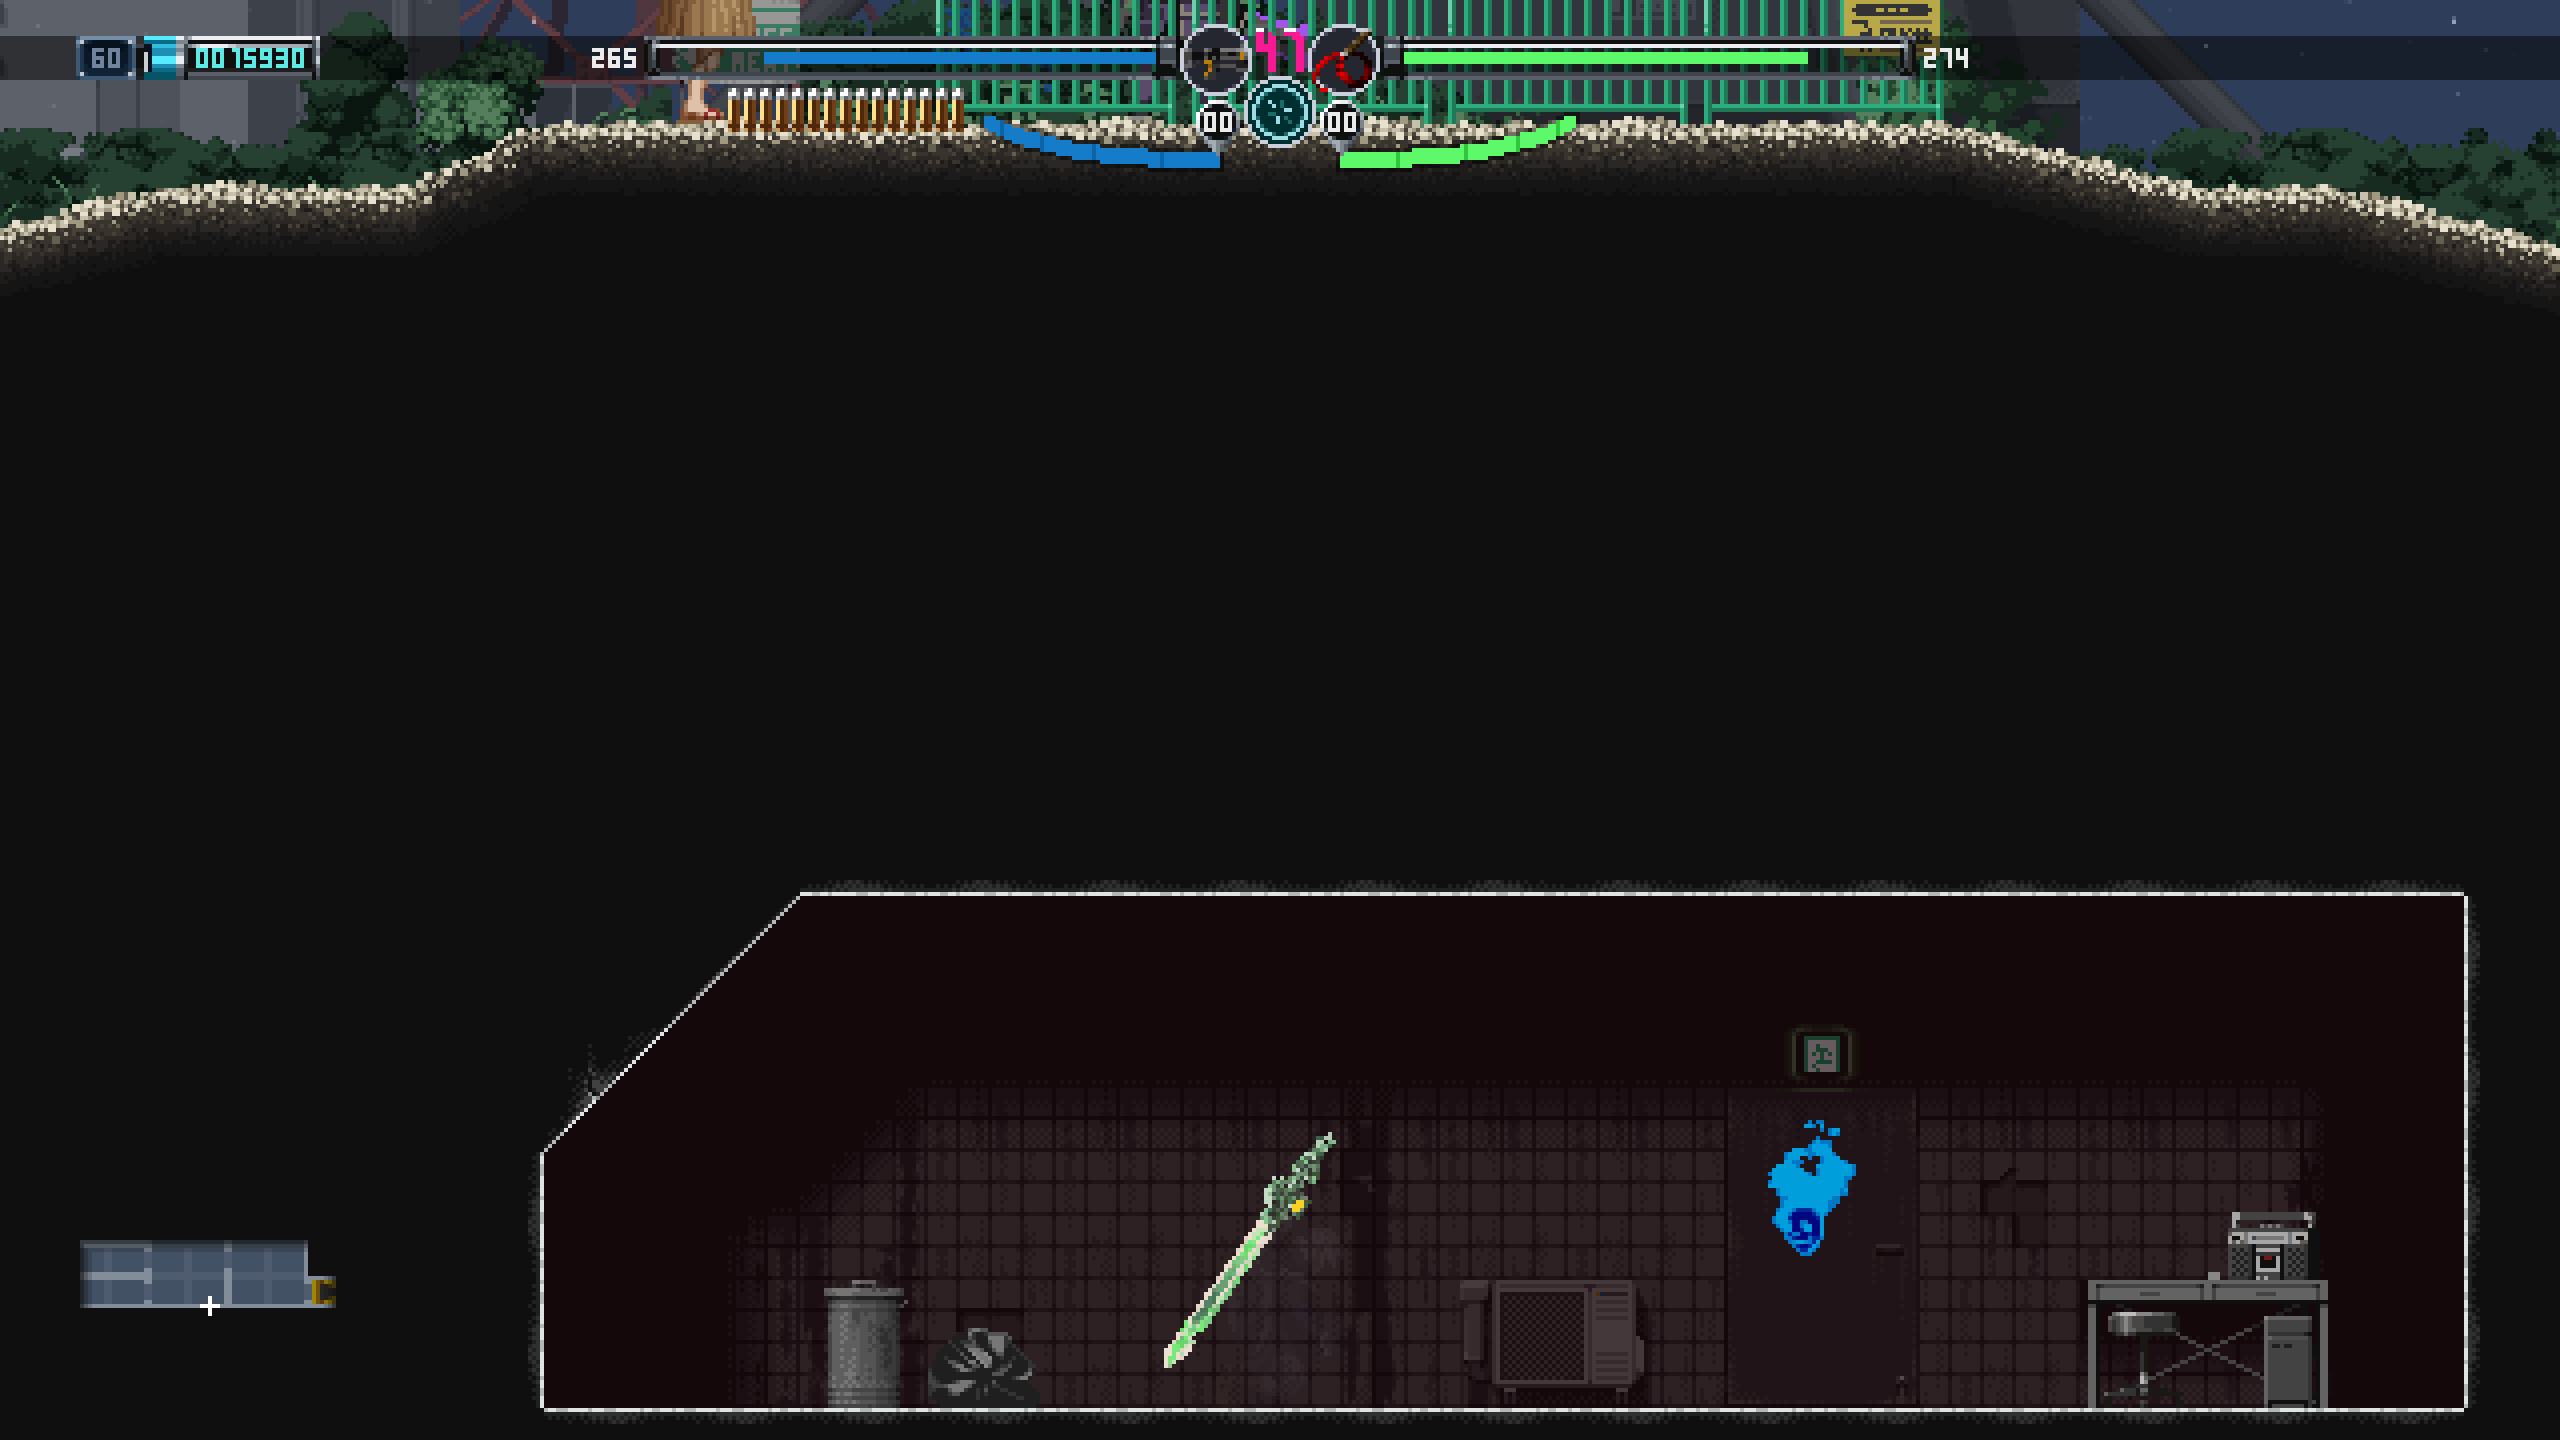
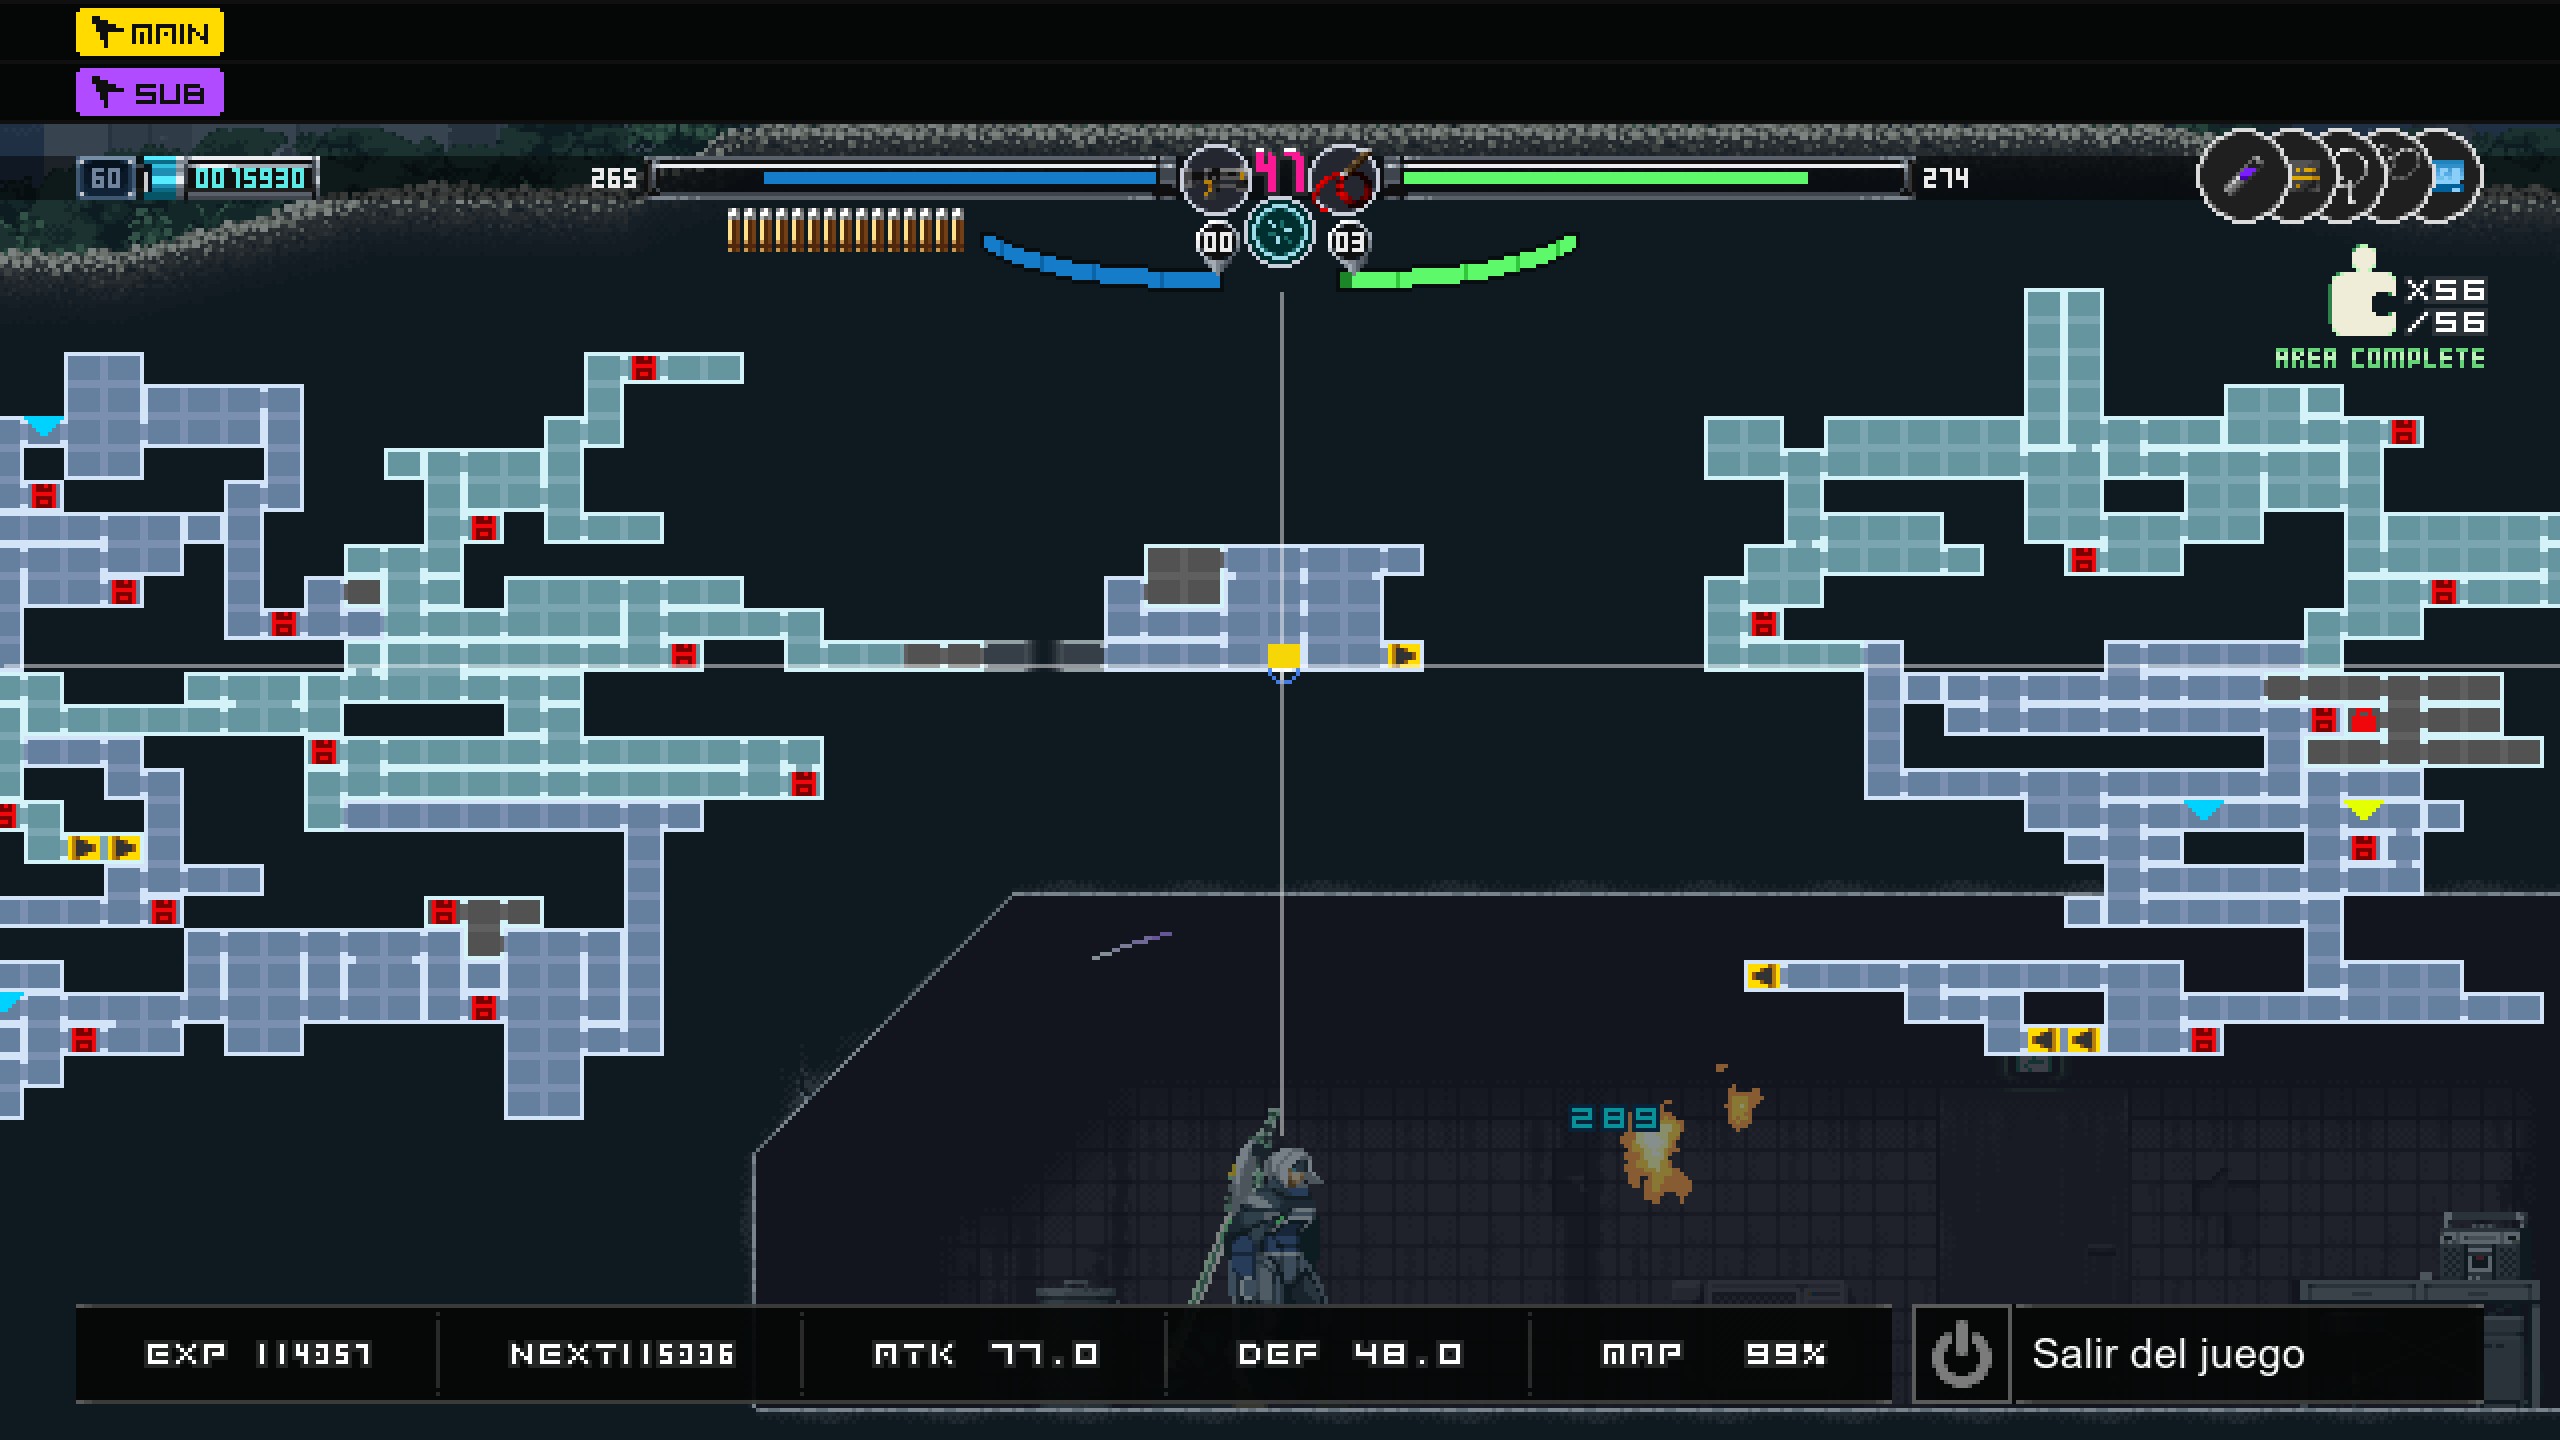
Kitsune
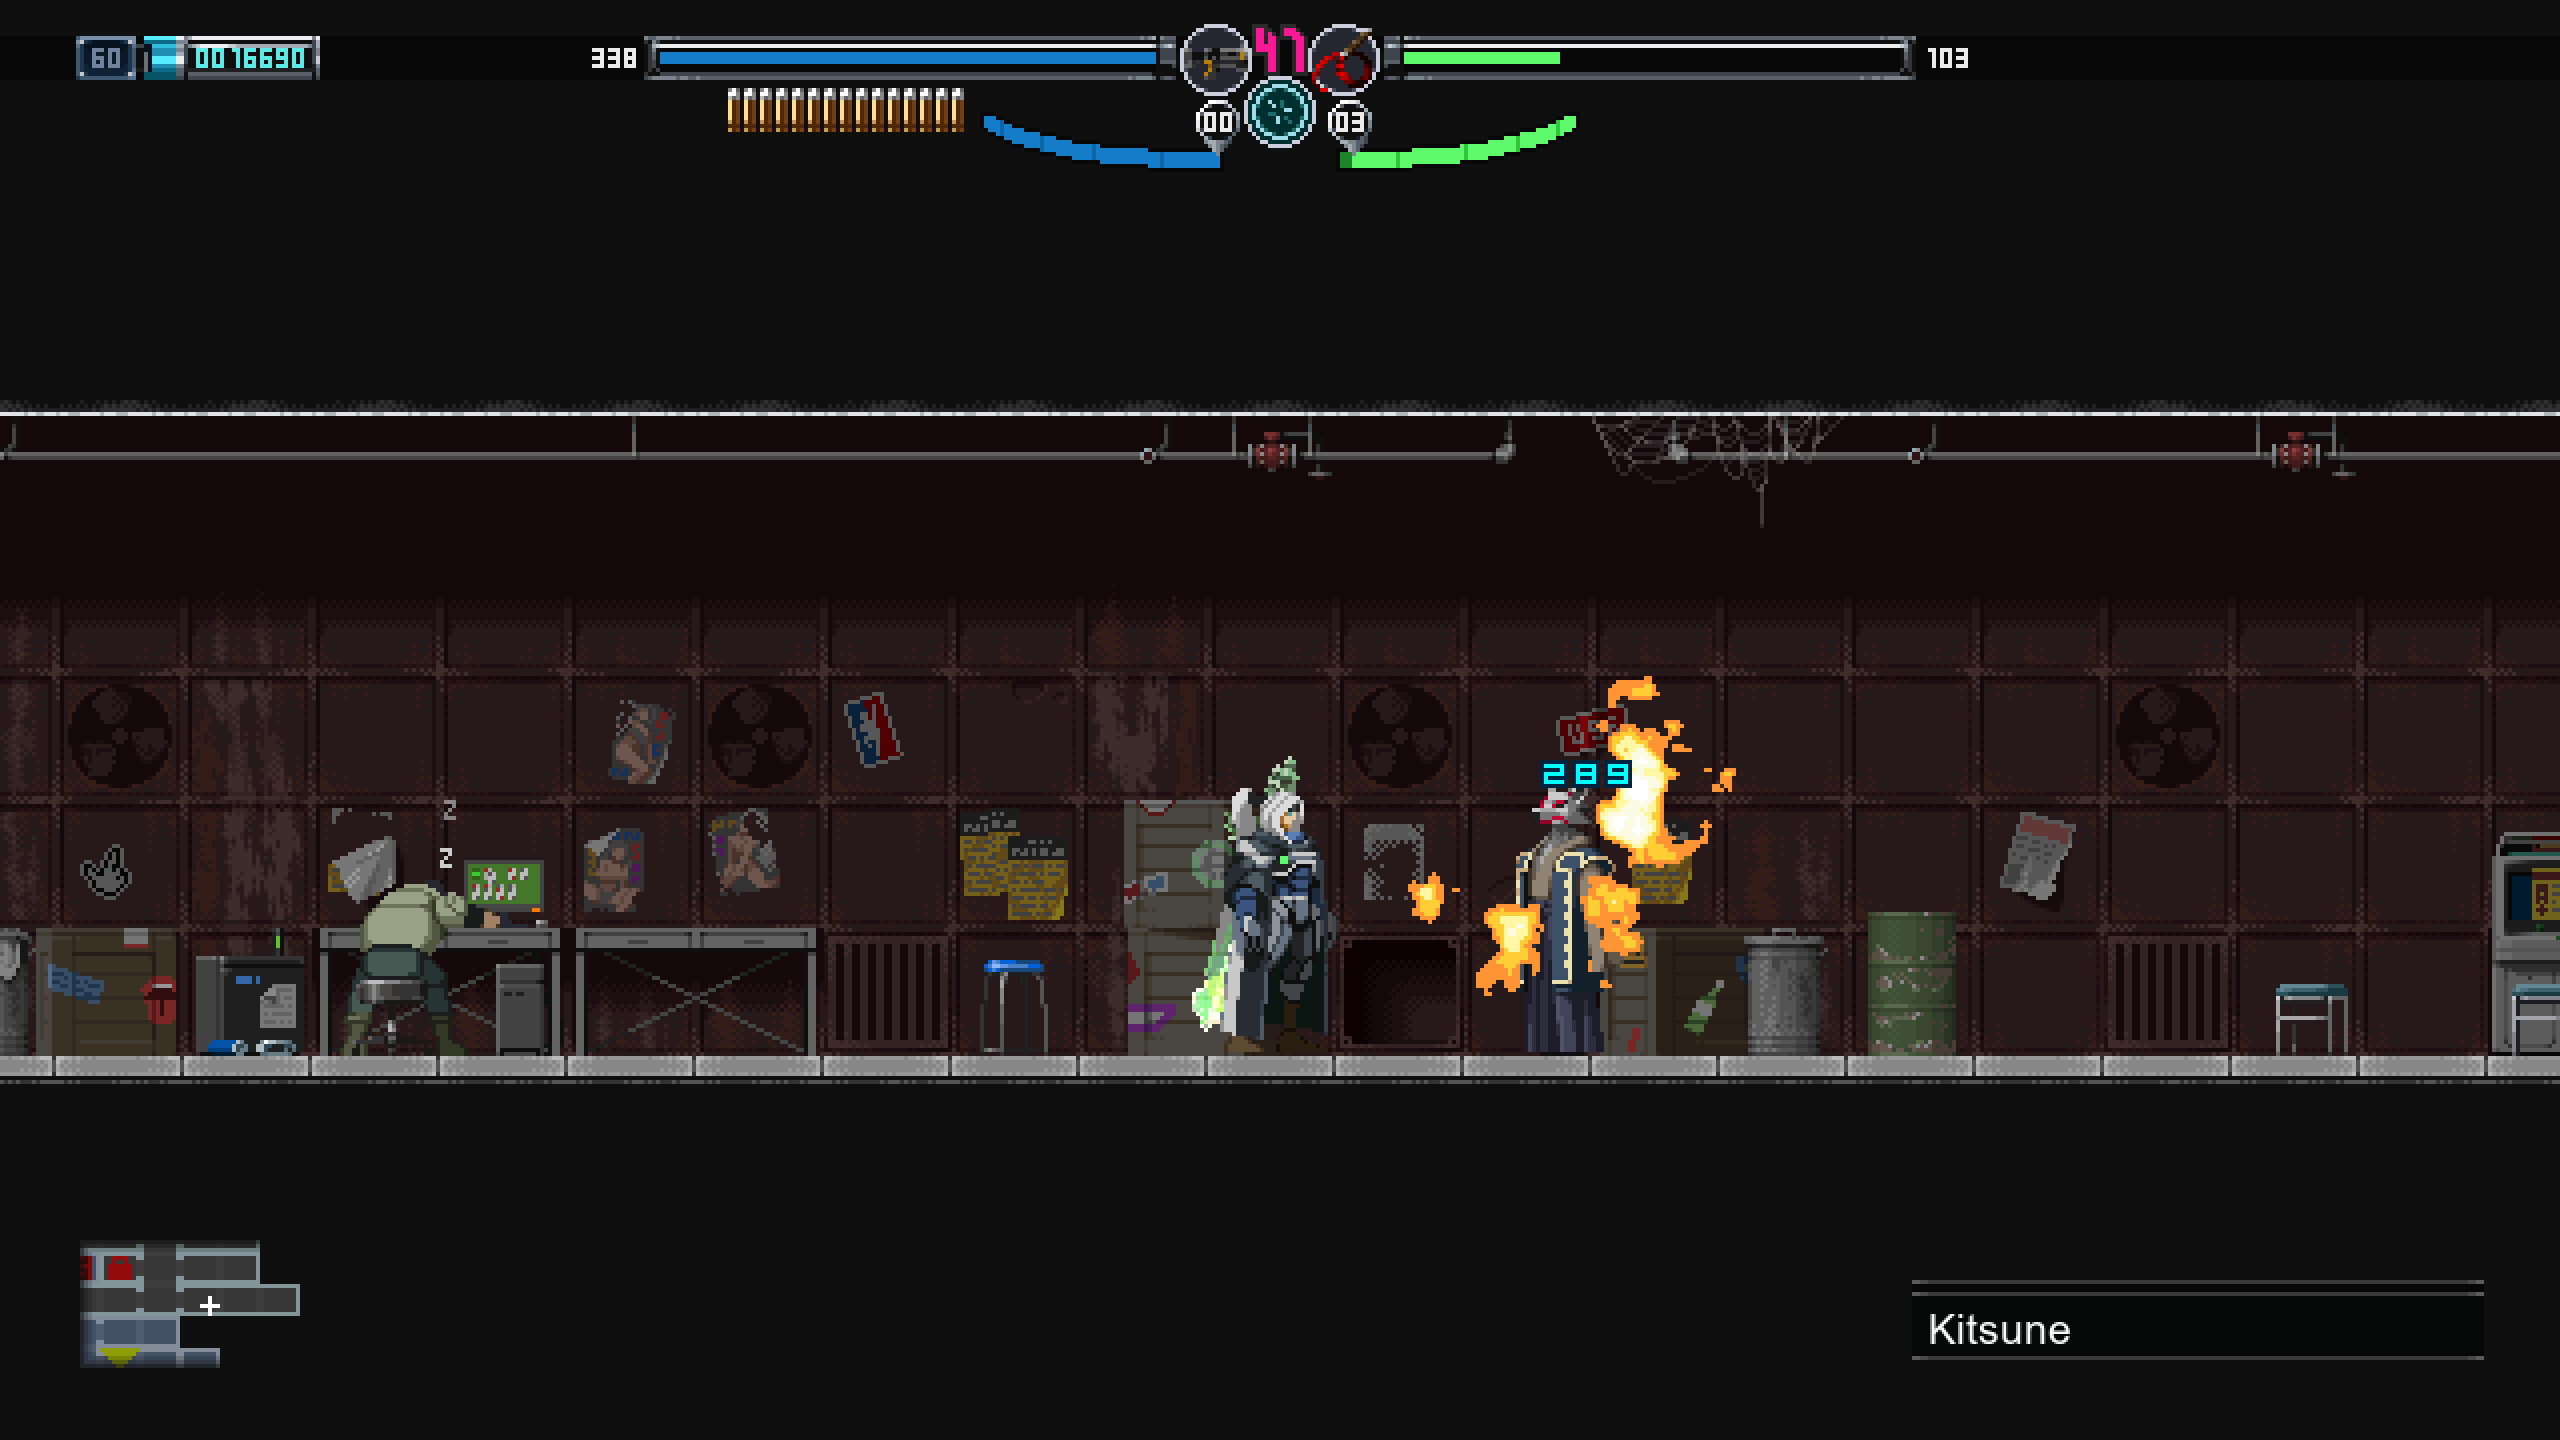
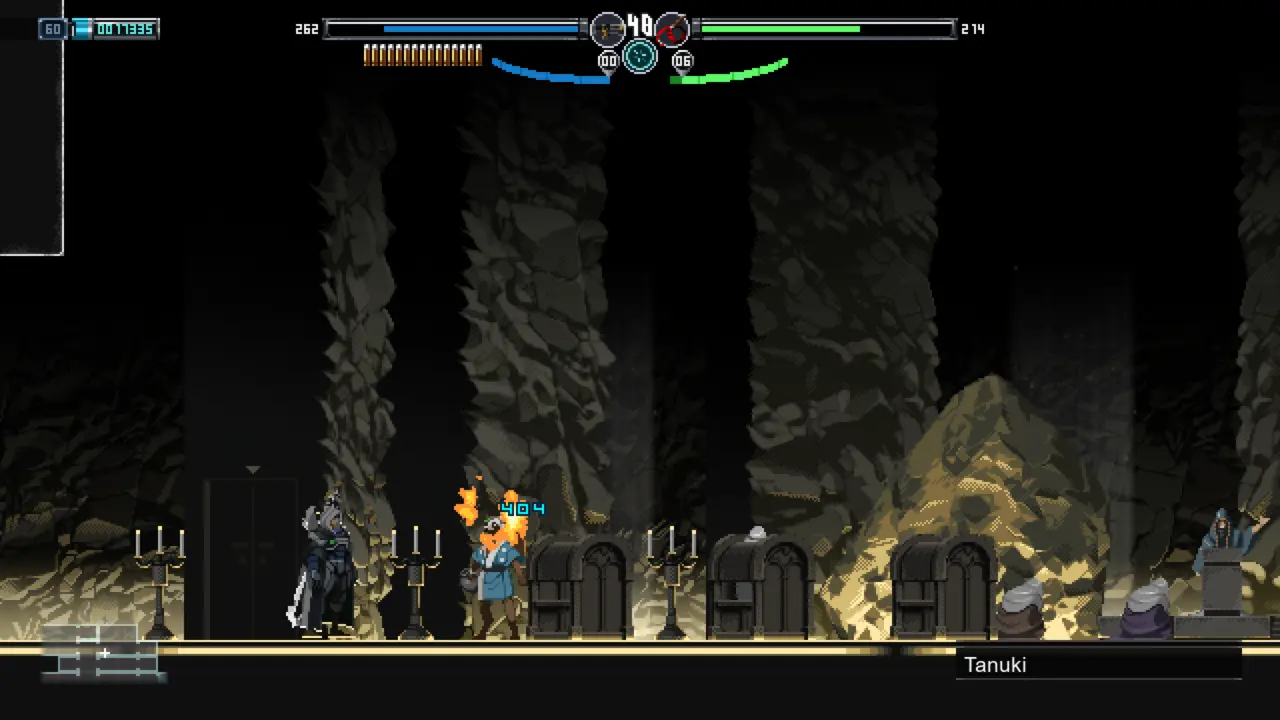
Tanuki
Item Compendium
Remember to buy everything from the shops at each base. Most items can be obtained by exploring the map, while the rest are dropped by enemies. It’s just a matter of patience until they drop. Good luck!