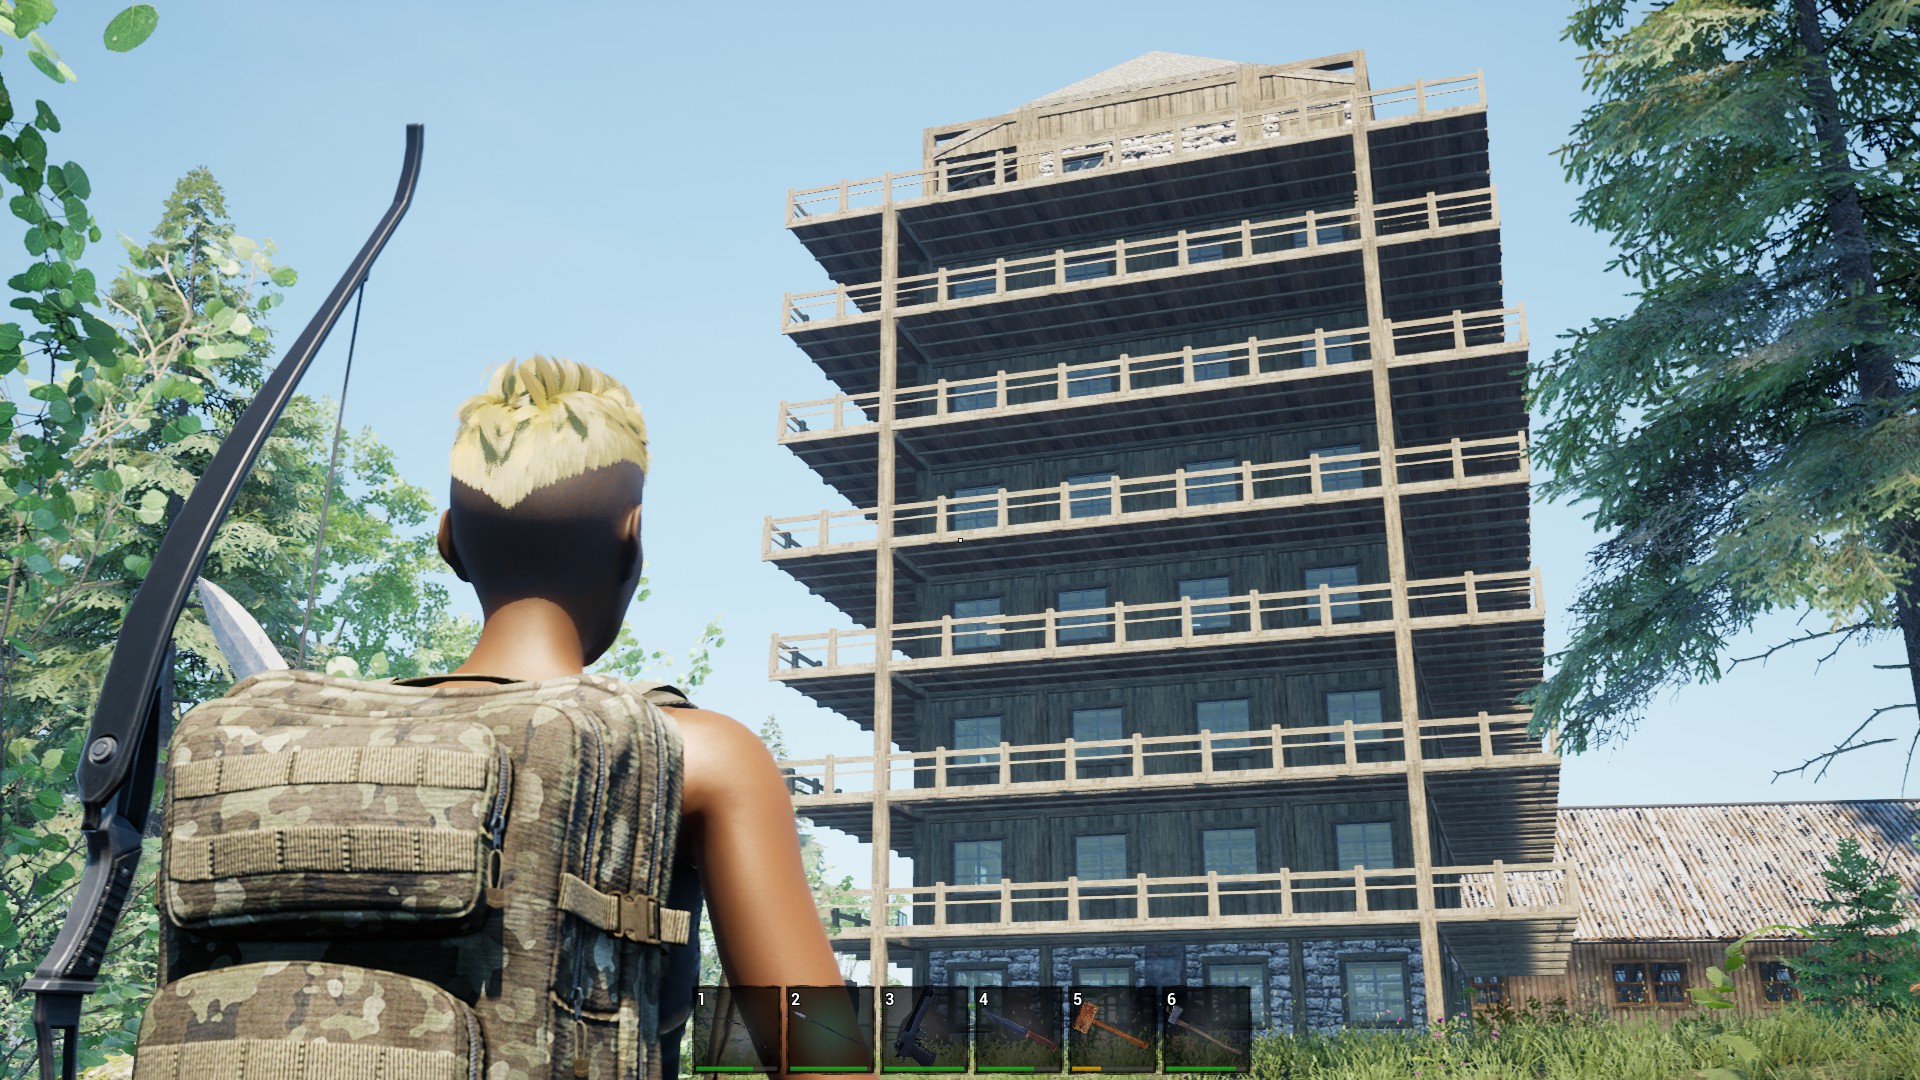
Guide to building simple stairs and penthouse in your home in No One Survived. For 2nd floor or more.
Simple Stairs & Penthouse
Welcome to our No One Survived Simple Stairs & Penthouse. Guide to building simple stairs in your home in No One Survived. For 2nd floor or more.
Starting your Building
When starting to build a 2 or more story house, the easy way to start is first locate a level area at least 4×4 foundations in size but 6 by 6 allows you to add a porch which I like to place anything that smokes like furnaces, and log , sticks, board racks , rock baskets . It works best if you ghost build(blue don’t add items) the foundation and all the post and beams. Do not add walls or floors to start.
Below if the first step staring with w 4 foundation by 4 foundation square. Notice a placed a scaffolding stair in the middle, this is just so you can reach the higher post and beams if you need it. I was able to reach all but the top 4 grid beams.
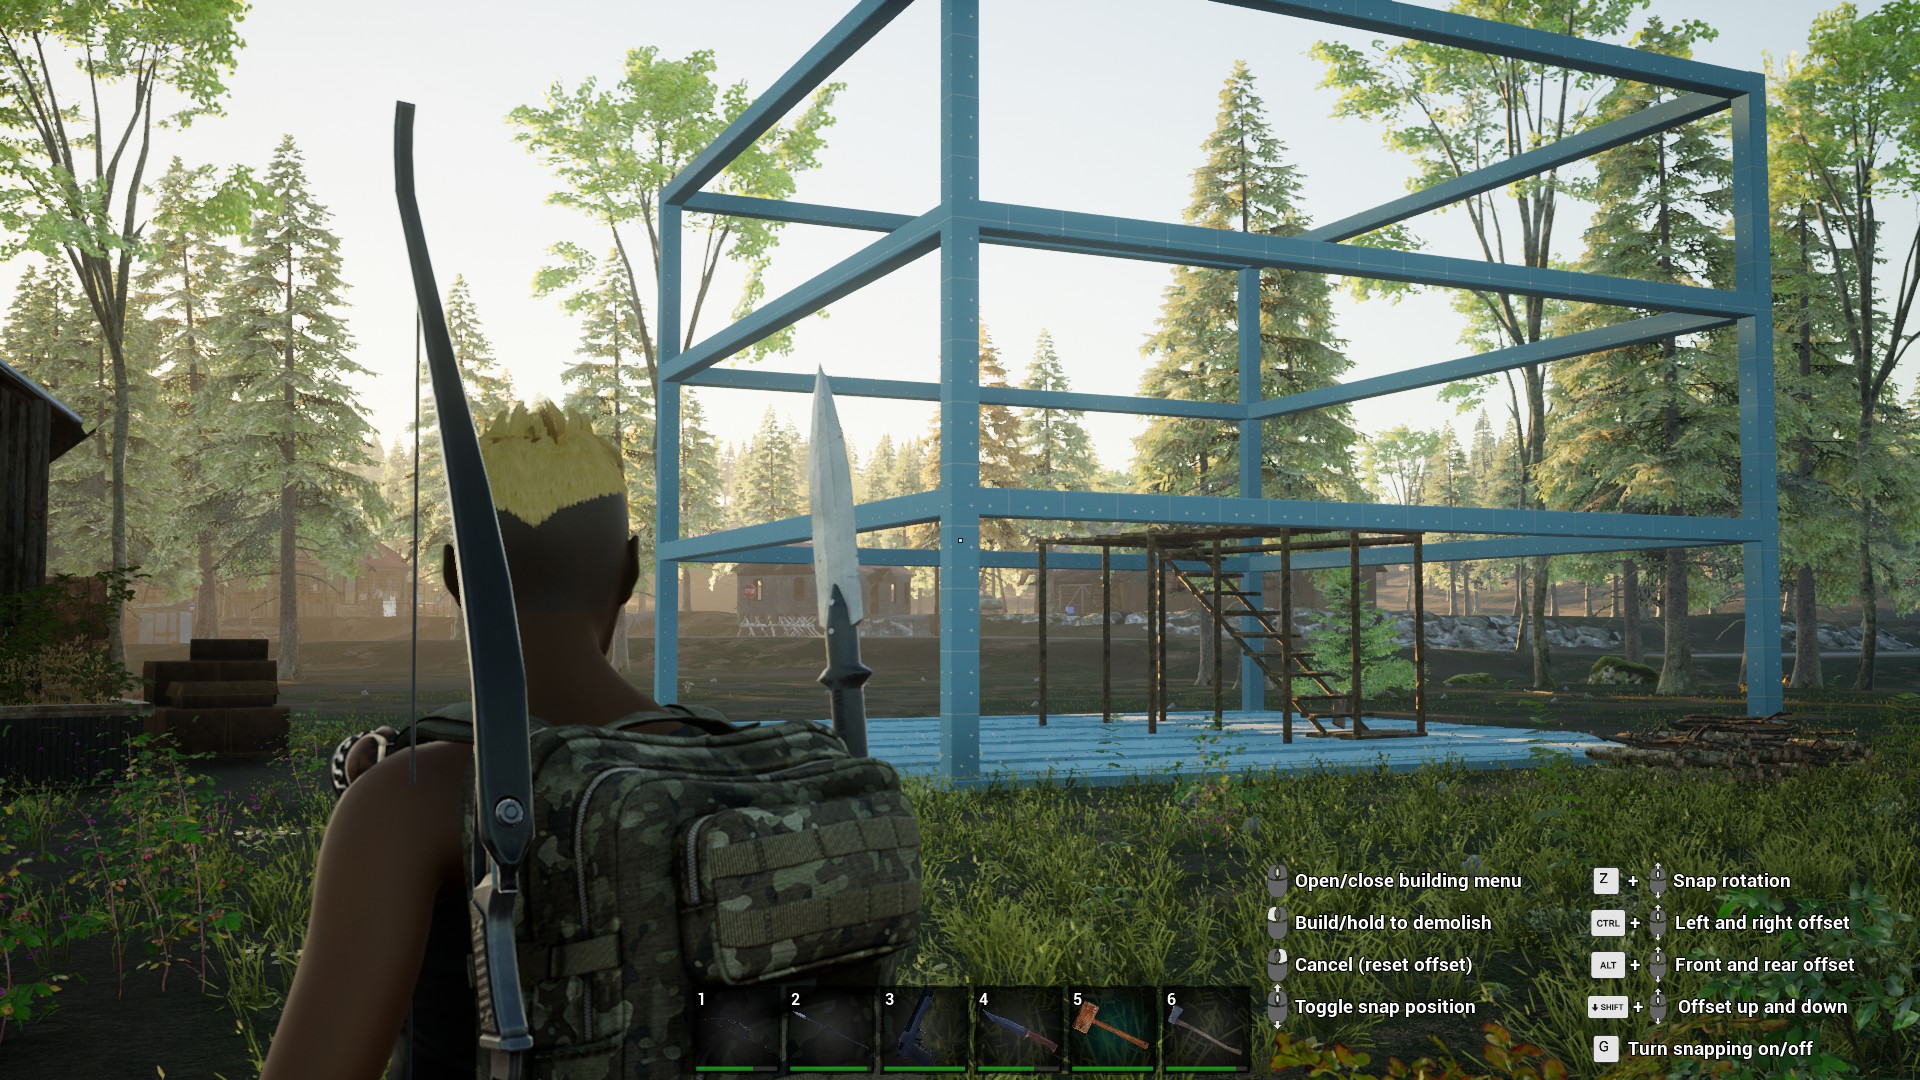
If you want an open floor plan with no internal post you need to add post at 1 grid length from each corner that will leave a 2 grid span in the middle of each side so it will look like the below image. Easy to find the right place to place these beams is to stand in the 2nd foundation from the corner and it will turn red like in the image below and place the beam on the red outside corner,
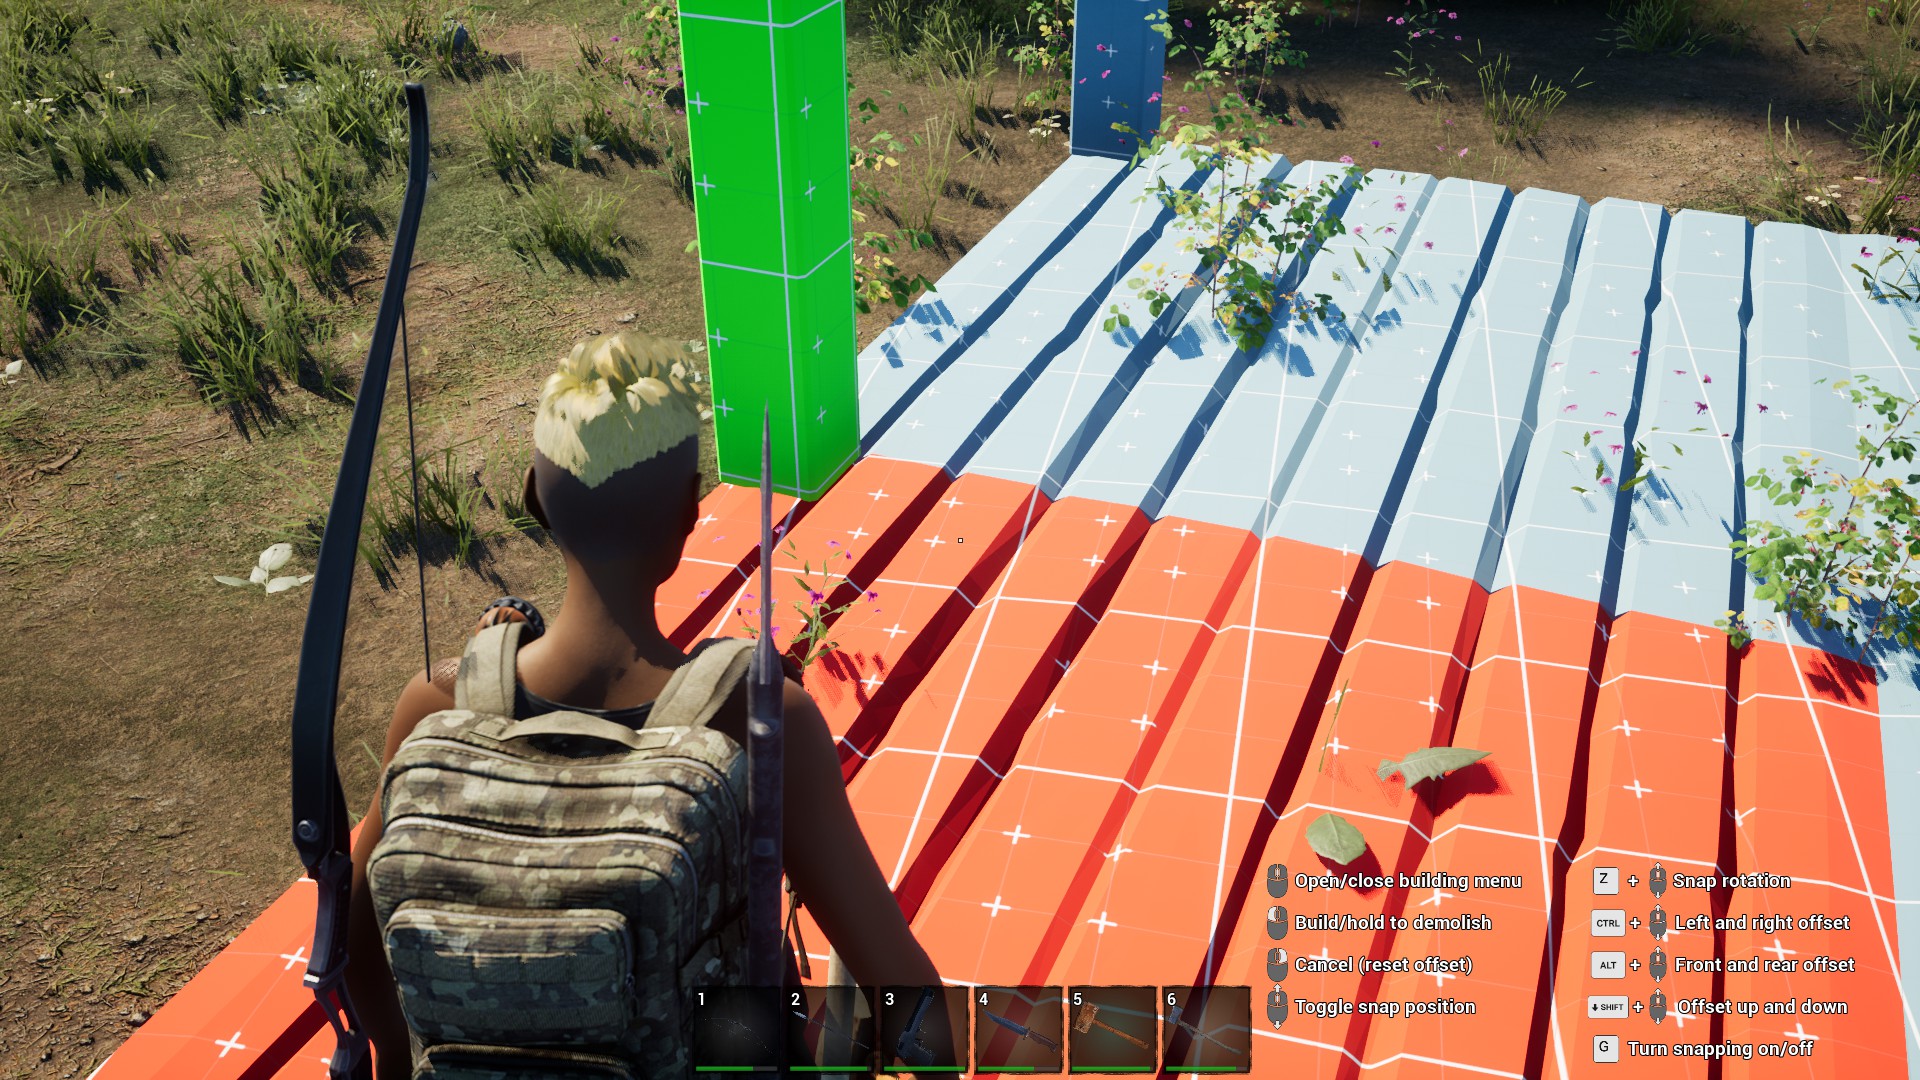
Next you need to place a 4 grid beam also shown in the below image between the new posts on the front side of the structure to new posts on the back of structure.
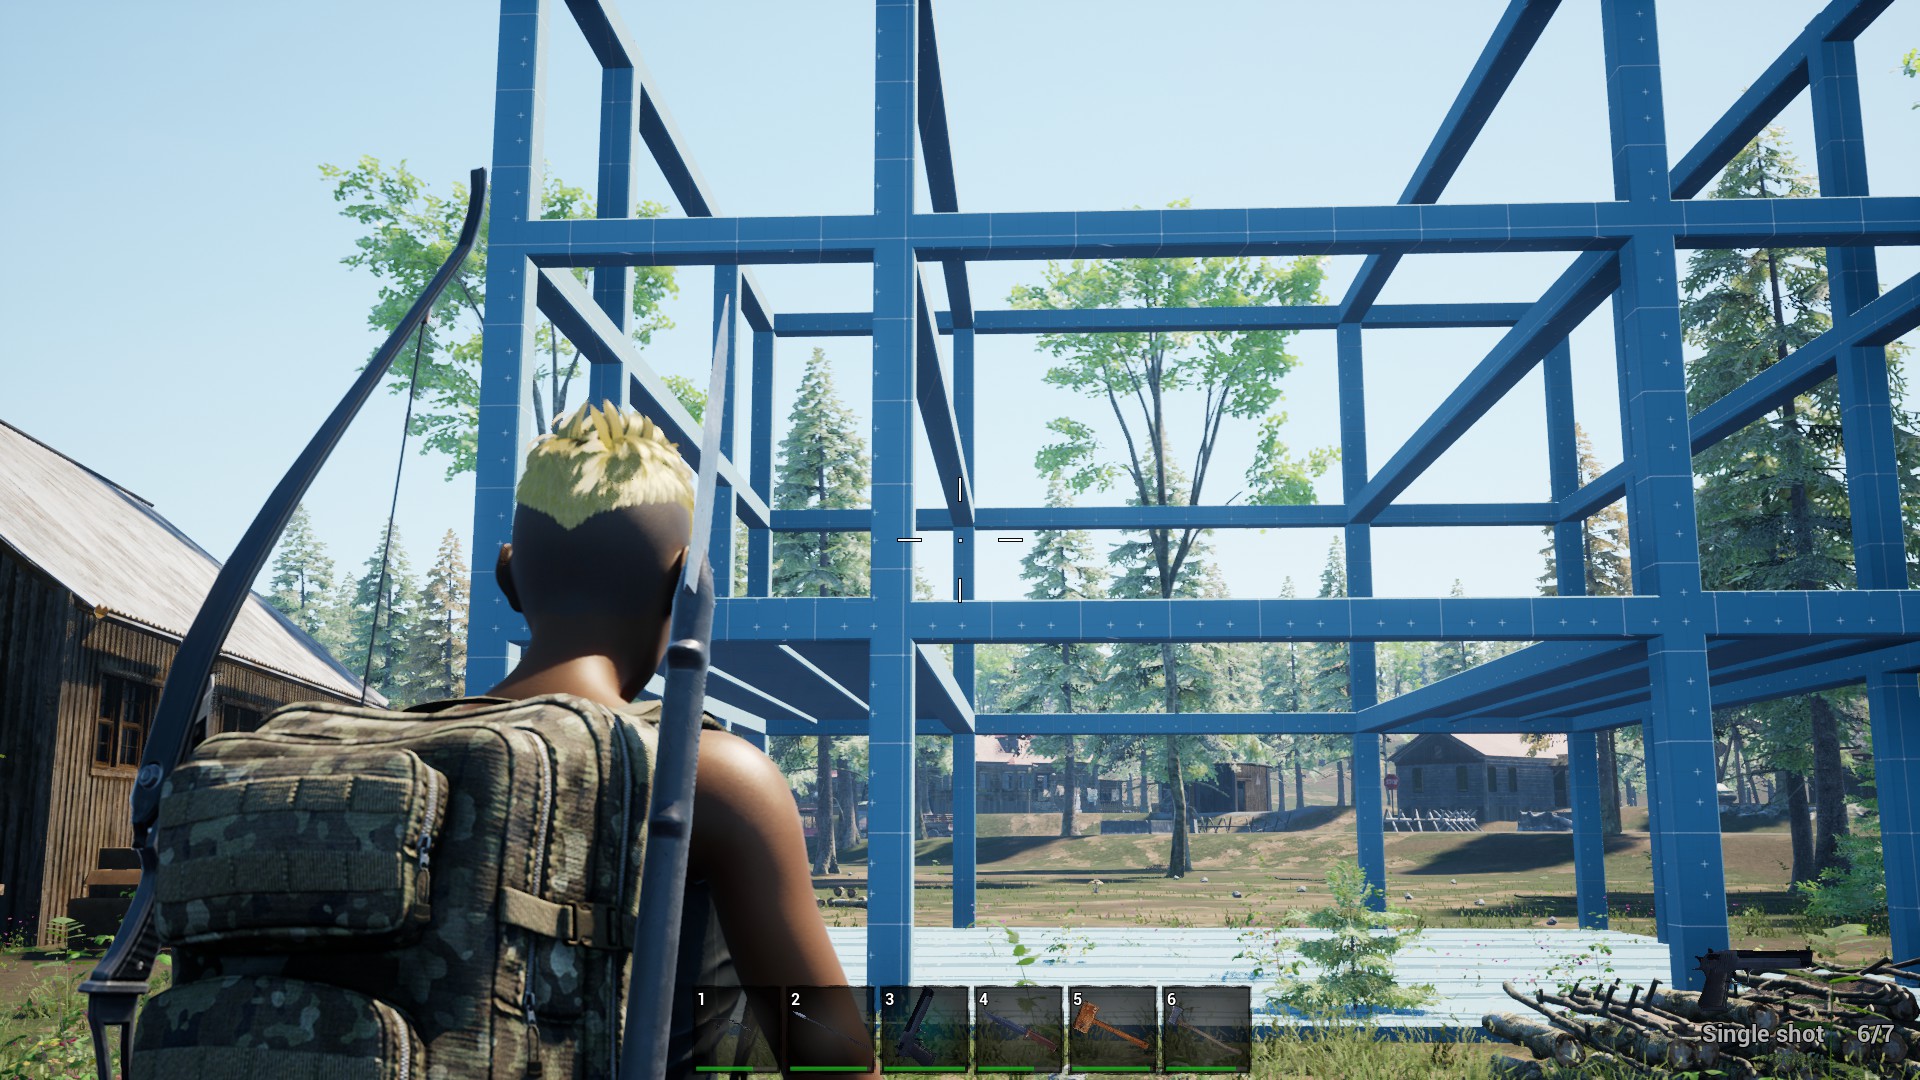
So far remember no logs have been placed in any of the structure pieces, all is still blue waiting for items to complete the build. I place my foundations as low to the ground as they will go( using shift and the scroll wheel of mouse to lower foundation), the assumption is this makes the foundations harder for the zombie to hit and creates an easy transition with out steps from the ground. If I are not been living in a city, I have not had the zombies attack my home. If you are living in a town, place spikes on side zombies would normally attack from and they do come but you can hear them hitting spikes and you can kill them if the spikes doesn’t look like they are going to do the job. You can always add more spikes as you grow for more protection if needed.
No One Survived Setting the Stairs
With this build I am using the scaffolds for stairs. Great thing about scaffolds if you deconstruct them you get 100% of the items back it took to build it. They can be placed in the middle left or middle right. I like to place the floors on 2nd level(blue) around the outside before setting scaffold. The first scaffold is the most important and a little tricky to place perfectly, but can be placed imperfectly easy, especially if you only making 2 story home. If you are going higher take the extra time so it sits against the 4 grid beams and the landing of the first step is at the new flooring you placed. You may need to move the scaffolds up or down using shift key and scroll wheel. Once you have the first one placed to your satisfaction, all other stairs can be stacked easy to what ever level you need for your build like below image.
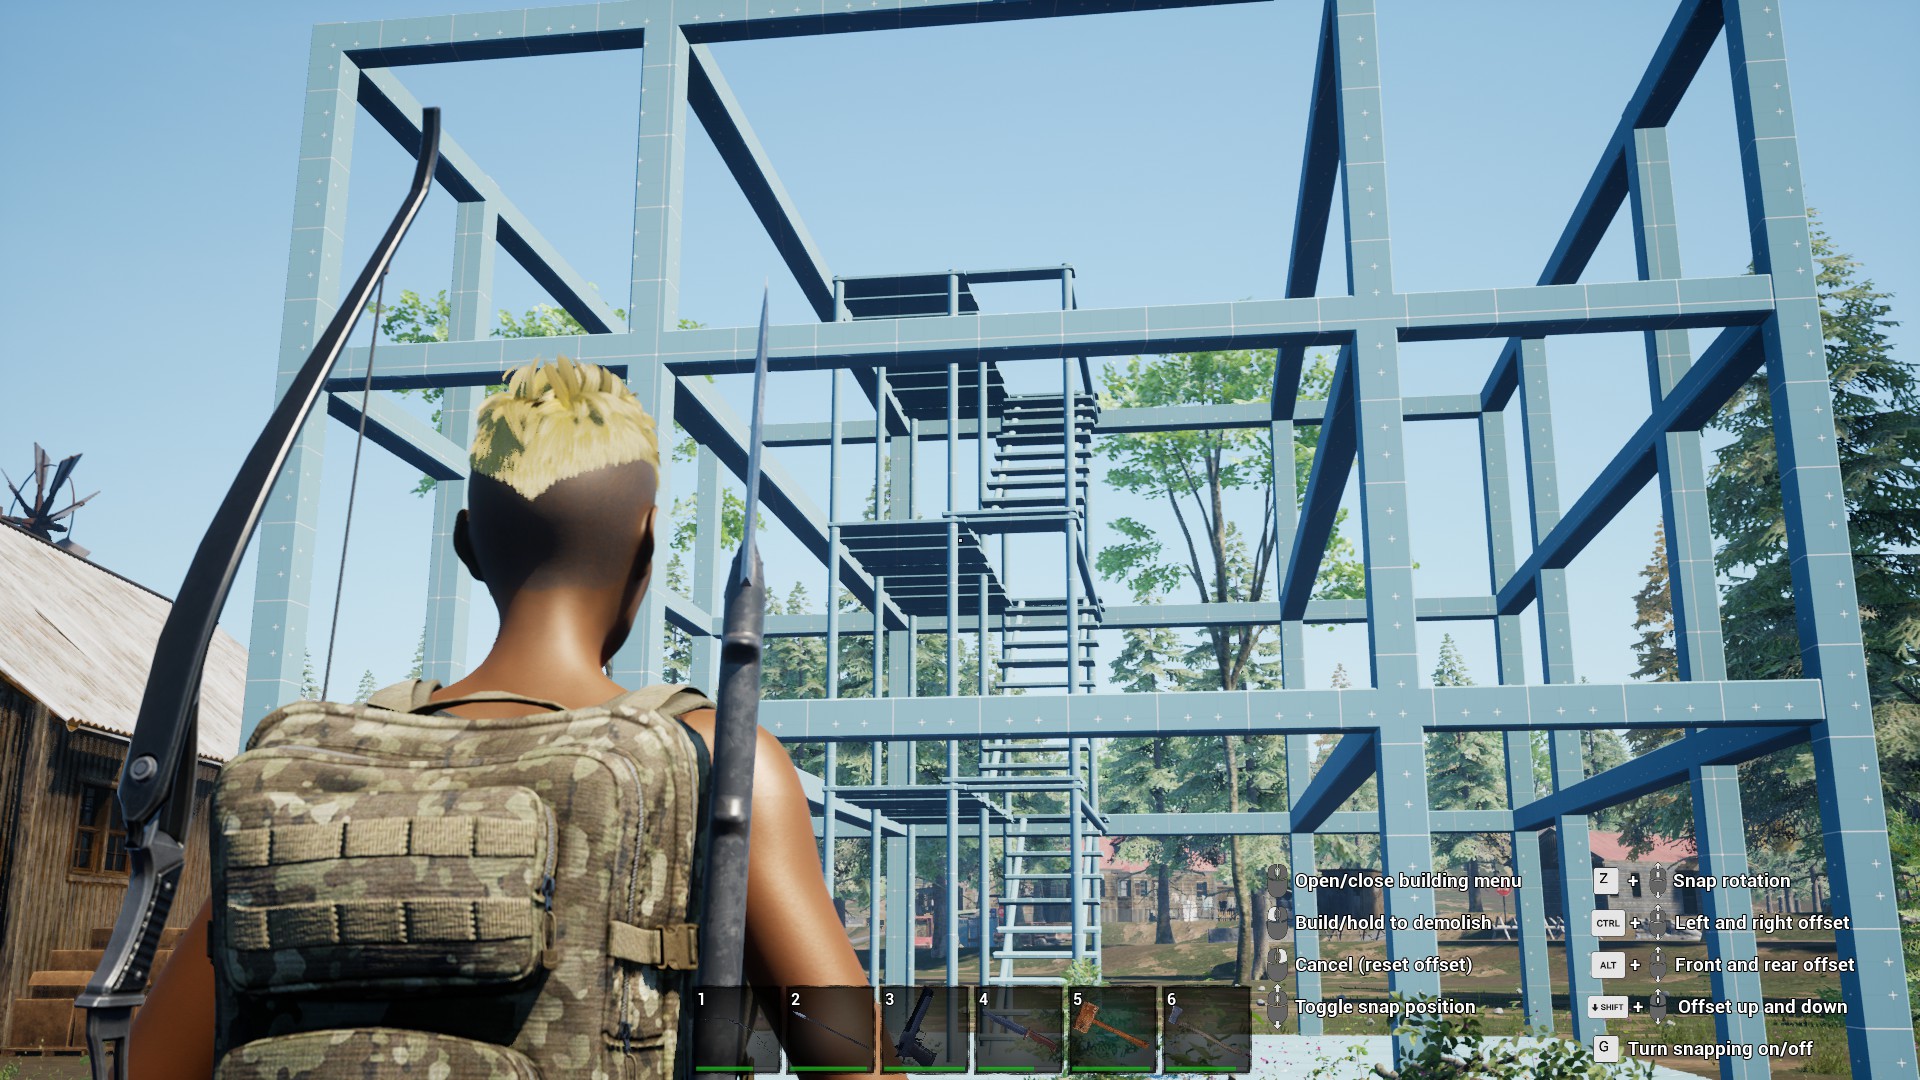
You can now place a foundation around the outside of the 4 by 4 foundations if you want to add
1 wide porch around it. You then have created a 6 by 6 foundation. Then you can place floors on the outside of floor 2 to act as a balcony around the 2nd floor and a roof of the outside deck/porch. Placing it now makes building the 4 X 4 foundation and placing posts and beam easier.
Making it!
You are at a point that you have only built a ghost structure, and can now start adding logs to the foundation. You can do all of this the first minutes of the game if you want and need nothing more then a building hammer (1 log) and an ax (2 rocks and a stick) to complete the foundation by chopping down big trees. To minimize resources needed you can start with only one foundation and add 6 logs to it to make it real. I then place my processing table when I get the parts (3-logs, 5-rocks, and 1-toolbox) for table on it. The table makes a great place for initial storage to lighten your carrying load. The scaffold take 15 boards ( 4 log in processing table makes 16 boards) and 2 sticks so you can make them real. The floors take 8- boards and 2 sticks each. You only need to complete the build of the 2 outside beams, and the one 4 grid beam to get a minimal base going to look like image below. As you can see you can leave the deck/porch off a place furnaces on the ground if you want to start. I prefer to place foundations, but you can always deconstruct them later and them build foundations to save tree chopping time upfront, though it is pretty easy, especially if you find a Backpacks bag. Yes the name of bag is “backpacks” and is the biggest backpack in the game but not much bigger then any military bag the 2nd biggest.
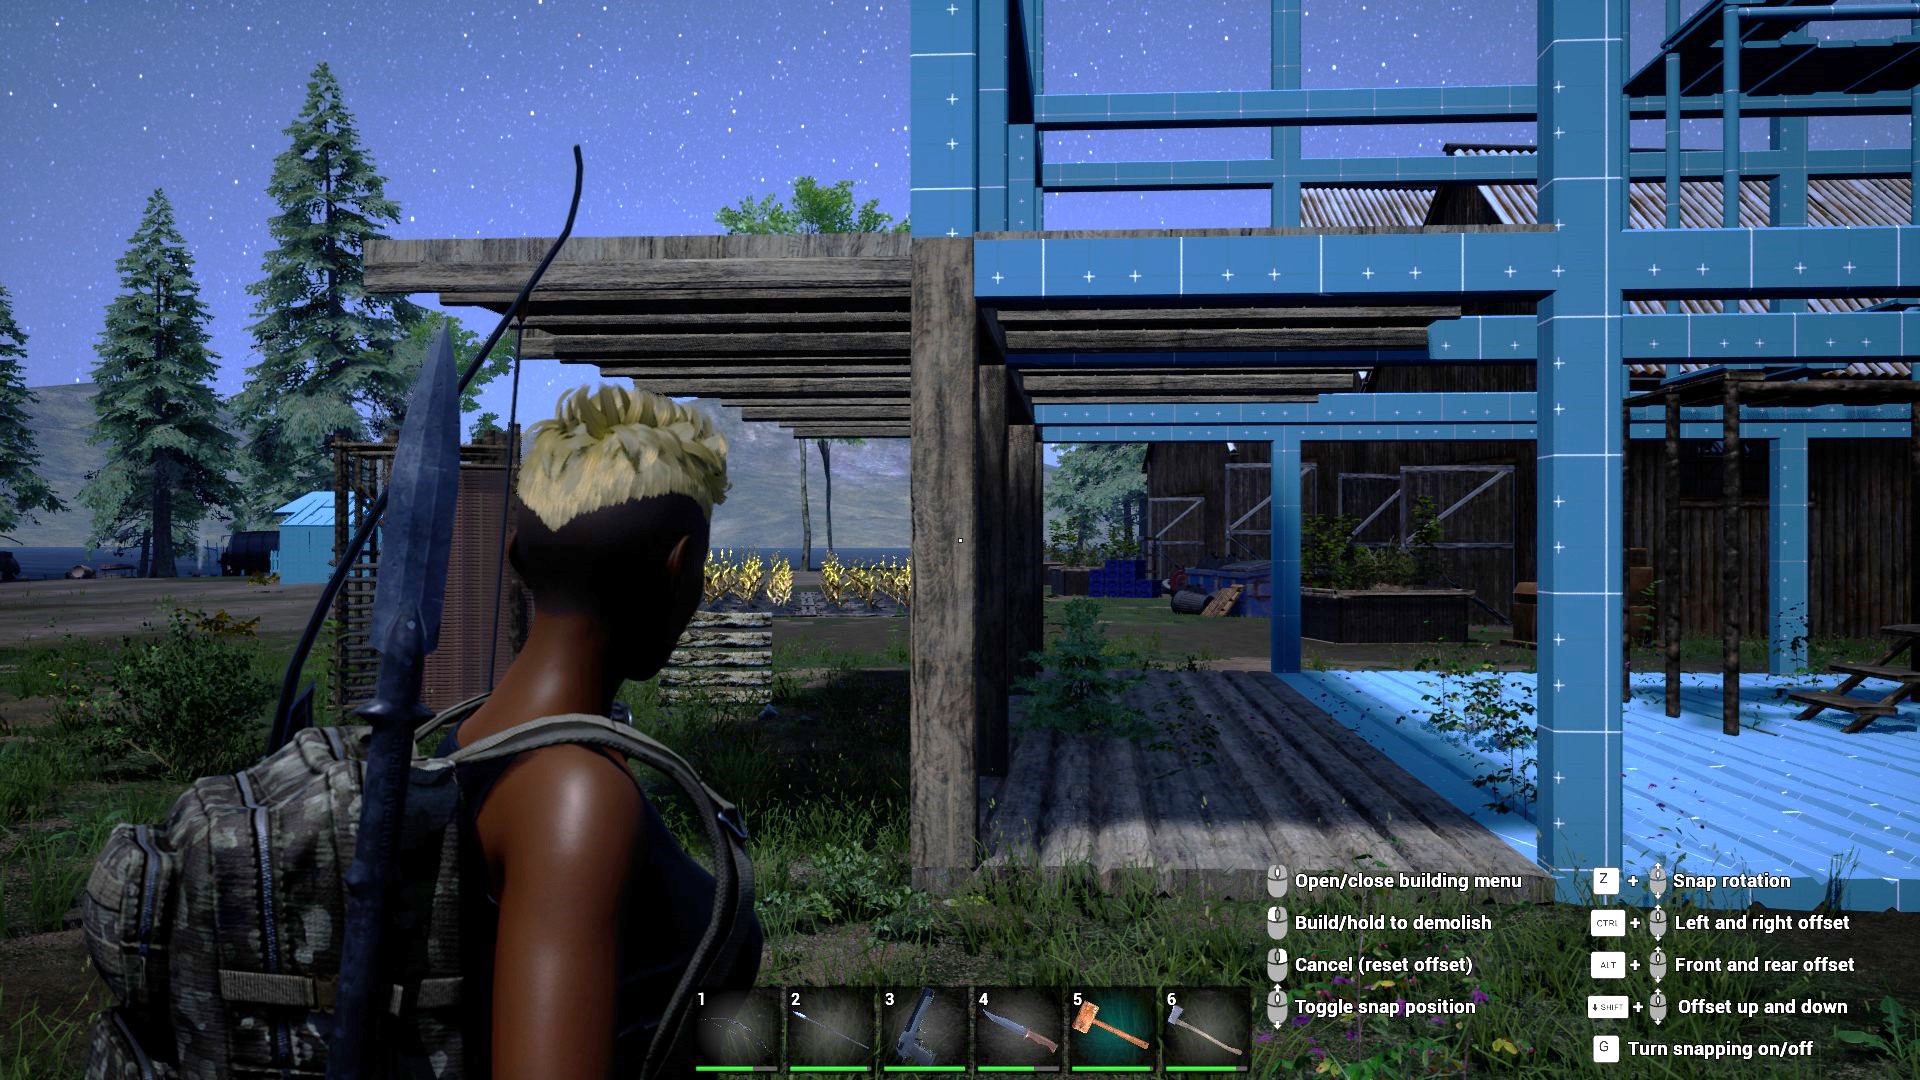
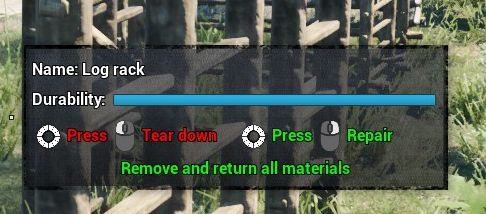
This is how an where I like placing my furnaces, but they can be placed inside too if you prefer. With the scaffold bumped up against the completed inside floor you can use the 2nd floor for uncovered space as you continue you build. Storage chest and shelves that hold the storage chest can be deconstructed and moved to with 100% items recovered, so can be placed and moved later if desired. I think this is true to any crafting bench, furnace, etc. Reading the comments of prompts will help let you know if what you are destroying will return items. Examples of each below.
Below image is of everything is returned on tear down/deconstruct
Below image is of nothing will be returned but you do gain experience.
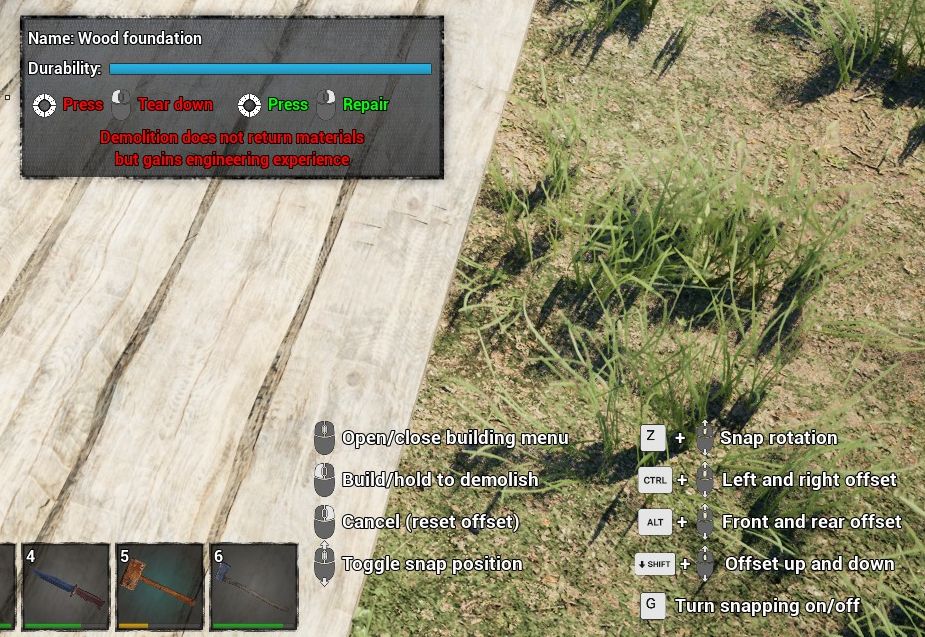
The image above in the lower left corner shows you the options you have when using the construction hammer. I mostly only use the shift to raise or lower foundations and “g” key to be able to move tables, benches, shelves or the like around to place it in a non-locked position.
For the Perfectionist
The scaffold do not fit perfectly but you can help them get close. If you butt the scaffold to inside 4 grid beam and the first floor section you built their will be a gap.
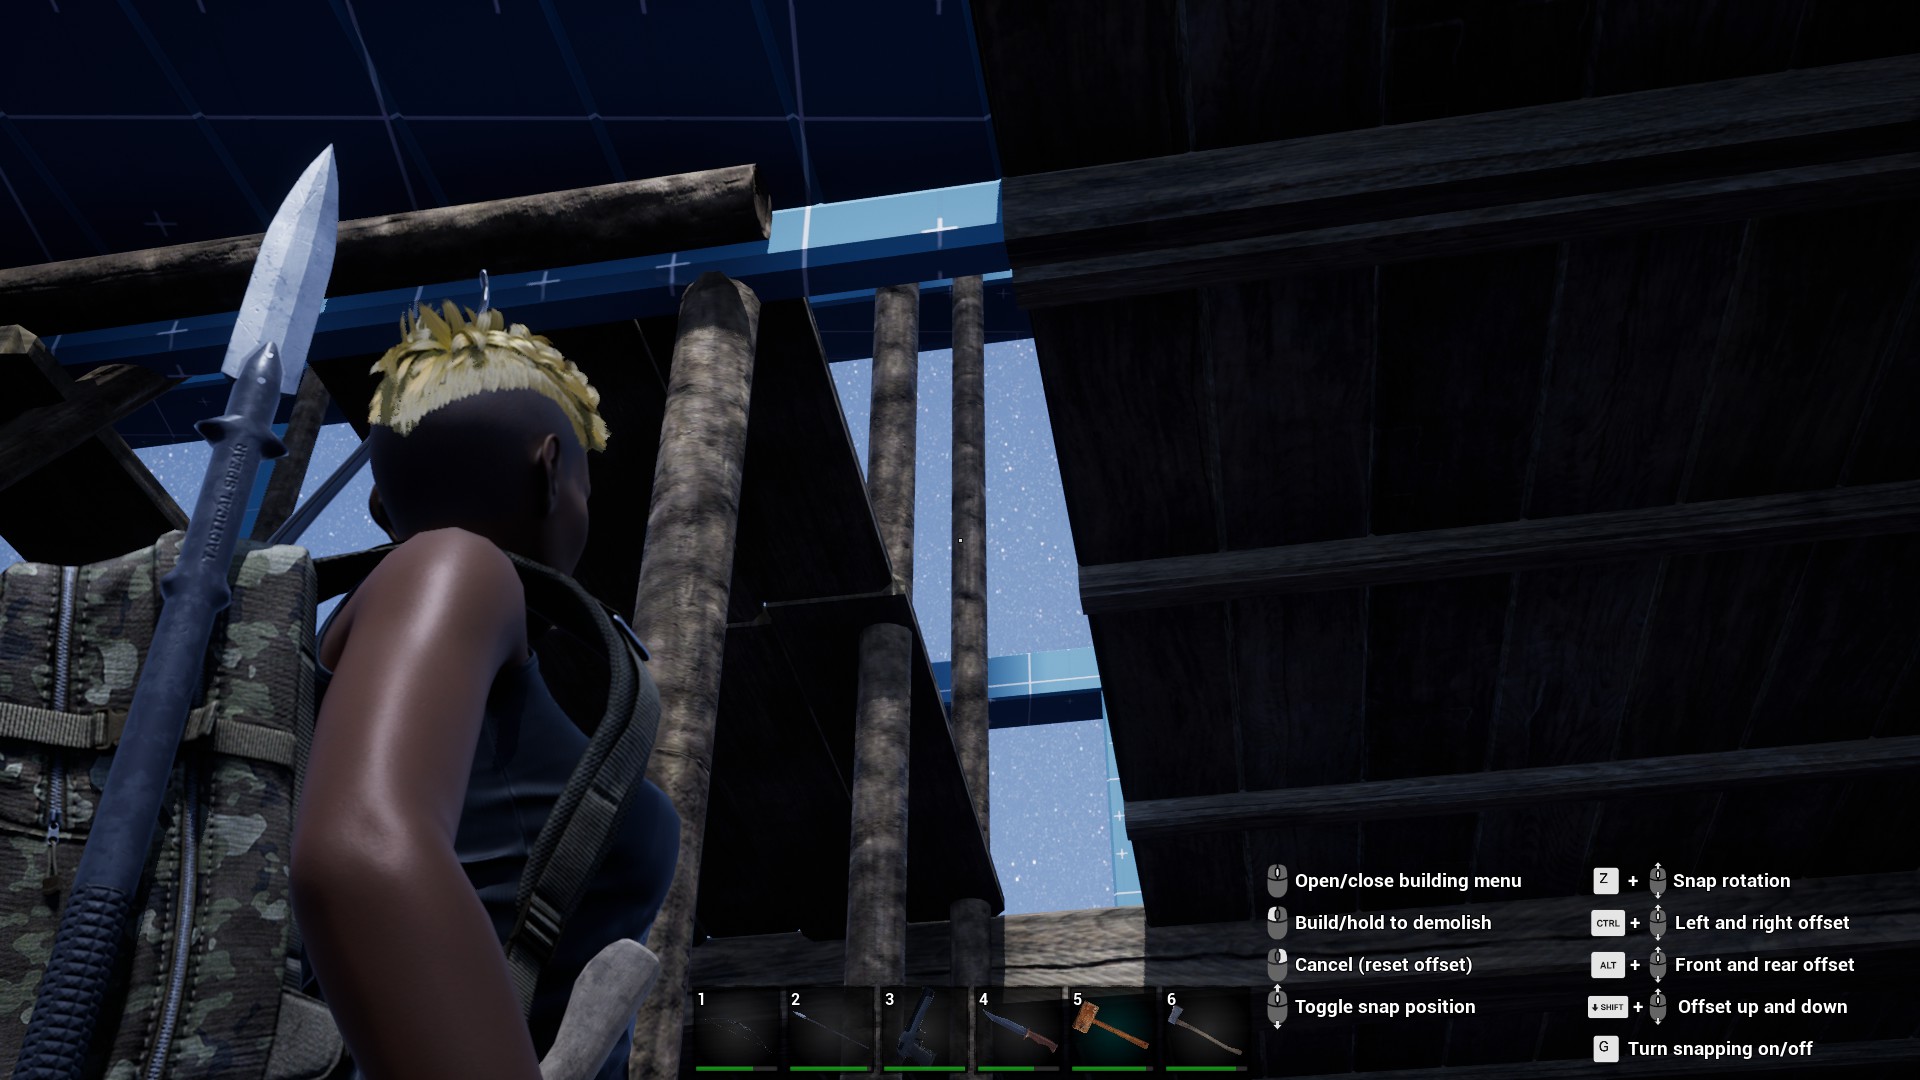
You can step or jump over it but if that does work for you us can place 2 posts and 1 grid beam to fill it in.
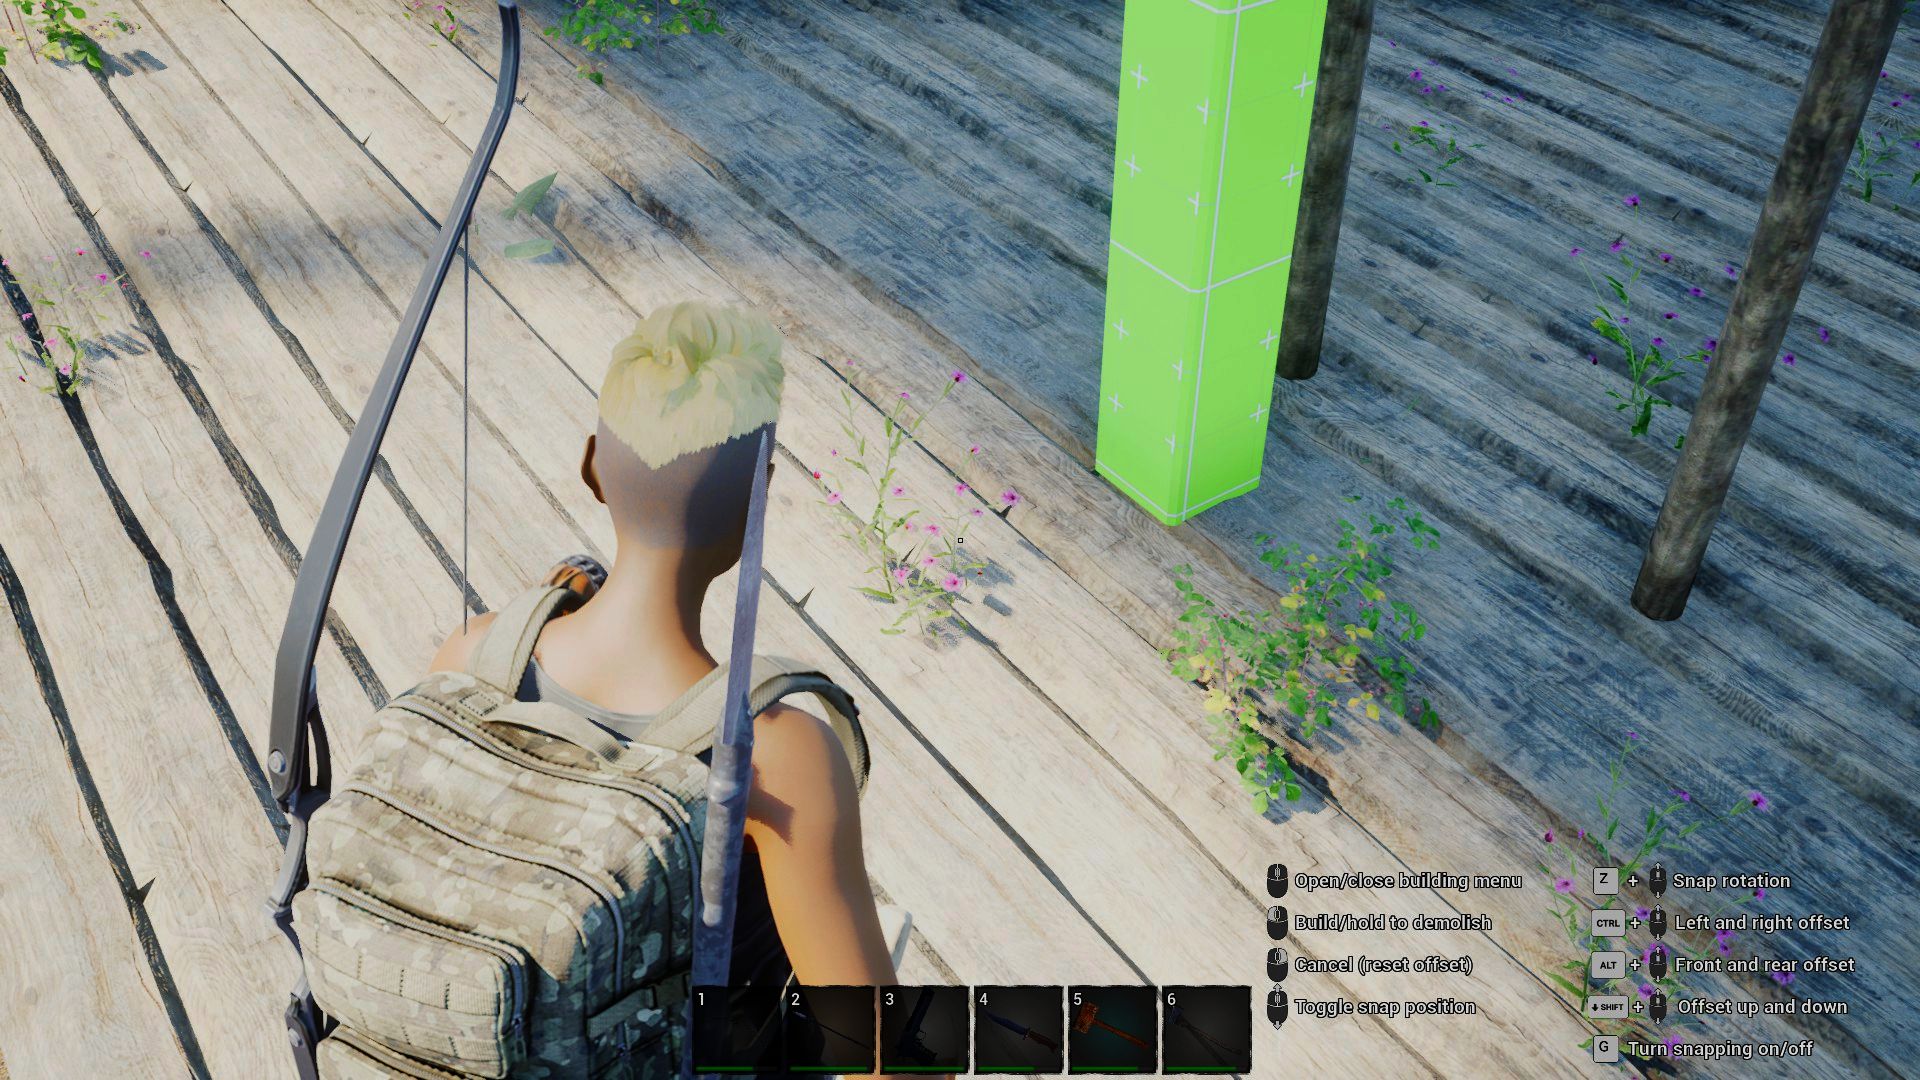
Below image has the gap that this fills. If you are doing 3 or more floors you also we need to continue this up to your last scaffold .
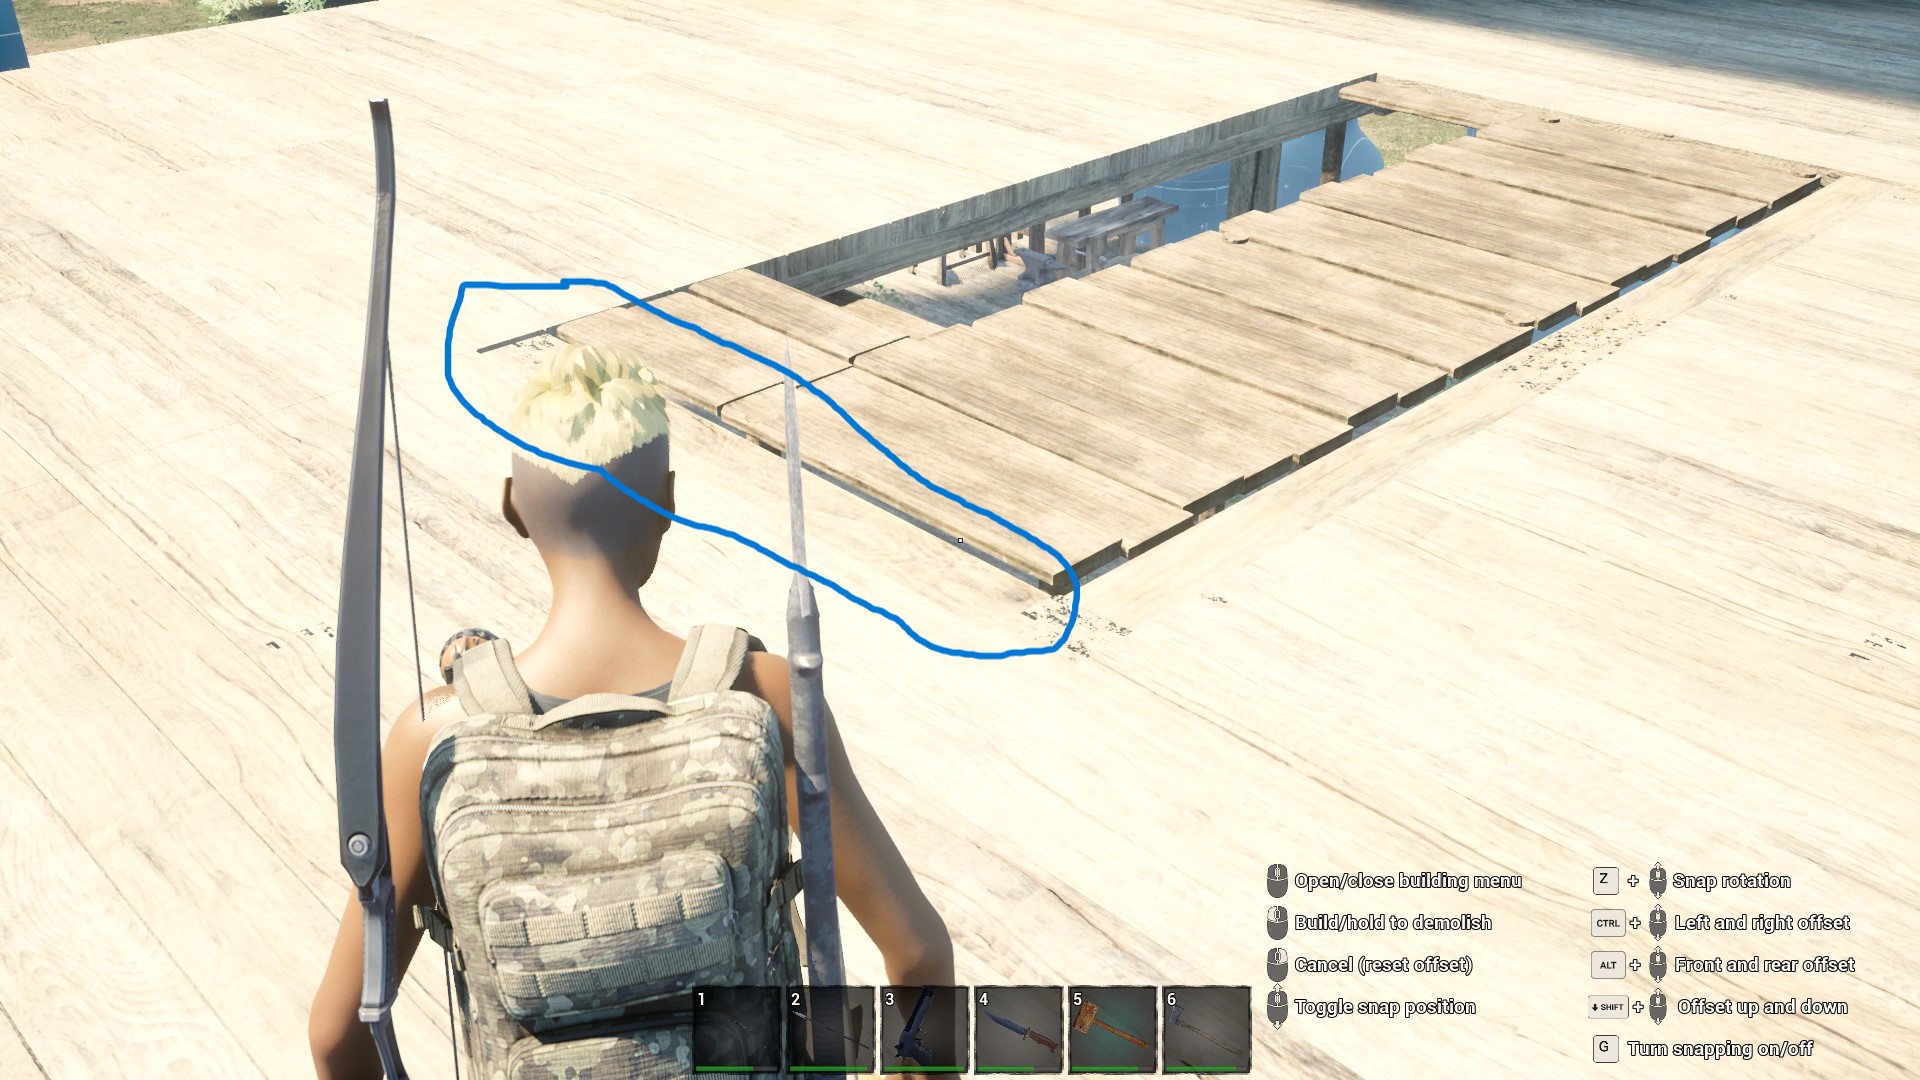
One other minor thing is the flooring on the outside of the main 4 X 4 structure will be missing the flooring on corner unless you build a support with it. I start by butting a post against the outside corner post and them line a 2nd post on the outside of the porch. Then connect with a 1 grid beam. this will allow you place the corner flooring.
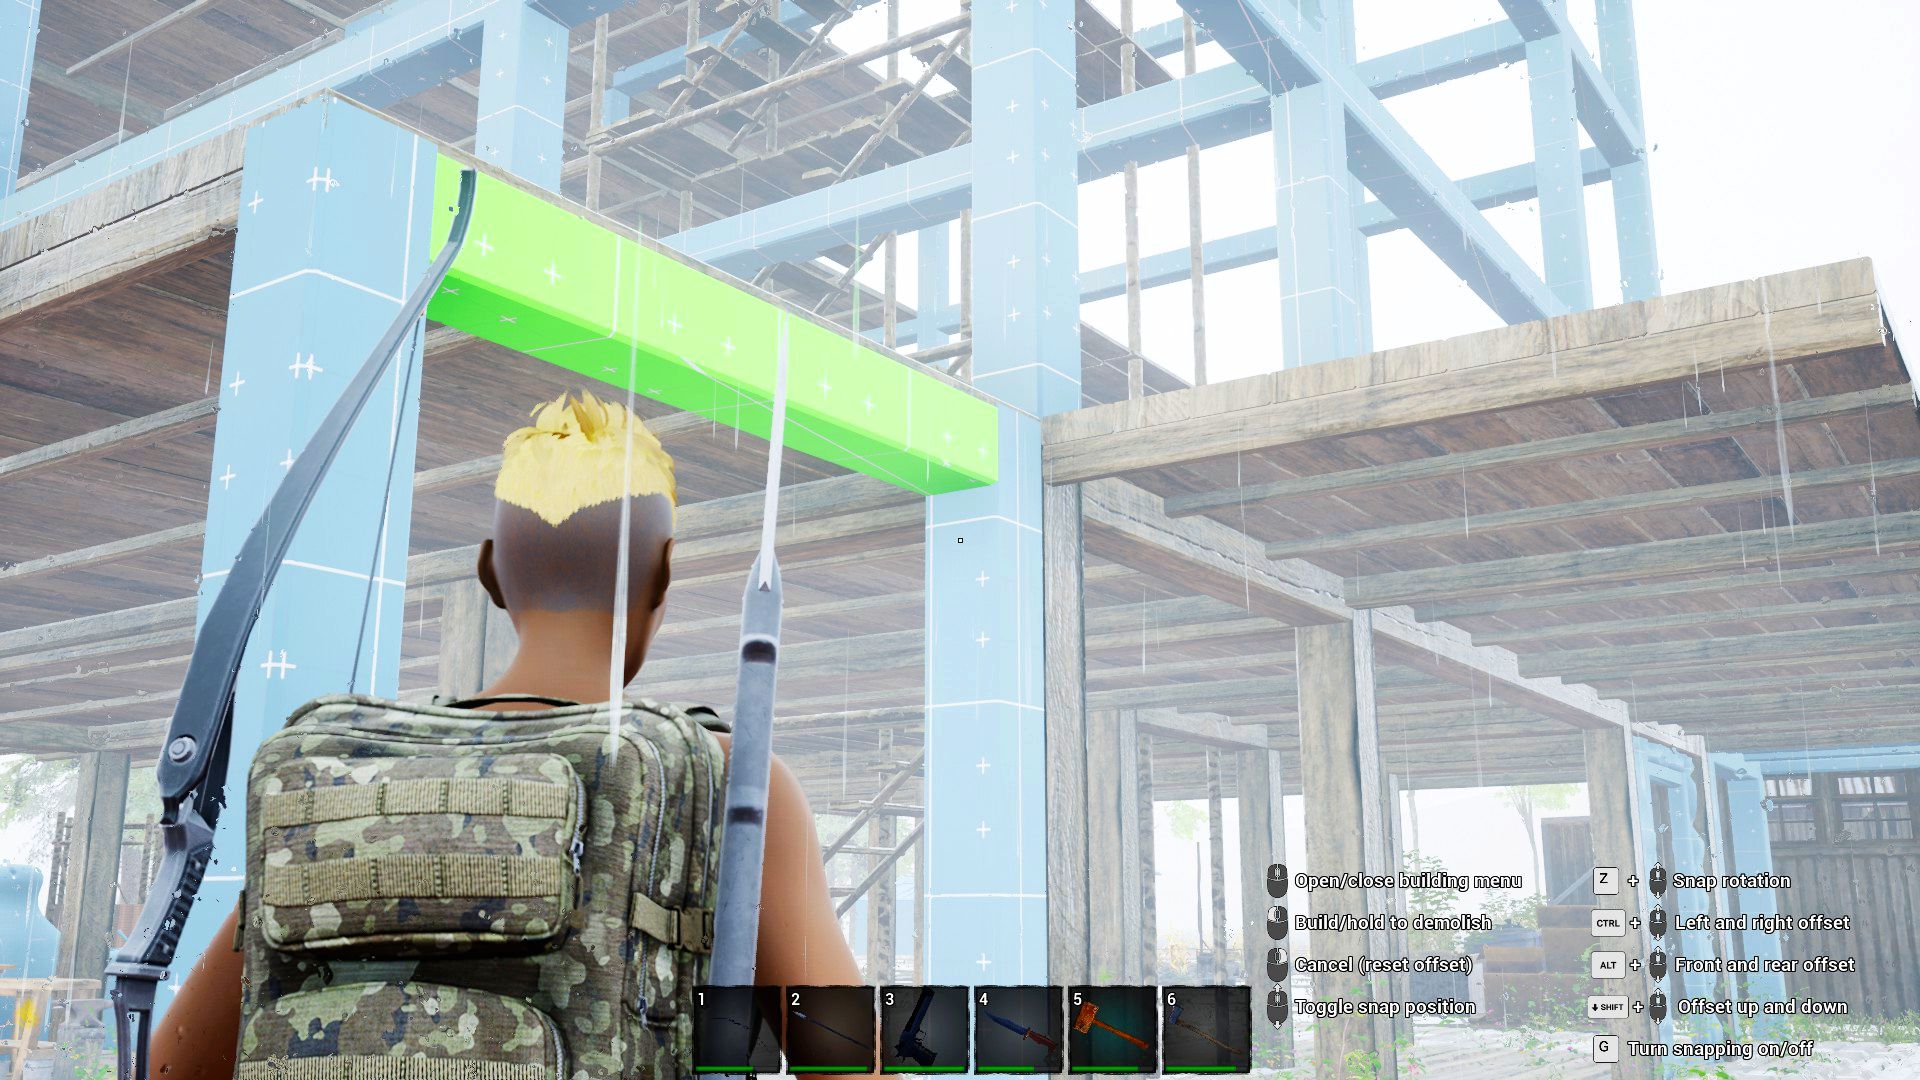
Penthouse Story and More
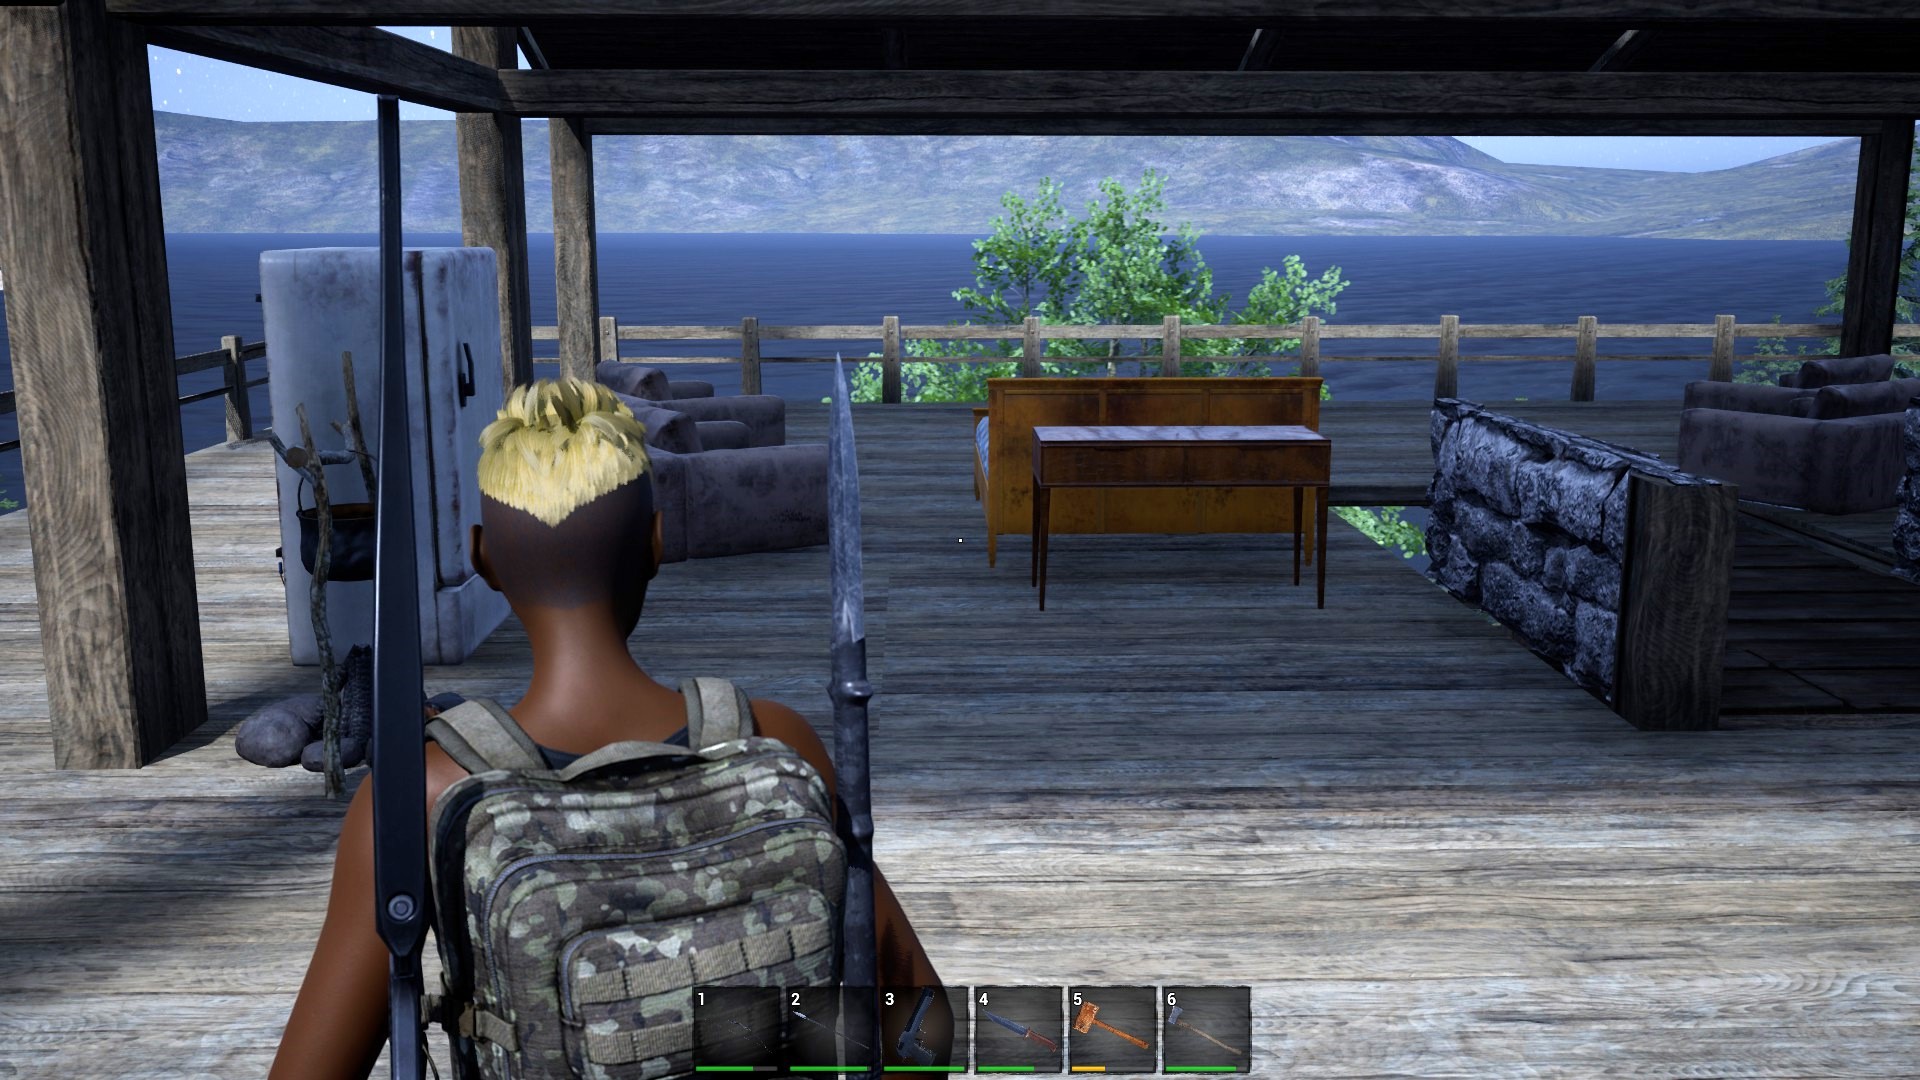
So you can continue on up to the skies. I even build a penthouse suite. No need to rough it in the apocalypse. Not like the world is full of zombies and traders.
Penthouse if you want wide open.
Walls in your penthouse.
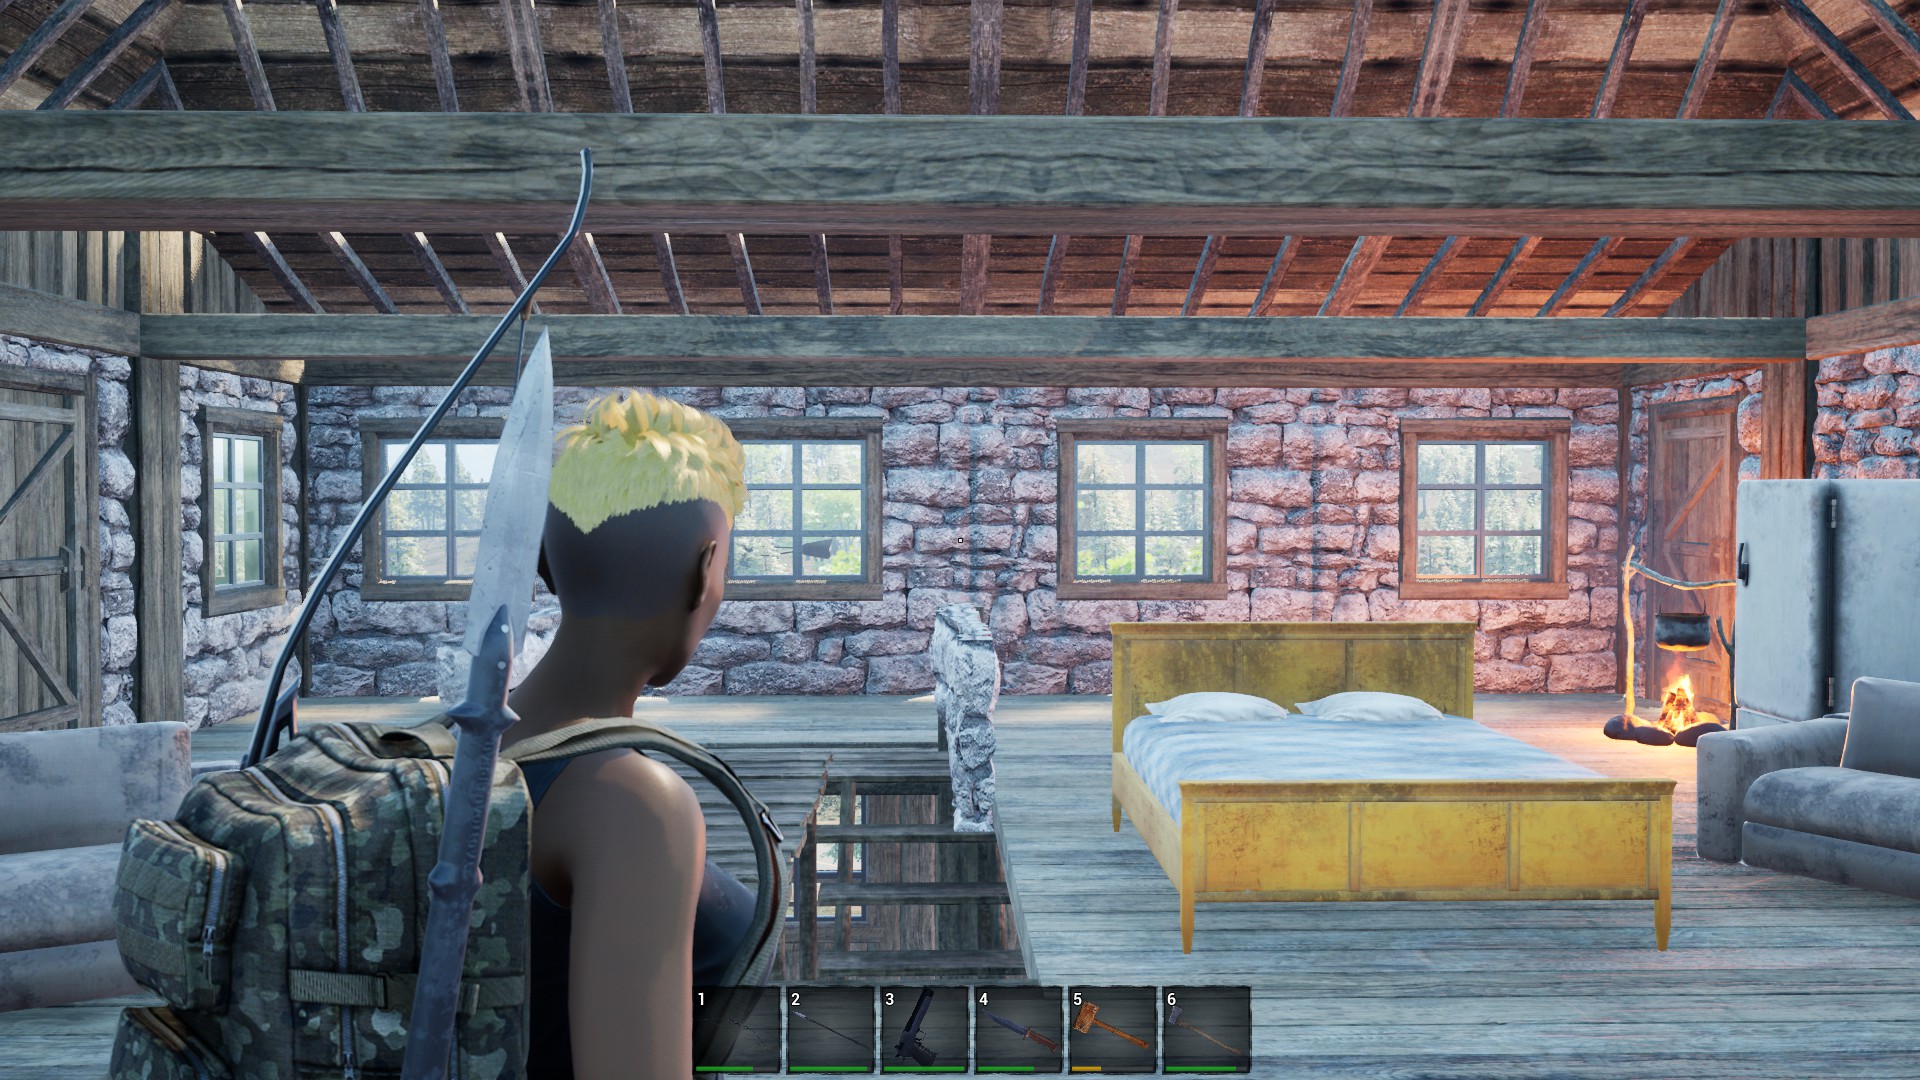
The final building,
