A guide on starting to play Beneath.
Paint the Town Red Beneath: Beginner’s Guide
Welcome to the beginner’s guide to beneath. If you are reading this, you likely are new to the game and may not know the difference between purple and blue shards. You may not even know how to upgrade things. This and many other topics and strategies will be covered in this guide. You will learn how to navigate levels, upgrades, class differences, how to avoid or fight enemies, and you will also learn about the controversial pursuer. If you have any questions, be sure to ask in the comments and I will likely respond.
Getting Started
When you start in Beneath, you will see an opening cutscene where you descend downwards on a platform. When you step off, you will be in the facility. When you are starting off, you can explore the facility but it’s likely you will soon want to explore beneath. In the room with the blue character holograms, you can choose a class. So ummarize each:
- Vanguard: healing
- Brawler: melee fighting
- Warlock: ranged fighting
- Spectre: running fast to get from point A to B efficiently
After choosing a class, make your way to the giant blue hangar doors. They will open to reveal an elevator, where you press E to begin the true experience.
You will find yourself in a giant hangar beneath. You will notice that there are enemies ahead, and an item on a pedestal. These perks are found throughout the game, either bought in shops or found between areas.
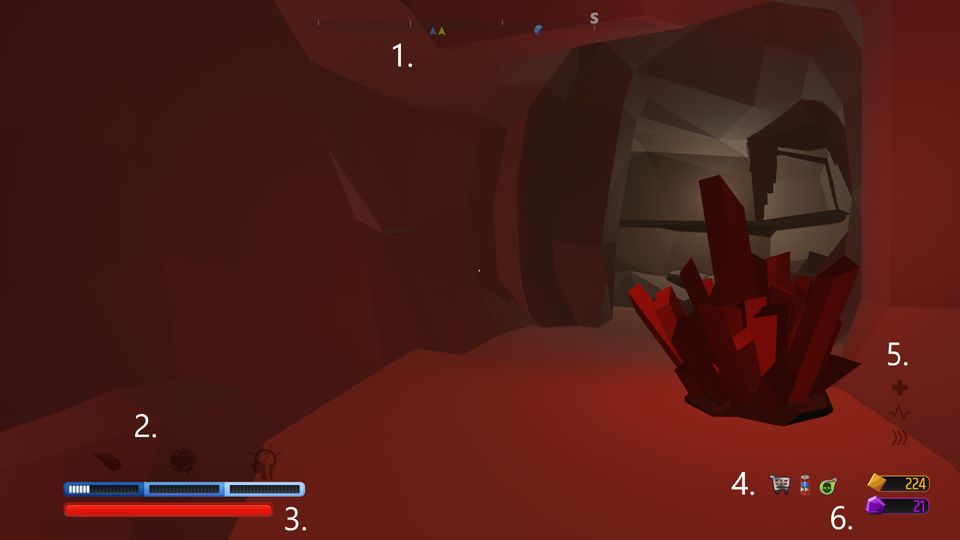
You may notice the dark bar at the top of the screen with grey notches. This is your compass. It is extremely useful as it shows you where things are without the player having to search the whole level.

1. The compass
2. Powers and power bar
3. Health bar
4. Items
5. Boosts
6. Gold and energy
Currencies
This compass, and many other things such as player damage and stamina total can be upgraded through the use of shards and energy. There are 3 main currencies in the game. Gold, energy, and shards. Gold takes the form of gold coins and is gained from killing enemies. Energy takes the form of purple fragments that are gained from killing tougher enemies. Shards are blue and are gained from shard lords. (More on them later.)
Gold is used for: Buying items and weapons in a Beneath run.
Energy is used for: Buying permanent upgrades and new weapons to be found in levels.
Shards are used for: Buying permanent upgrades from the Apostle. (More on him later)
Combat
As you start to play Beneath, you will notice that combat is different to the scenarios. Firstly, there are multiple types of enemies instead of humans. They have magic powers that alter gameplay from the scenarios. Meanwhile the player also has powers and will be able to counter the new enemies. In Beneath, advancing right into groups of enemies is not a good idea. It is not like the scenarios where you can knock everyone down. Remember this saying:
“If you know the enemy and know yourself, you need not fear the result of a hundred battles. If you know yourself but not the enemy, for every victory gained you will also suffer a defeat. If you know neither the enemy nor yourself, you will succumb in every battle.”
― Sun Tzu, The Art of War
For this method, it is important to know how each enemy attacks and how to counter it. When playing in the Caves, there are some common strategies you can employ for different enemy types.
When fighting melee enemies, it can be a good idea to use ranged attacks. It will be difficult for them to reach you if you can stay out of range and attack. Throwing fireballs as warlock is effective, and throwing weapons may help. This can work against enemies such as zombies, traitors, and floating heads.
Ranged enemies are more complex to fight than melee enemies. They can easily kill you if you can’t kill them fast enough. For example the Minions (small guys with staffs) can shoot red beams at you that track your movements. To counter this, you must either get cover, run, or block with a shield. After they attack run in and quickly kill them. Crystal Crabs are another tough ranged enemy. Firing sniper like lasers, they additionally have a hard shell. Strafe these enemies and jump while they attack, making them have terrible accuracy. After they attack, run in and cut their legs. (Remember this always! It is almost impossible to kill them by hitting their shells, so cutting the legs is very useful.)
Remember to pick up various weapons scattered throughout Beneath to assist in killing enemies.
More specific strategies can be found on the wiki articles for each enemy. Below are links to enemies encountered in early floors.
https://pttr.fandom.com/wiki/Zombie
https://pttr.fandom.com/wiki/Traitor
https://pttr.fandom.com/wiki/Floating_Head
https://pttr.fandom.com/wiki/Minion
https://pttr.fandom.com/wiki/Crystal_Crab
Advanced combat techniques will be covered in a later guide. Until then these strategies are efficient for early floors.
The Shop

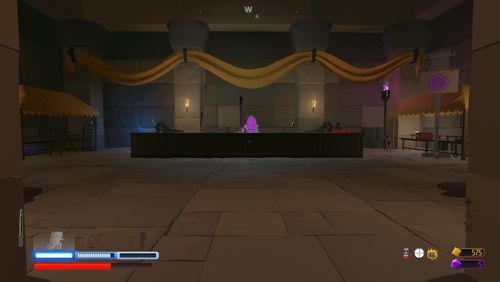
The shop is an essential part of the game for newer players. It allows you to get boosts, weapons, and it is where you can use energy to unlock new weapons and upgrades.
The shop is marked by a yellow triangle on the compass. If you have excess money, it is a good idea to use it here.
When you enter the shop, you will be greeted by a Giant Mage and his guards. Do not worry, these creatures are not hostile. The shopkeeper will stand behind a stone counter where you can buy weapons and 1 item.
To the right of the shop entrance are boosts you can buy that give you more health, stamina, or speed. These are expensive and should not be the first priority to buy for new players.
To the left of the entrance are energy and health items that can replenish those bars. They are likely the first priority for newer players.
Against the wall to the right of the shopkeeper is the enchantment station. There you can pay a fee to enchant your current weapon, increasing durability and damage.
It is important to note you can not jump or use weapons in the shop. You can however press E by default to buy things.
Item stalls can also be found in rooms while exploring, giving you the chance to get more items and boosts.
Navigation and Time Management
Navigating beneath can be challenging. This is the reason it is important to always consult the compass at the top of the screen. It is also important to manage your time so the Pursuer does not show up.
There will always be enemies in most rooms and occasionally in hallways. Use the combat section of this guide to efficiently overcome that aspect.
When triangles on the compass point downwards, that means they are on a lower floor. This is not a problem, just find a room that slopes downwards, leading you to the lower floor of the level. The triangles on the compass will then update and point upwards.
It is possible for newer players to get lost. When this happens, try to find either the shop or an exit to get your bearings again.
If you come into a room or hallway with dead enemies, this means you have been here before. At this point you should turn around and try to find another way. (Halo 1’s Pillar of Autumn mission anyone?)
Upgrading the compass can be helpful to pinpoint the locations of shard lords. They will be covered next.
Shard Lords and the Apostle
When exploring the Caves, you may find a room with a Minion trapped in a cage. To free him, you must kill all the enemies. This will free him and send him to the facility. At the facility, he will be in a previously closed room next to the class room where you can get permanent upgrades with shards.
Shards are collected from dead Shard Lords. Shard Lords are minibosses you can find rarely while exploring. They vary in attacks, size and type, and caution should be taken when fighting them. When you kill one, they will drop 1 shard allowing you to buy upgrades from the Apostle. Each Shard Lord will be covered in a seperate guide.
The Pursuer

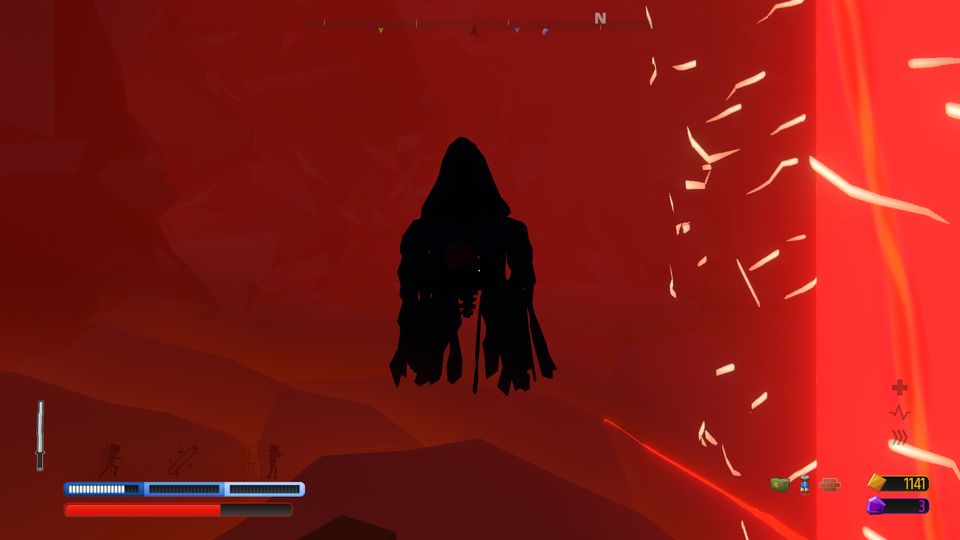
If you take too long in a level, beware of the Pursuer. It will appear after about 9 minutes, and chase you constantly. Like the ghost from Spelunky, it cannot be interupted and will chase you until you die. If you are not experienced with avoiding it, try to reach the exit as soon as possible.
The Exit

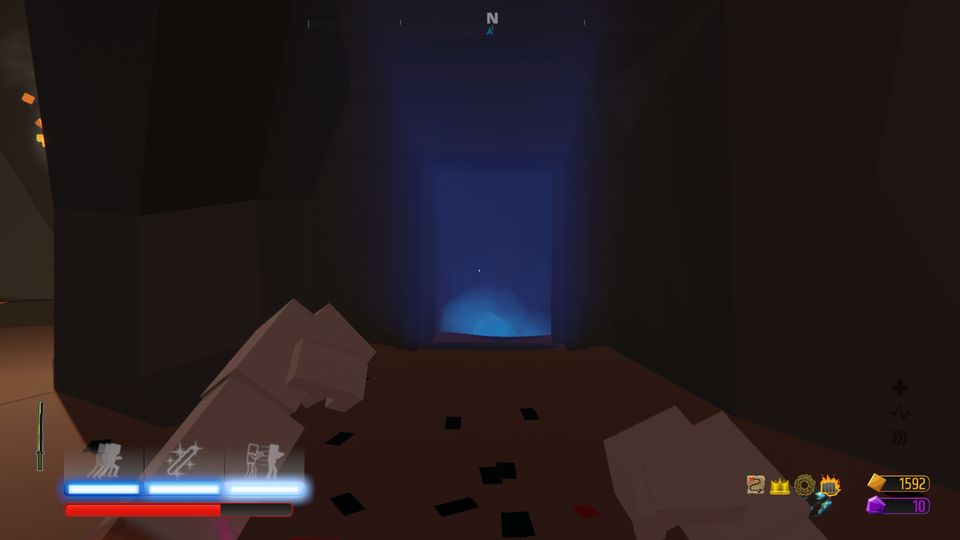
The exit is your primary objective in each level. Marked by a blue triangle on the compass, it is a small hallway in most cases with a blue zone you can walk into. This will end the level and transport you to the next one.
When you reach the exit too early, there will be a door covering it with a gold ring. This ring will slowly get smaller over time. You can pay a fine to have the door unlock immediately, although this is not recommended. It is advised to wait it out or go fight some more enemies while killing time.