Dried-Up Trenches
To get to the Dried-Up Trenches, you must take the path from the Poisonous Butterfly Nest in the Ruined City Center.
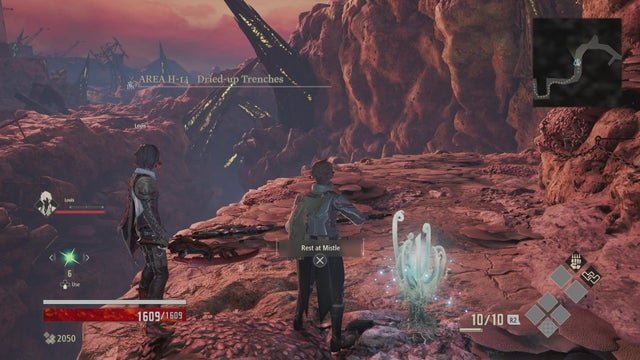
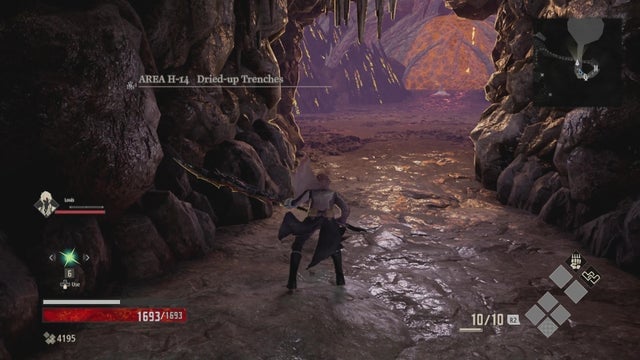
Area H-14 Dried-Up Trenches
Much like the Howling Pit, the Dried-up Trenches is a deadly area that has a number of paths you can take, making it easy to get turned around. But luckily, this guide will steer you in the right direction.
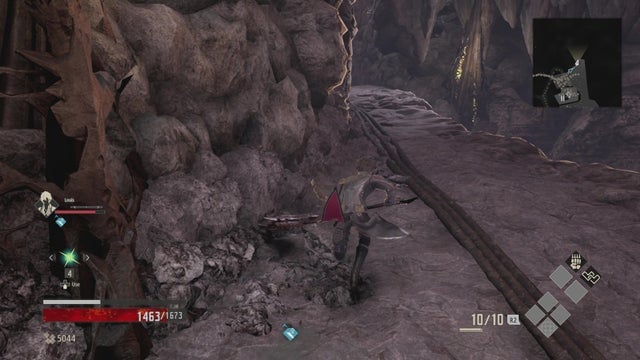
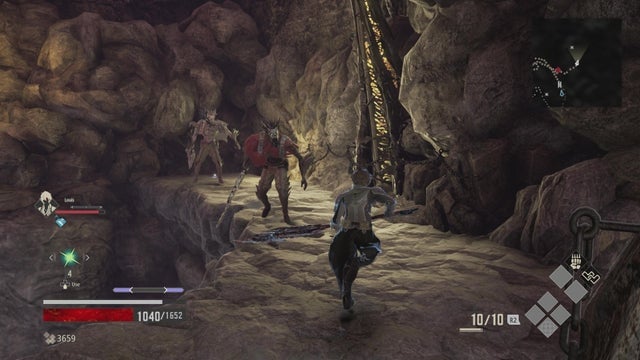
From the Mistle follow the linear path along the ledge, while being cautious of enemies that tend to pop out behind corners. You’ll eventually come to a split with two possible paths – a cave on your left and the path that continues along on the right.
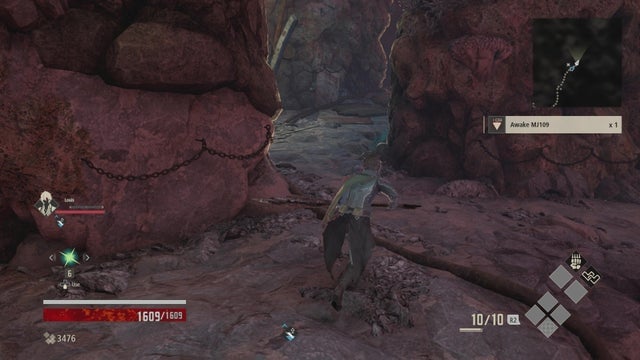
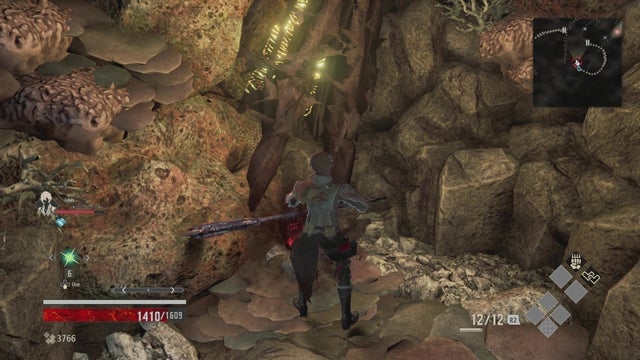
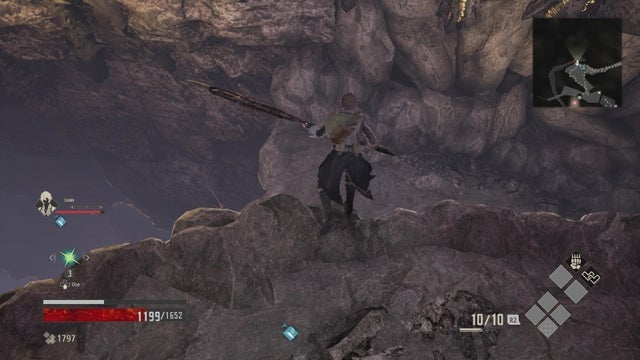
Either way will get you to your destination, but for now, take the cave on the left. Continue up the ramp and you’ll come to a drop-off point on your left. Look for the piece of wood on the ground and drop off.
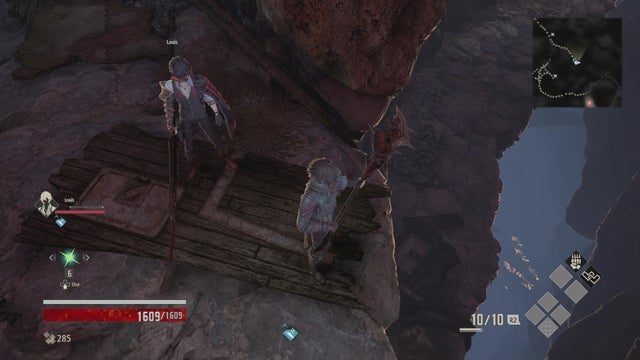
Drop down and follow the path until you get to a ladder. Before you head up the ladder, take out the enemy in the corner, guarding the chest. Afterwards, head up the ladder and follow this path all the way to the end.
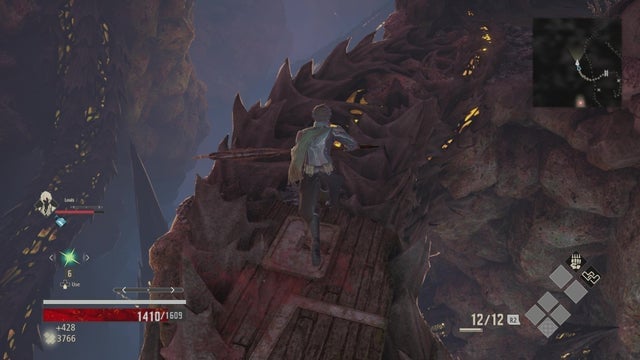
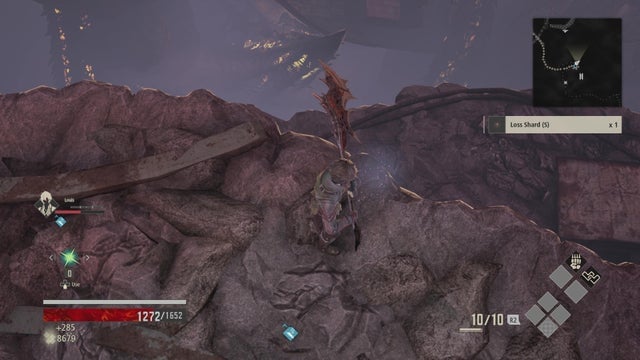
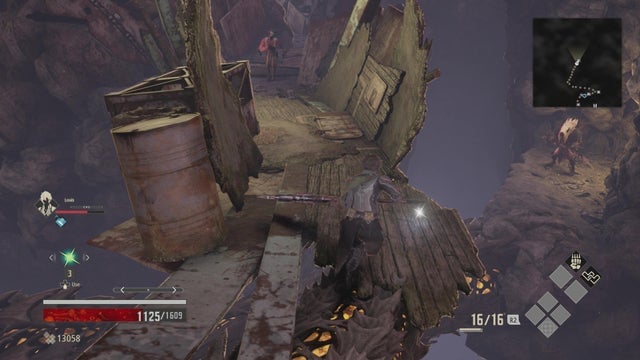
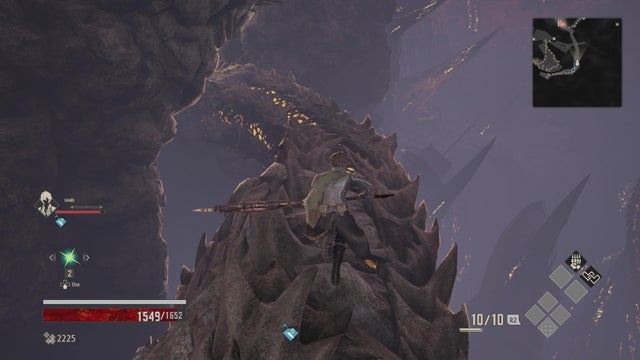
You’ll need to drop down, back to the starting area. After you drop down, take a left, heading back to the cave entrance, but look for another piece of wood on the ground. If you look off the ledge, you can drop down onto a spiky tail-like platform.
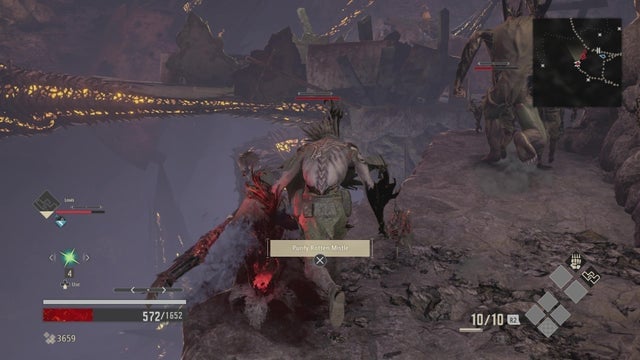
Once you land, head to the right, back in the direction of the cave to find a rotten Mistle. Watch out for the enemy waiting for you.
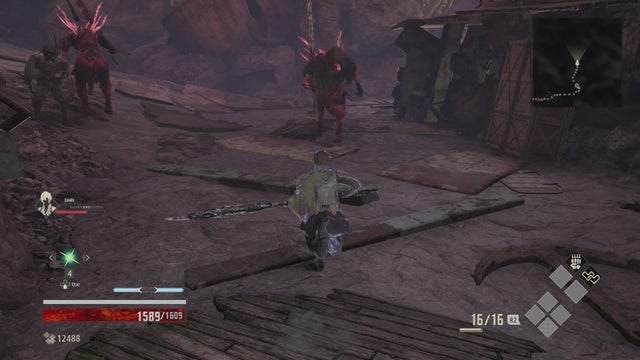
Once you purify the Mistle, head back the other way, across the spiky platform. Head up the ladder and through the area with several large enemies. After you take them out, continue back outside by dropping off the ledge. From here, continue along, past the cave entrance and along the path on the right.
Keep going, past the enemies that shoot fire at you, and wrap around until you come to a section with a dilapidated building on your right. Here, there are two paths you can take – left up a ramp or right. Keep the left path in mind, but for now, let’s head right.
Carefully proceed ahead and take out the nearby enemies. You’ll see another spiky platform in the distance. We’ll need to head that way eventually. First, you’ll need to drop off the side, before the bridge.
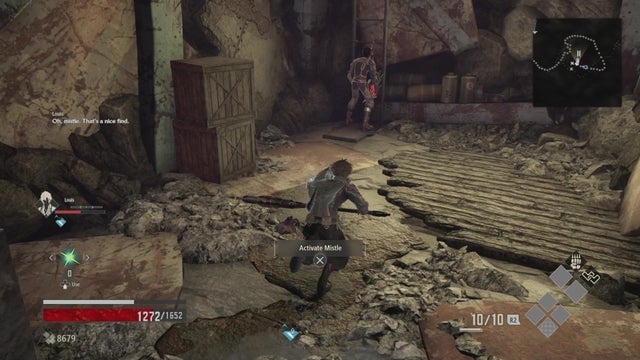
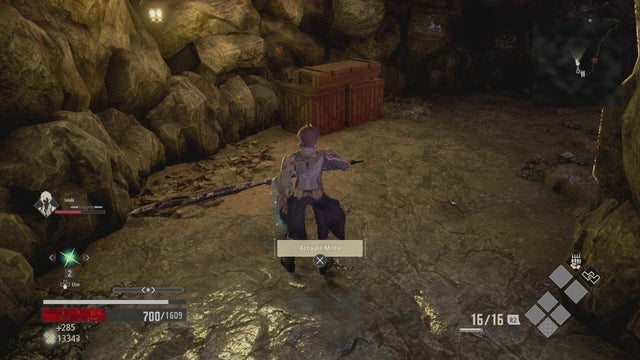
When you drop down, head right, into the cave. Be cautious of the enemy nearby. Here, you’ll see a Mistle. Activate it and head up the ladder. You’ll now be on the roof of the dilapidated building from before.
Drop down and head across the bridge. Be aware that the enemy in the distance can shoot long-rage attacks at you.
Follow the path across the bridge and take a left. You’ll see more enemies that shoot flames at you. Continue along the path to the right, into the cave ahead. But beware, it’s guarded by a huge beast. You can go around it if you like. Head down the ladder and you’ll reach another Mistle. Rest here and get ready for the rest of the stage.
Keep in mind, we’ll need to return here to continue to the boss. There’s some cleaning up to do first.
For now, head back up the ladder and backtrack across the bridge and to the dilapidated building.
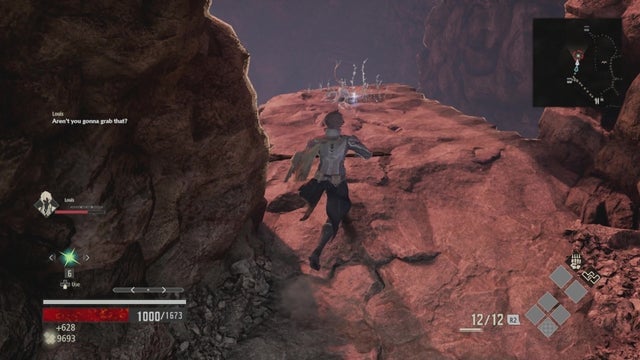
Go past the building up the other path this time. The ramp will lead you up, where you can see an enemy above, by a Mistle. You can’t get to it from here, so follow this path until you get to a Regen Activation Factor by a cliff.
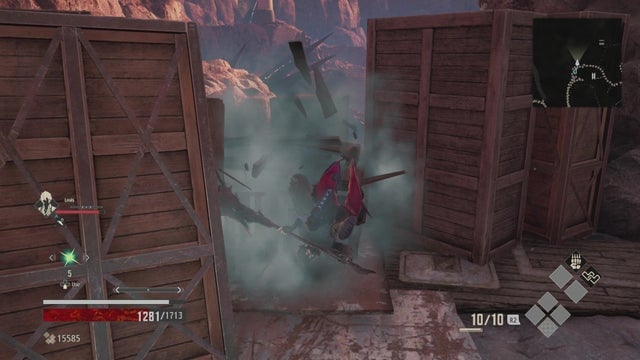
Grab it and head back up the ladder. When you reach the top, continue left and you’ll come to some boxes on your right-hand side. Roll through them and land on the platform below.
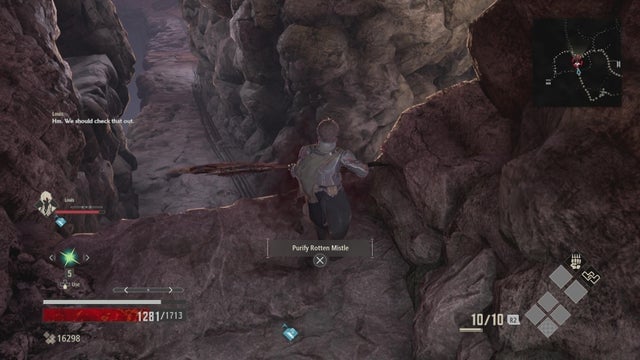
Keep following this path, making sure to not fall off the ledge. You’ll eventually come to the rotten Mistle that was inaccessible before. Purify it and roll straight off.
From here, make your way back to the cave located just before the boss. It’s the cave that’s just past the enemies that shoot flames at you. Before you head into the cave, let’s take a little detour. You can actually drop off the side, just to the left of the cave entrance.
Do that and follow the path ahead. You’ll come to yet another spiky platform.
Follow it to get to the next enemy, guarding a ladder. Take the enemy out and climb up the ladder to reach the next section. At the top, take a right into the cave and you’ll reach a few enemies.
After you take them out, climb down the ladder on the right and you’ll come to another Mistle.
Purify it an then drop off the ledge that leads back to the previous ladder. This will take you back up to the section before the cave you just entered. Follow this path, past a few enemies and then drop off at the very end. Now head back to the Mistle just before the boss fight. If you’re lost, it’s to the right of where you dropped down from.
Once you rest at the Mistle, make sure you’re ready for the next boss fight, the Insatiable Despot.
